Here’s an update about what was happening during week 4 of the One Room Challenge. If you missed it you can see the before photos in the week 1 update, see how demo went during the week 2 update, and how tile install was coming along week 3.
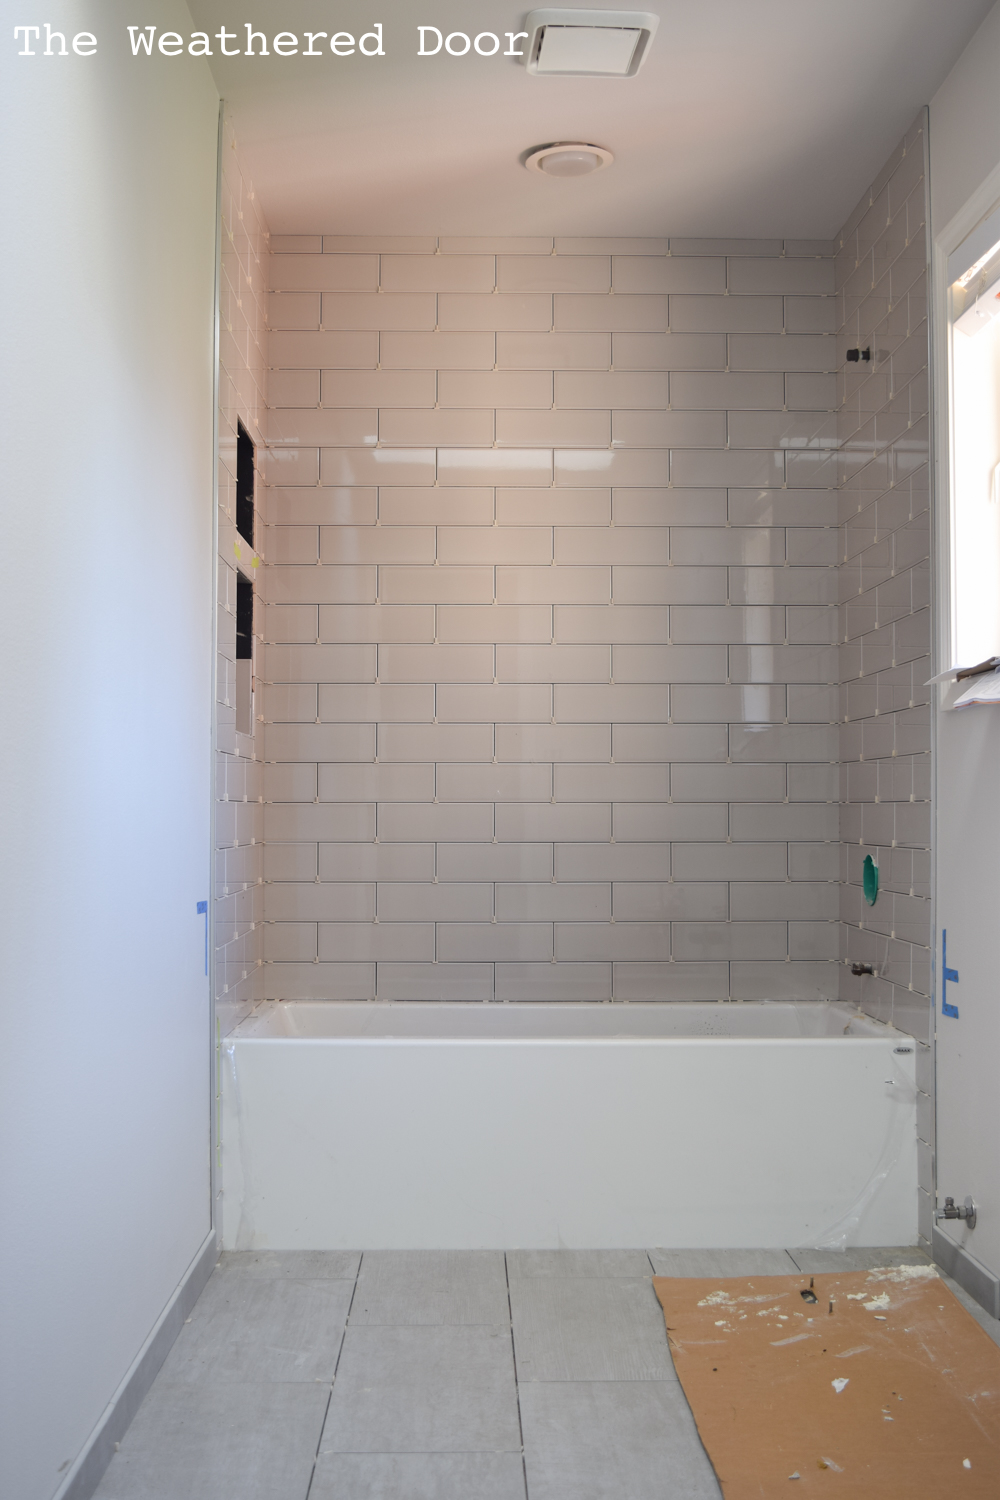
After the tile install started and there was a hault because of a squeaking tub. Install was almost complete except for the niches, 2 pieces of bullnose for the floor base and grout which were delayed because of the tub situation. Over the weekend we were able to install and level the cabinet. This had to be done so that the fabricator could come and template for the quartz vanity top.
Disclosure: this post contains affiliate links.
Painting the trim
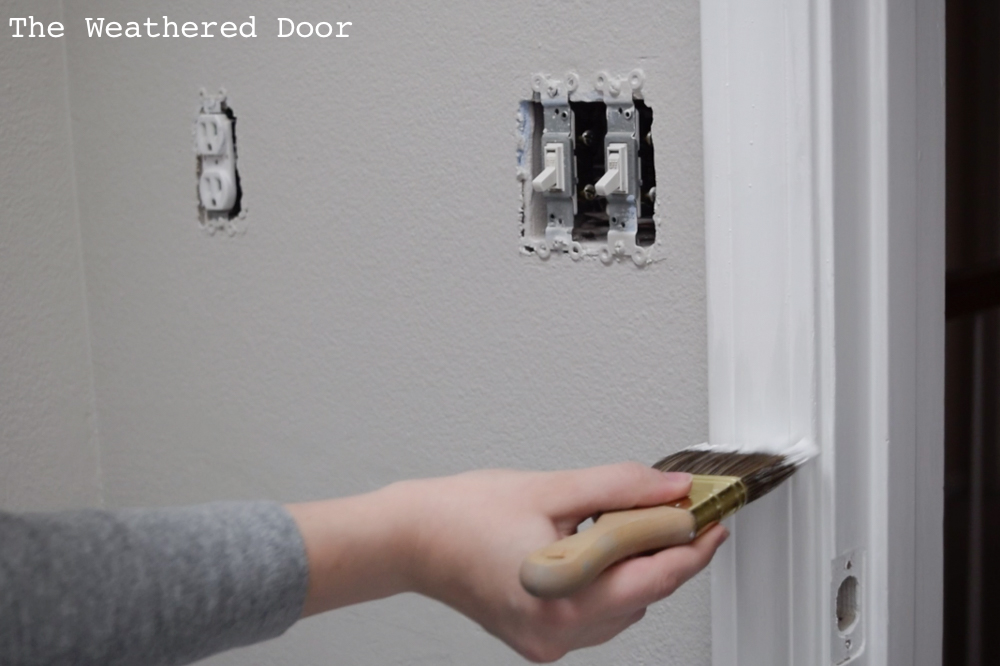
I purchased paint and painted the trim in the bathroom. It hadn’t ever been repainted so it was the original off-white that had yellowed over the years. I picked up a gallon of Benjamin Moore Advance in Satin for the trim and door. I’ve used Advance before for painting furniture and didn’t have the best experience with it. That was the high gloss finish, and I have to say, the satin finish dried faster and harder. Also the fact that trim doesn’t see as much wear and a furniture top does makes it a great product for mill work (no setting this on top of the paint). The new white color I selected looks so much more crisp! I made sure to sand with 150 grit before painting, clean with a tack cloth, and used synthetic steel wool between coats followed by a tack cloth to get all the dust particles off. I also followed the directions on the can and waited 24 hours before applying a second coat.
Installing the vanity
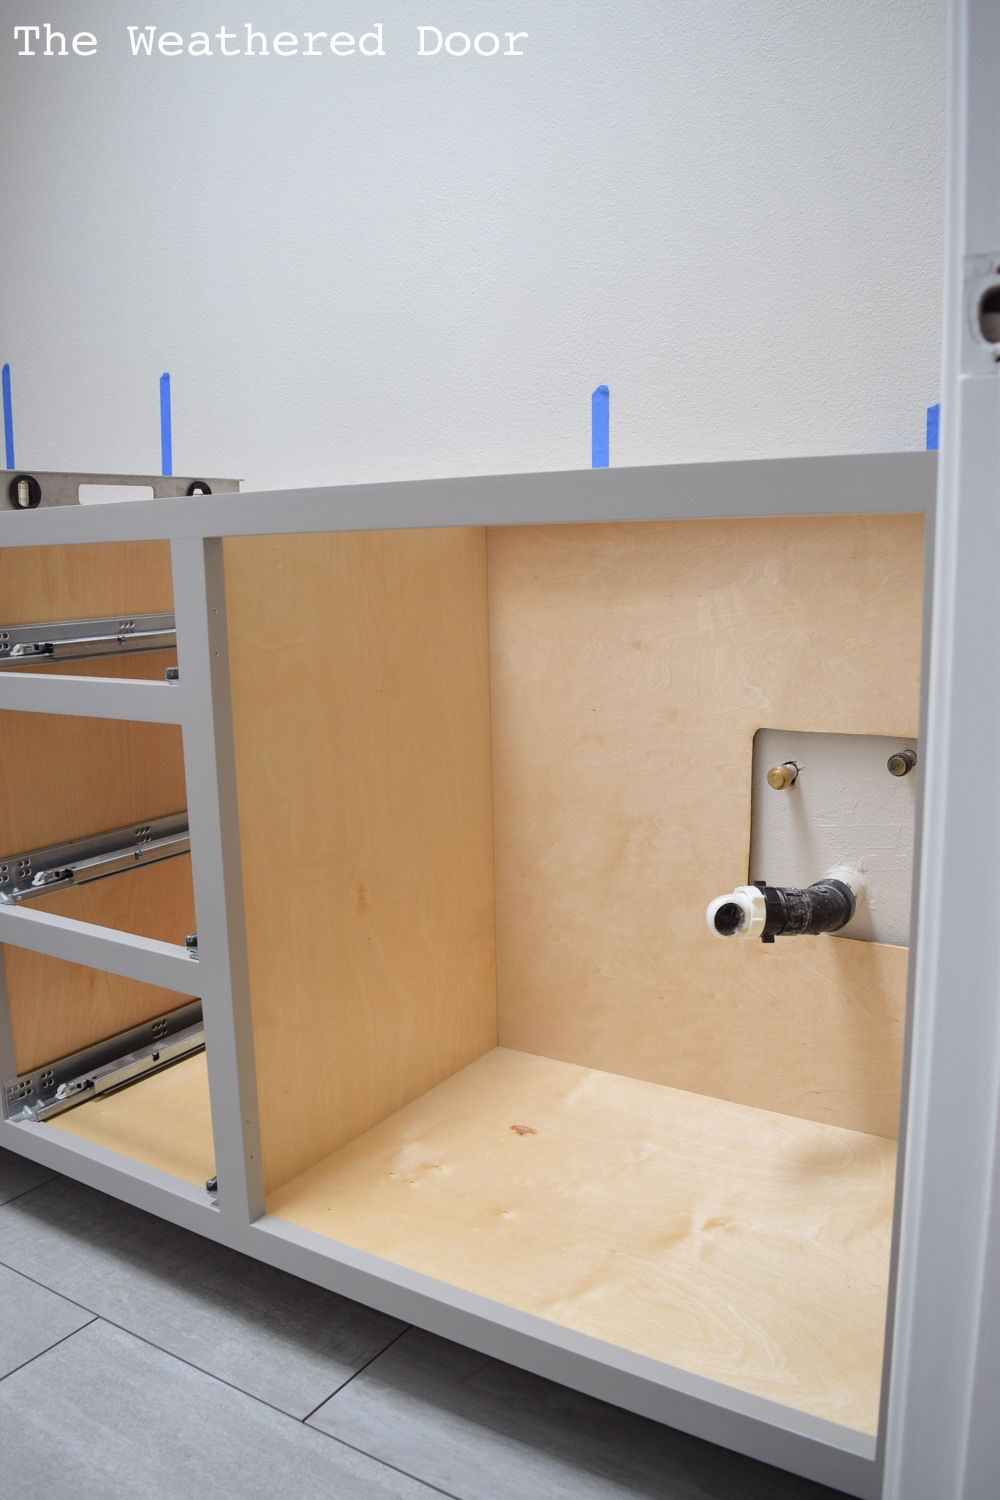
Before bringing the vanity inside (it was dropped off and stored in the garage while tiling began) we measured where the holes would need to be in the back of the cabinet for plumbing. From there we marked out the area that needed to be cut and used a jig saw to cut rounded squares. We could have just drilled out large holes exactly where the plumbing and pipes would be but we used what we had instead of buying a new attachment for the drill. Since there is a heat vent that sits under the cabinet we also cut a 1″x9″ cut-out for the air to get through. It’s cut as high up in the toe kick as possible so it can’t be seen and we don’t have to use a tacky metal vent cover. It turned out so well and you can’t see it unless you put your head on the floor and look up at the toe kick.
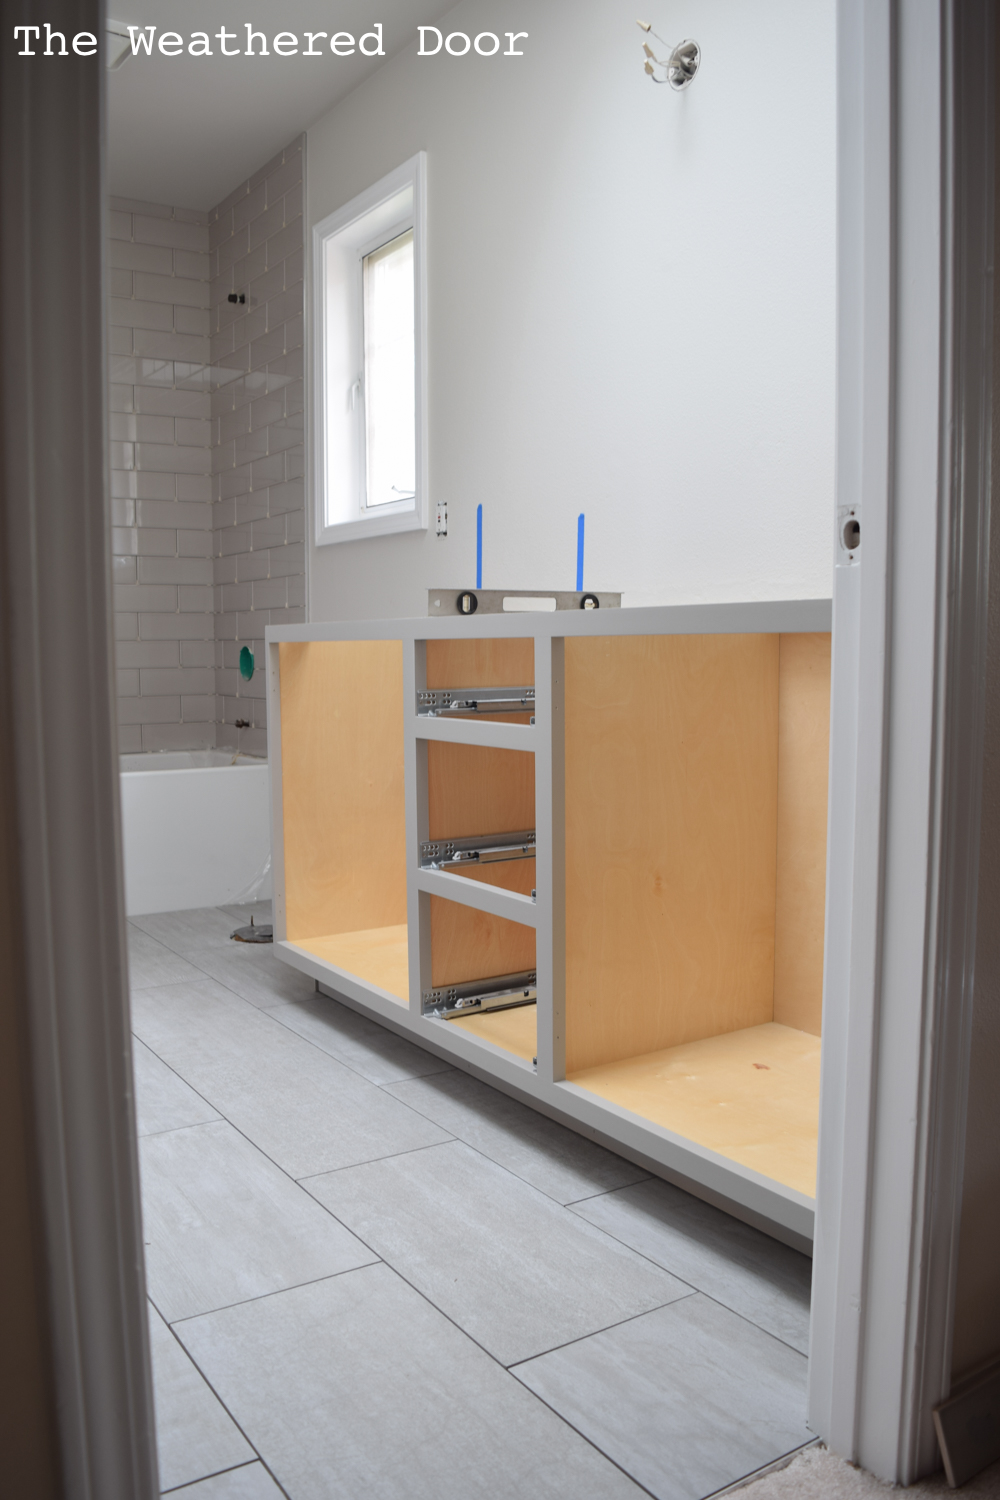
Since the tile floor was pretty much perfectly level the cabinet install went very smoothly. Only one shim was needed in the front left to get it level before it was screwed into the studs. We also took off all the doors and drawers (and labeled them) before moving and installing the cabinet. Those still have not been put back on because we wanted to wait until the grouting and everything was finished and the countertop was in.
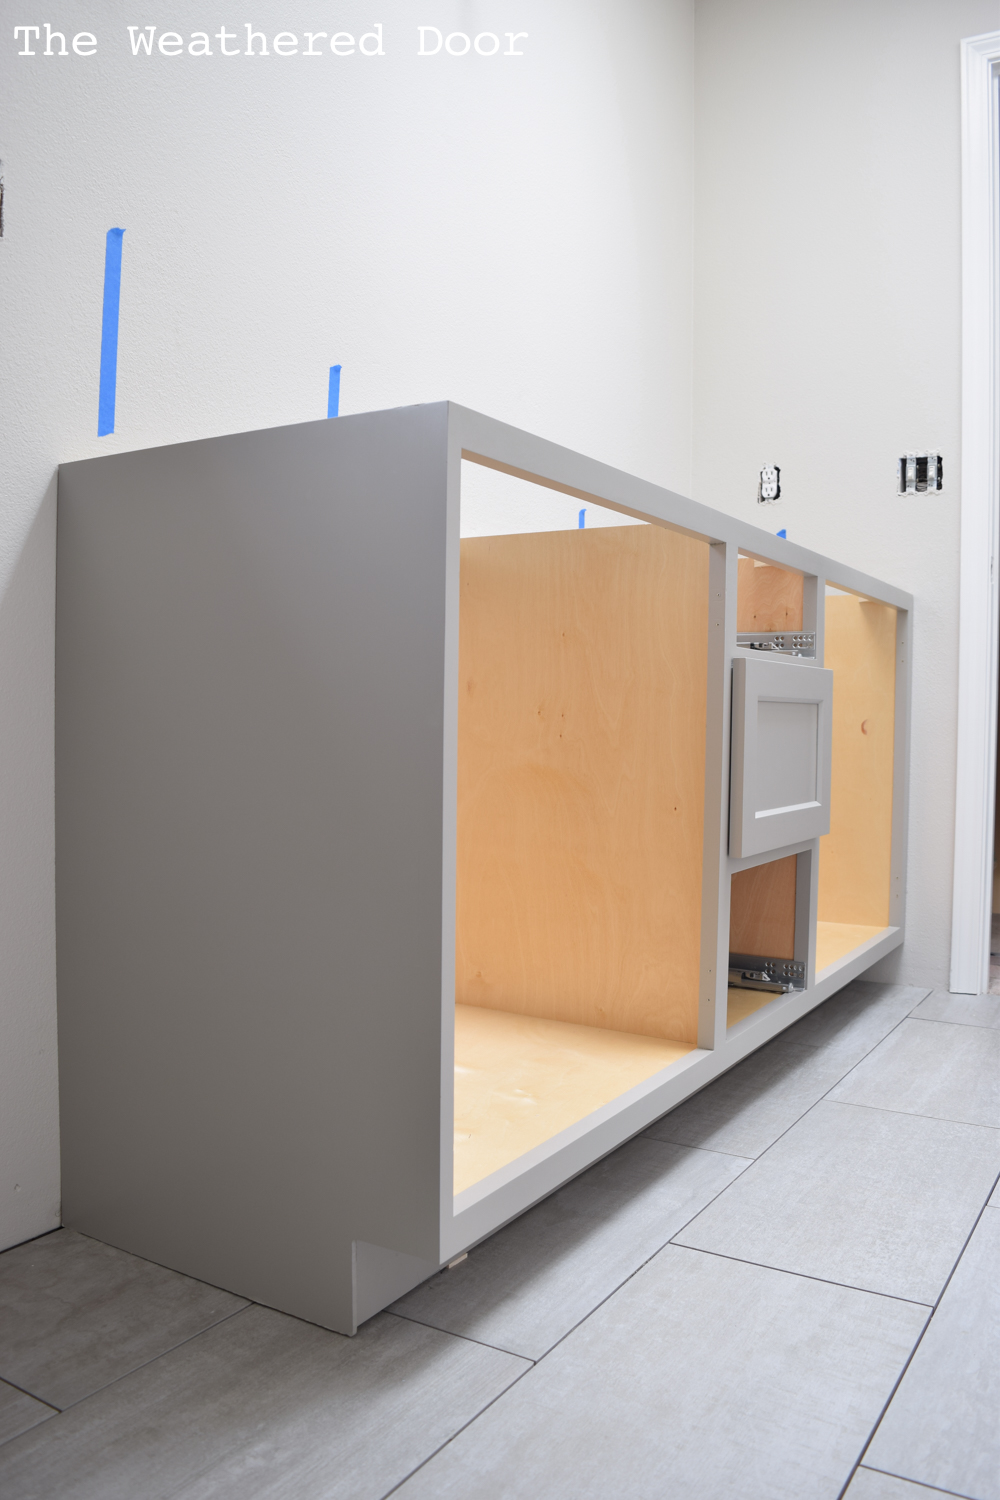
Since some things were still on hold, like wrapping up the tile install and waiting for the countertop to be installed, we worked on selecting hardware. Something transitional would work best with the rest of the fixtures and finishes in the bathroom as well as the overall style of the house. I didn’t want something too round but also didn’t want something that was too square. We found a 4″ pull from Schaub that was perfect. It has a slight arch in the handle with squared edges and the it’s ever so slightly fluted at the base of the pull.
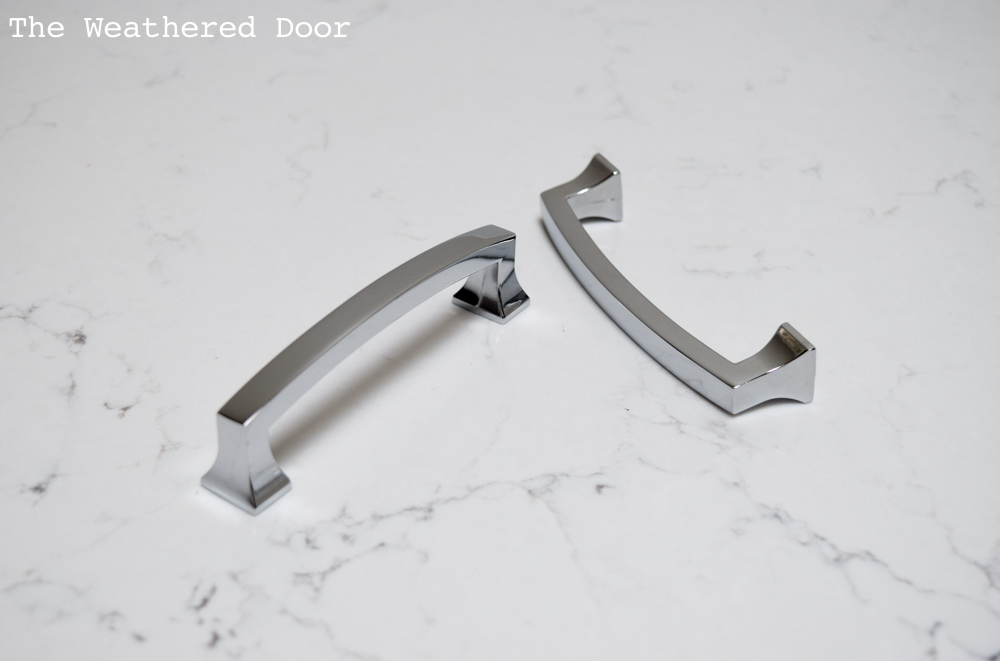
This Menlo Park pull is the perfect transitional hardware. The Menlo Park series from Schlub has 2 styles of pulls. The other was too square at the base and didn’t have the arch in the handle. We ordered it in chrome to match the rest of the plumbing fixtures in the bathroom.
More updates soon!

What is the paint color on the vanity?
I’m working on a post with all of the resources, material names and paint colors. Check back soon for that. Thanks for stopping by!