It’s been a busy week here working on demo and prep for the bathroom. If you missed the One Room Challenge week 1 post with all the before photos and info on this bathroom renovation you should start there.

Disclosure: this post contains affiliate links
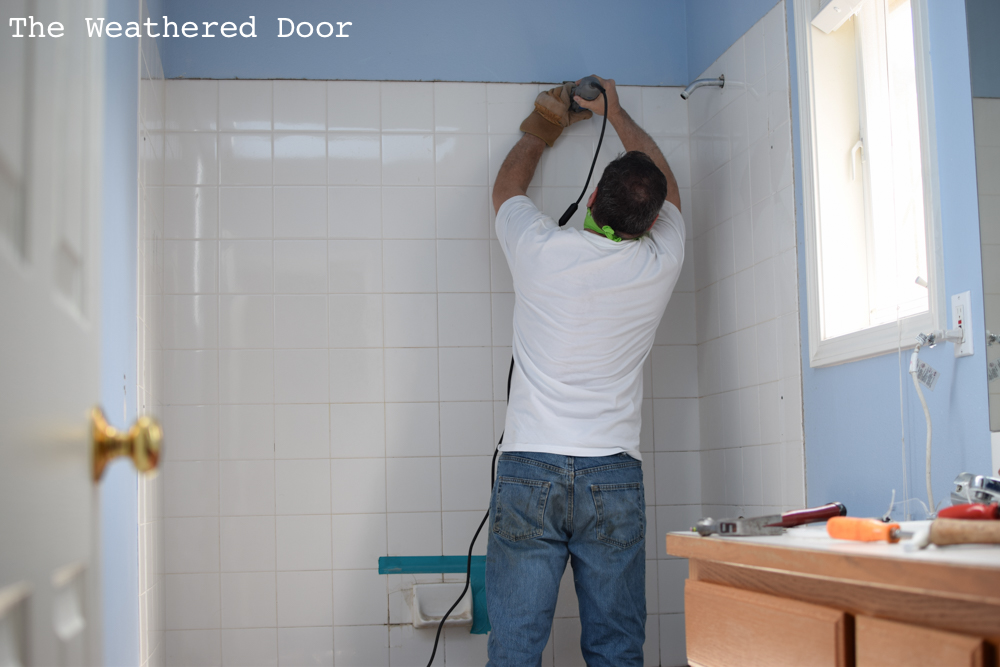
The past week has been focused on getting everything out. We first started with the tile around the tub. With the taped on soap dish and uneven tub we weren’t surprised to find that water was getting behind the tile. Plus, the tile was on drywall. The only great thing about that was it made the tear out simple. My dad used a Dremel to cut around the tile and then take it off in chunks. The good thing was just some of the insulation and drywall were wet and there was no mold.
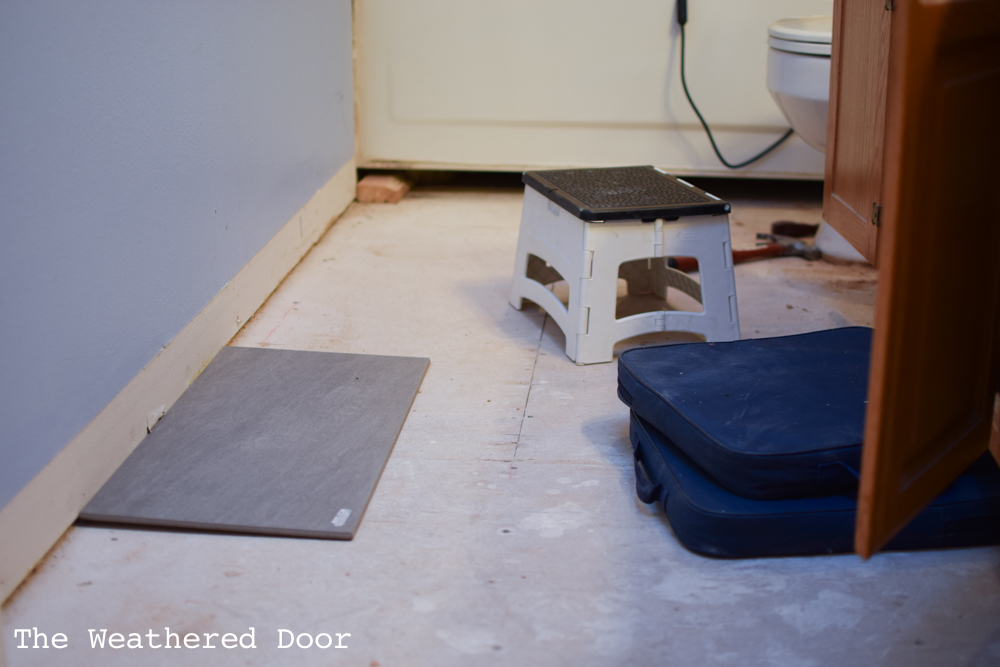
Once the tile was out we started peeling the vinyl off the floor. It was glued down but once we found a starting spot at the door it come off relatively easily. The problem was the 5/8″ particle board under it. That board had helped to build up the height so the vinyl was closer to the level of the carpet, but 1/4″ backer board and porcelain tile on top of it would bring the bathroom floor up too high. My dad ripped up the particle board last weekend. It took a few hours since it was nailed down and some of the smaller pieces had lots of nails to work around but the sub-floor underneath was in good shape.
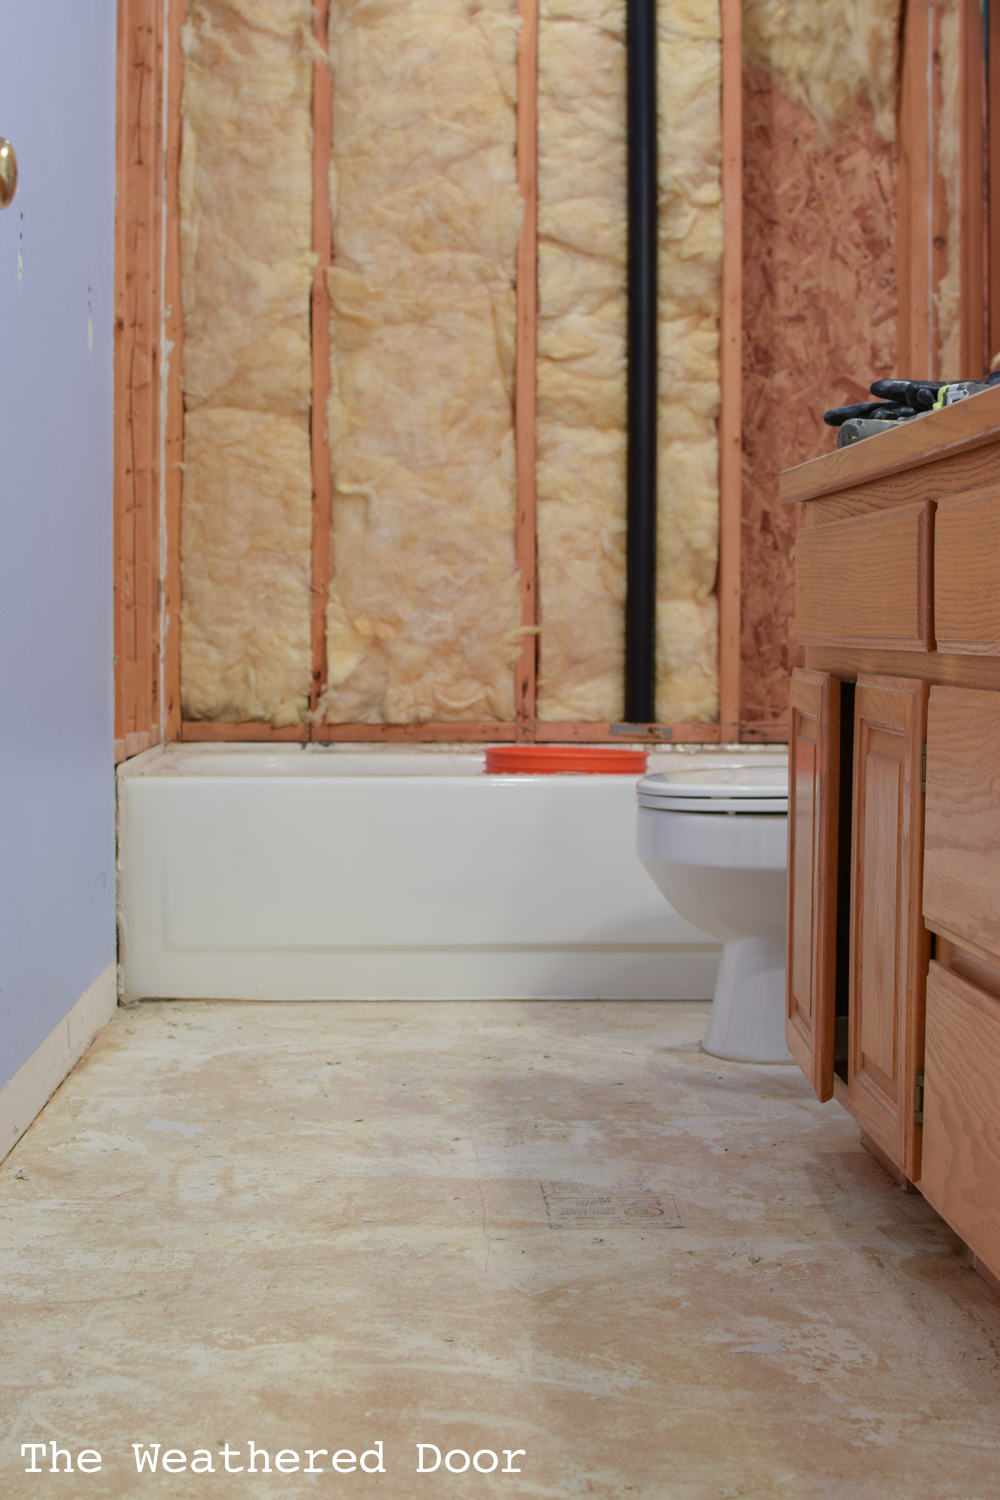
We left the bathroom this way for a few days as it still was functional with the sinks and toilet. A couple of days later the tile backsplash came off and the tub came out. Some of the bracing for the tub also had to come out in order to get the tub out since the bathroom doesn’t widen and any point and we had to twist the tub in order to get it out the door and down the stairs.
Next the plumbing was shut off for the sinks and we took off the top of the vanity just by hammering it up. The cabinet unscrewed from the wall and we were able to give it away for free on our local buy-sell Facebook group.
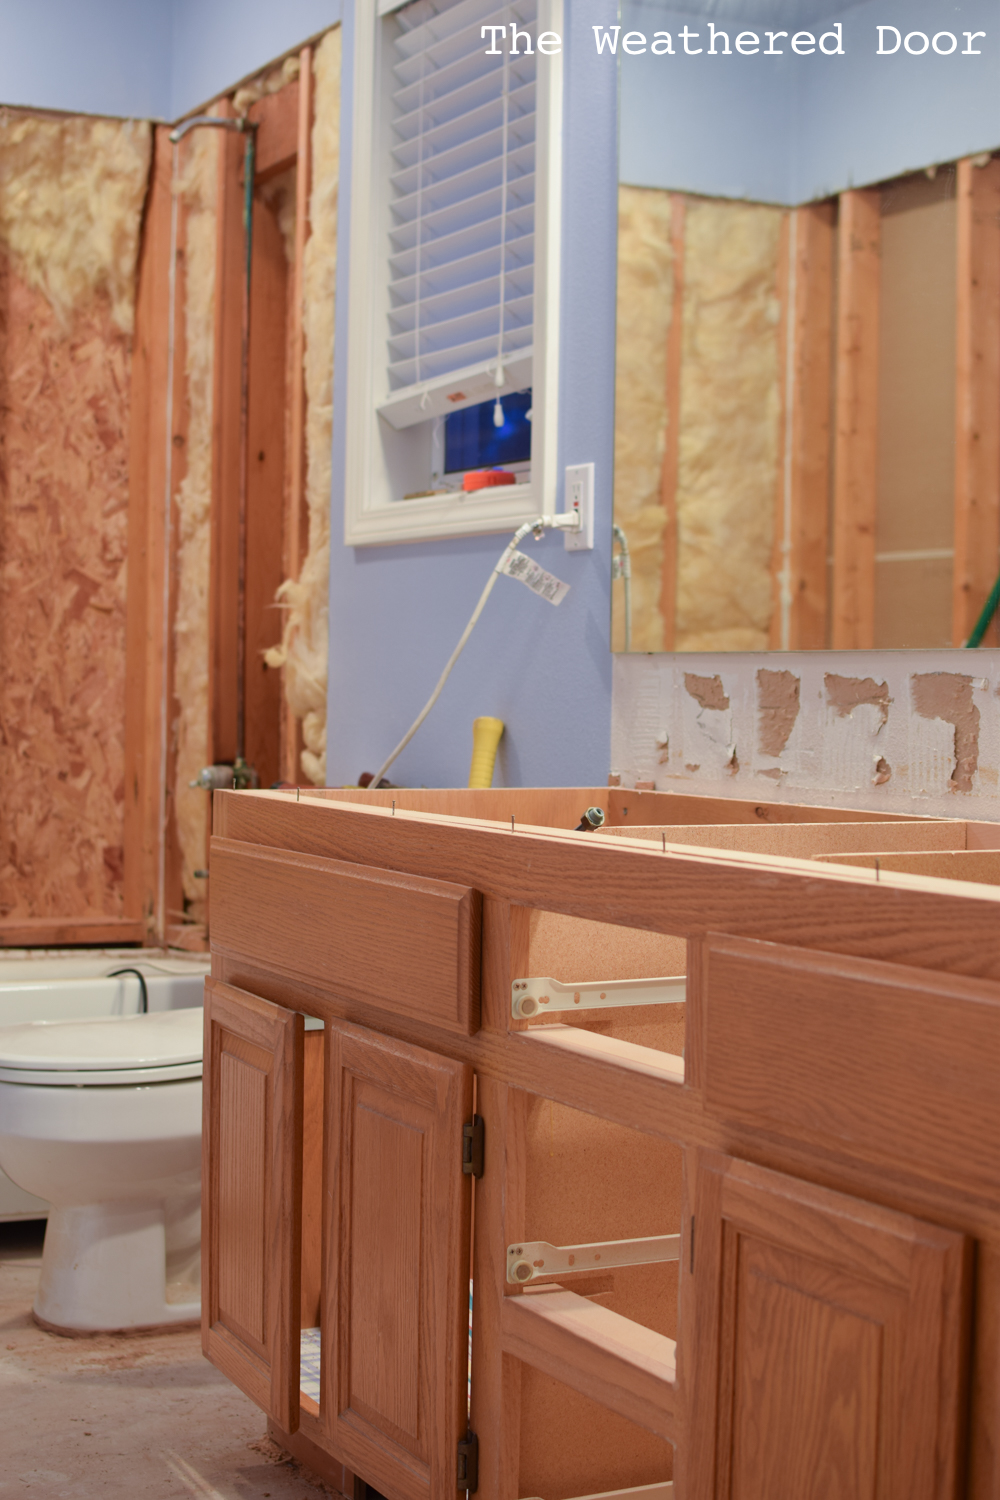
The last two things were the toilet and mirror. My parents contractor friend came to help take down the mirror. The bathroom was looking much larger with everything out of it! But there are lots of drywall patches to fix.
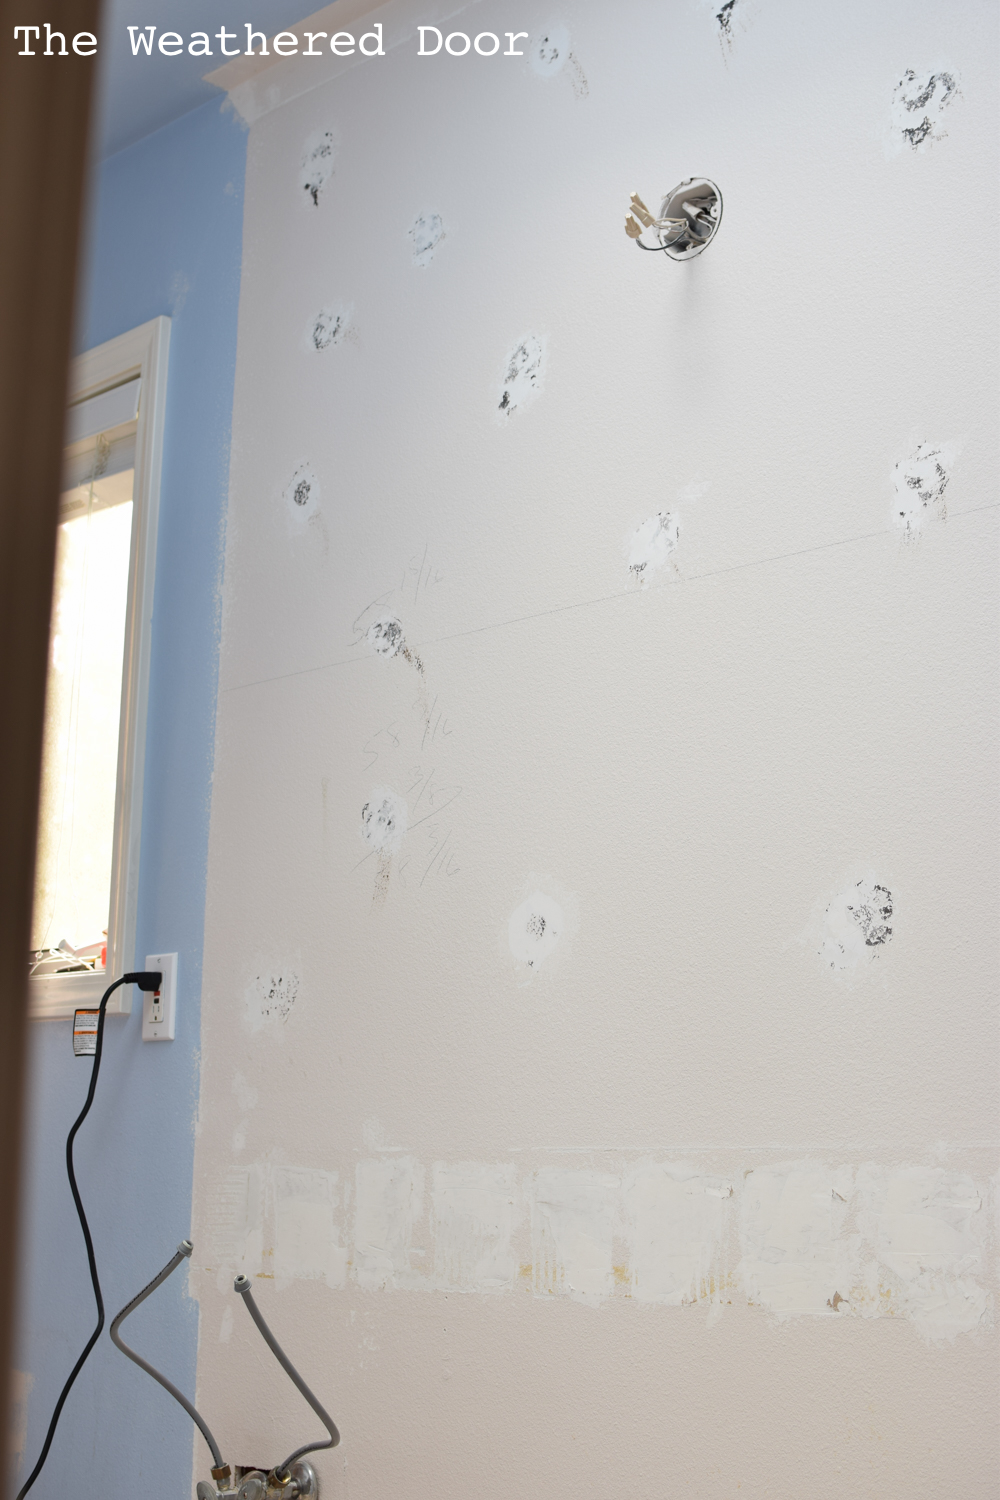
My mom and I spent a day spackling, sanding, spackling, sanding and adding texture to the wall. We used Dry Dex and a flexible putty knife to fill everything and once dry used 120 grit sandpaper to smooth it out. After wiping away the dust we used spray cans of orange peel texture to camouflage the spots and blend it will the existing drywall. We had to repeat that a few time to make sure we got everything even and enough texture for it to blend in and look like nothing was ever there. The area where the old backsplash was will be covered by the new, taller cabinet and quartz counter + 4″ splash. I did spackle and texture the top part of the backsplash damage just to be safe 🙂
If you don’t prime after using texture and spackle it will affect the sheen and sometimes color of the paint so we needed to prime. The blue paint also needed primer to be sure it didn’t affect the new color. We used an interior/exterior primer in white. It took 2 coats to really cover before we could move on to the actual paint. There was one area of odd yellow bleed through that kept happening so I brought out the big guns – my Zinsser BIN primer. I used an old paint brush to cover the stain and I also used that primer to paint the molding in the skylight in order to stop the bleed through from the wood.
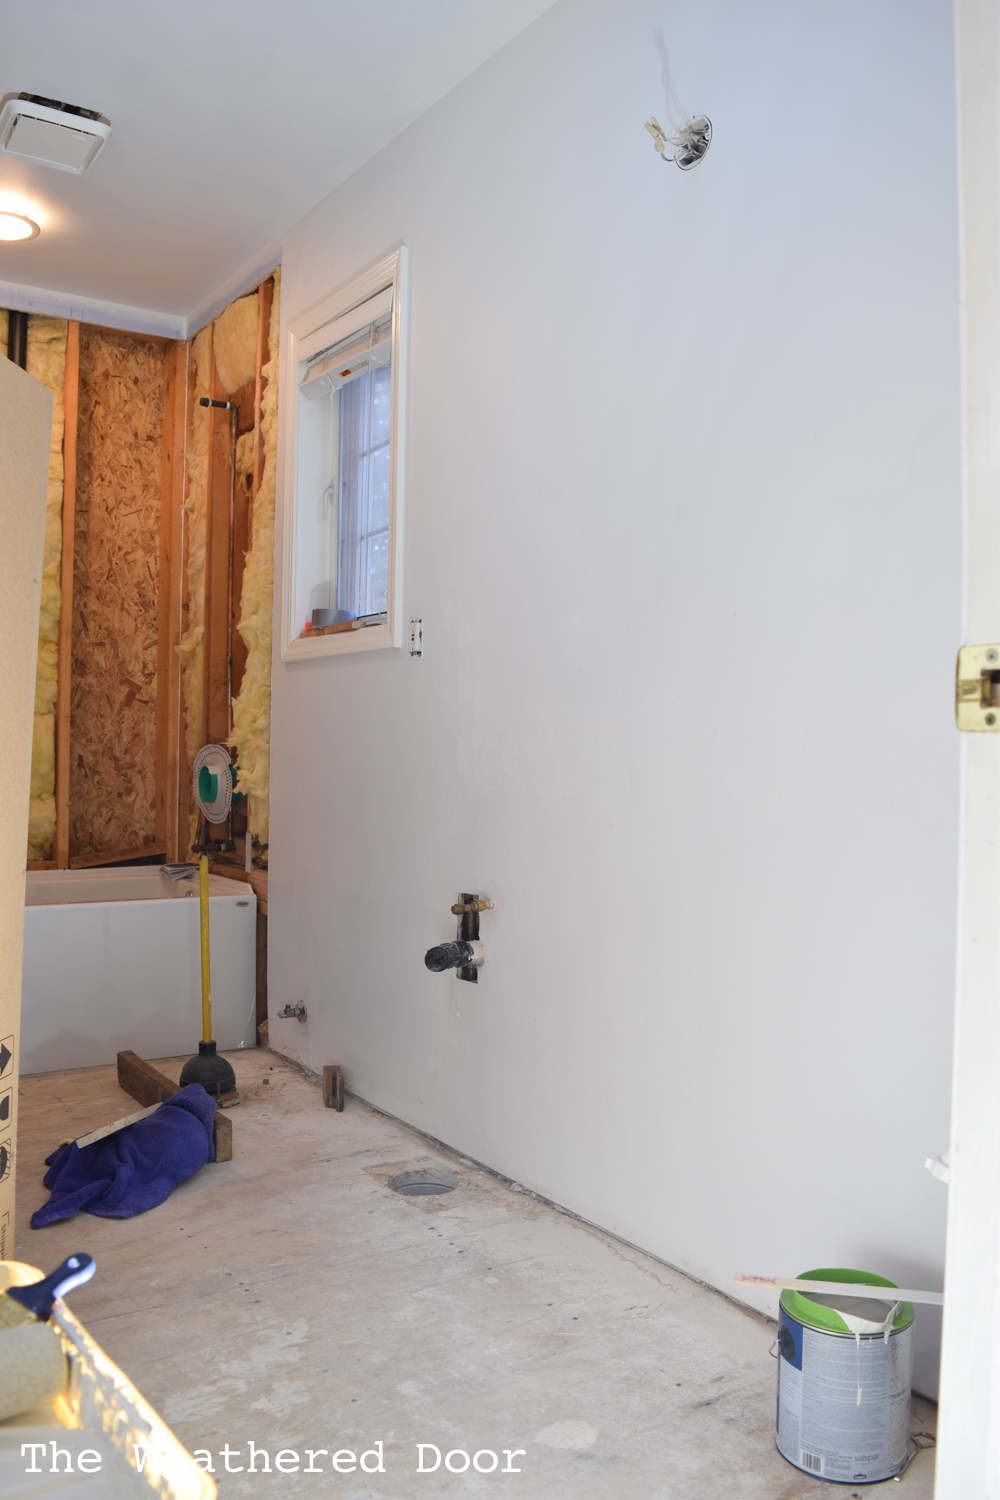
For paint we used the a light taupe/warm gray. The color is Benjamin Moore’s Balboa Mist that we had color matched in Valspar paint. This color is slowing making its way around the entire house. The undertone work well in my parents house and the color isn’t beige but also isn’t too gray (no cool undertones here). I edged and my mom rolled on 2 coats of paint color.
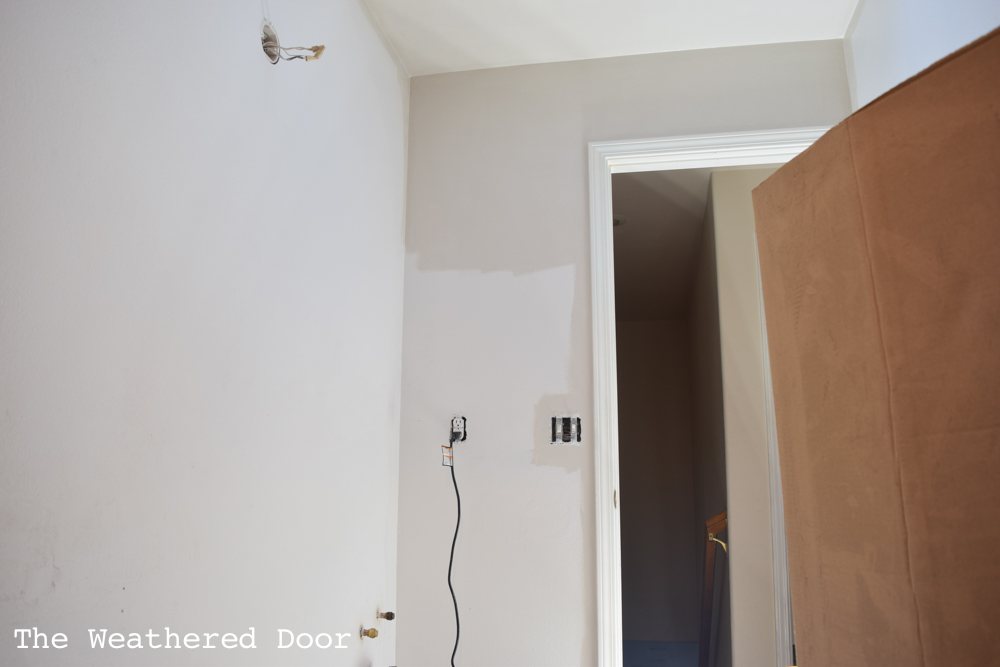
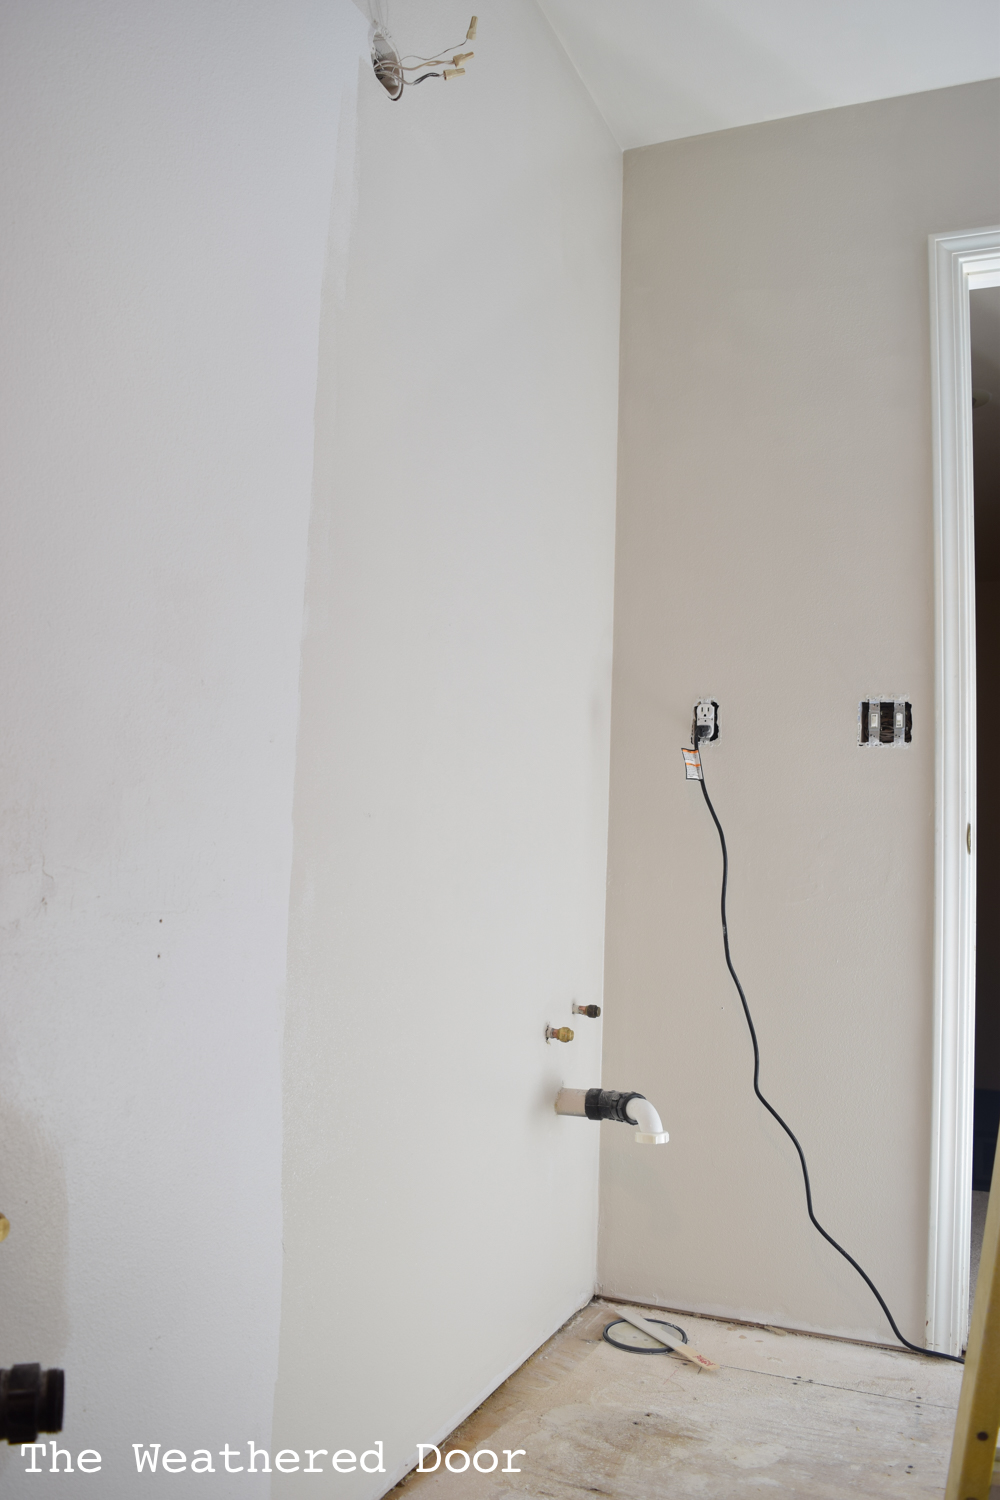
The plumber came and installed the new tub, put in new pipes, valves, and raised the shower head. My dad then added additional framing so down the line when they get shower doors there will be a stud to secure it to.
There is still so much to get done like paint the molding, select and order cabinet hardware, and get the all the little things. I’m crossing my fingers it all gets done on time! The lighting we had selected is backordered and the wood framed mirrors that were purchased ahead of time might be too wide now so we are on the hunt for new options. The tiling should start tomorrow and the new cabinet was delivered today, so things are moving along.
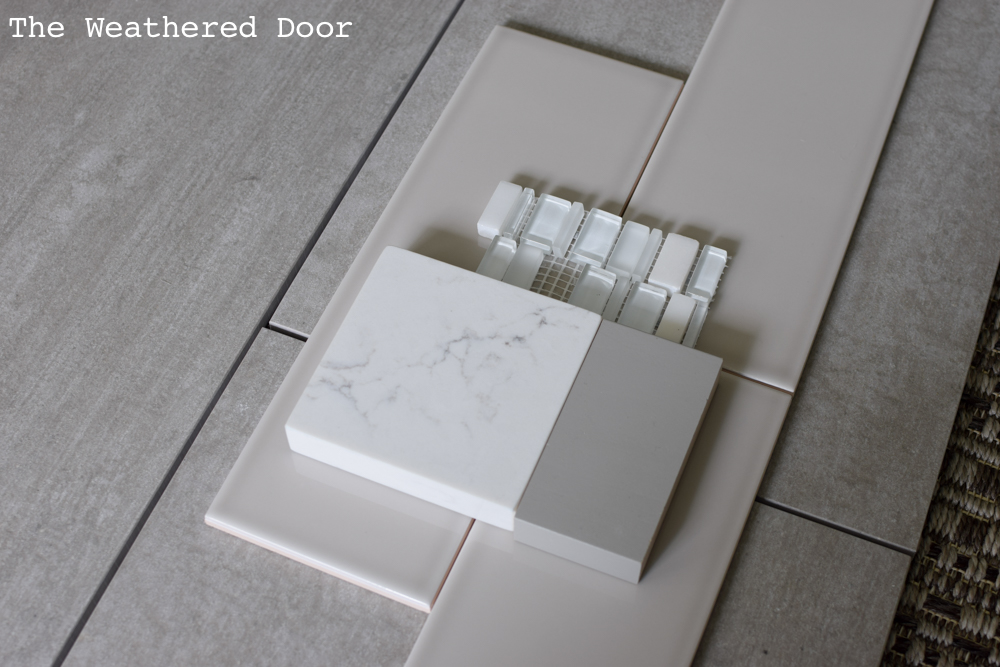
Until the next update… I’ll leave you with the material selections.
Leave a Reply