This posts details my method of painting and refinishing furniture. I previously wrote about my paint process about 3 years ago, but since then have gained more experience with different products and tools and have a slightly different process. It’s also a place to find all the recesses for those of you completing your own furniture makeovers. I am very open about my method and try to share as much detail as I think will be helpful. Please keep in mind this is my process for painting and staining furniture, but it is not the only way. It’s also not the easiest way because I believe there are certain necessary steps to ensure a quality, long-lasting finish.
[Updated January 2017] disclosure: this post contains affiliate links
Furniture
Starting with the right piece is important. Select a piece that is well-built and solid. I look for pieces that are solid wood, have dovetail joints, drawers that work well, and are structurally sound. If I want to keep the original hardware having all components that function is huge. I have to be realistic about what I can fix and what is worthwhile to fix. Large fixes cost time and money and often end up sitting for long periods while I work on easier projects. If the fixes are more than sanding and filling I move on and find something that is more worth my time and will give me a higher return on my investment. I do run a business and have to take these things into consideration. When I purchase a piece for myself I am more lenient on some of my rules and willing to invest more time since it’s something I will be keeping. Also, beware of lingering smells (smoke and mildew) as they can be nearly impossible to get out of pieces and having a piece of furniture that you have spent hours refinishing and fixing only to have to disclose to the buyer that there are still problems is unfortunate.
Many pieces are solid wood construction with a veneered surface. It’s extremely common and nothing to run away from. Veneer can be refinished or painted. Do note that refinishing veneer can be tricky if it’s thin because if you sand too far and go through the veneer there’s not much you can do to fix it.
When selecting pieces I also have to consider the style and size of pieces. I make more money selling dressers than any other piece of furniture. Specifically, longer credenza-type dresser are best since they are so versatile in their uses. More recently I have focused on modern and mid-century style furniture but for a general rule I purchase and paint pieces from the before the 70’s and look for functionality and unique details. Do some research and test out the market in your area if you are selling for profit.
Where to Buy
Where you search for and find furniture will depend on your area. I prefer to hunt online (mostly) because it’s less of a time commitment than driving to thrift stores or estate sales and just hoping I find something in my small-ish budge. Read my furniture buying guide where I go into more details about each site I use to search for furniture and some good tips, too. For tips on how to buy and attend estate sales click here.
Budget
The initial price of a piece is always a consideration for me. Ideally I don’t go over $100 or $150, but it is completely dependent on the piece and it’s condition, as well as what I can sell it for. For a 6-9 drawer credenza style dresser (like I mentioned above) that sells well I am willing to pay a little more, especially for a mid-century style that is popular in the Greater Seattle area where I am. Nightstand pieces I try to stay under $30 for, but will pay more for oversized 2 or 3 drawer nightstands, especially if there is a set. I love versatile pieces that can be used in any room for a plenitude of uses (and they sell well!) and will pay more for a piece if it will bring a higher price once finished.
Tools and Gear
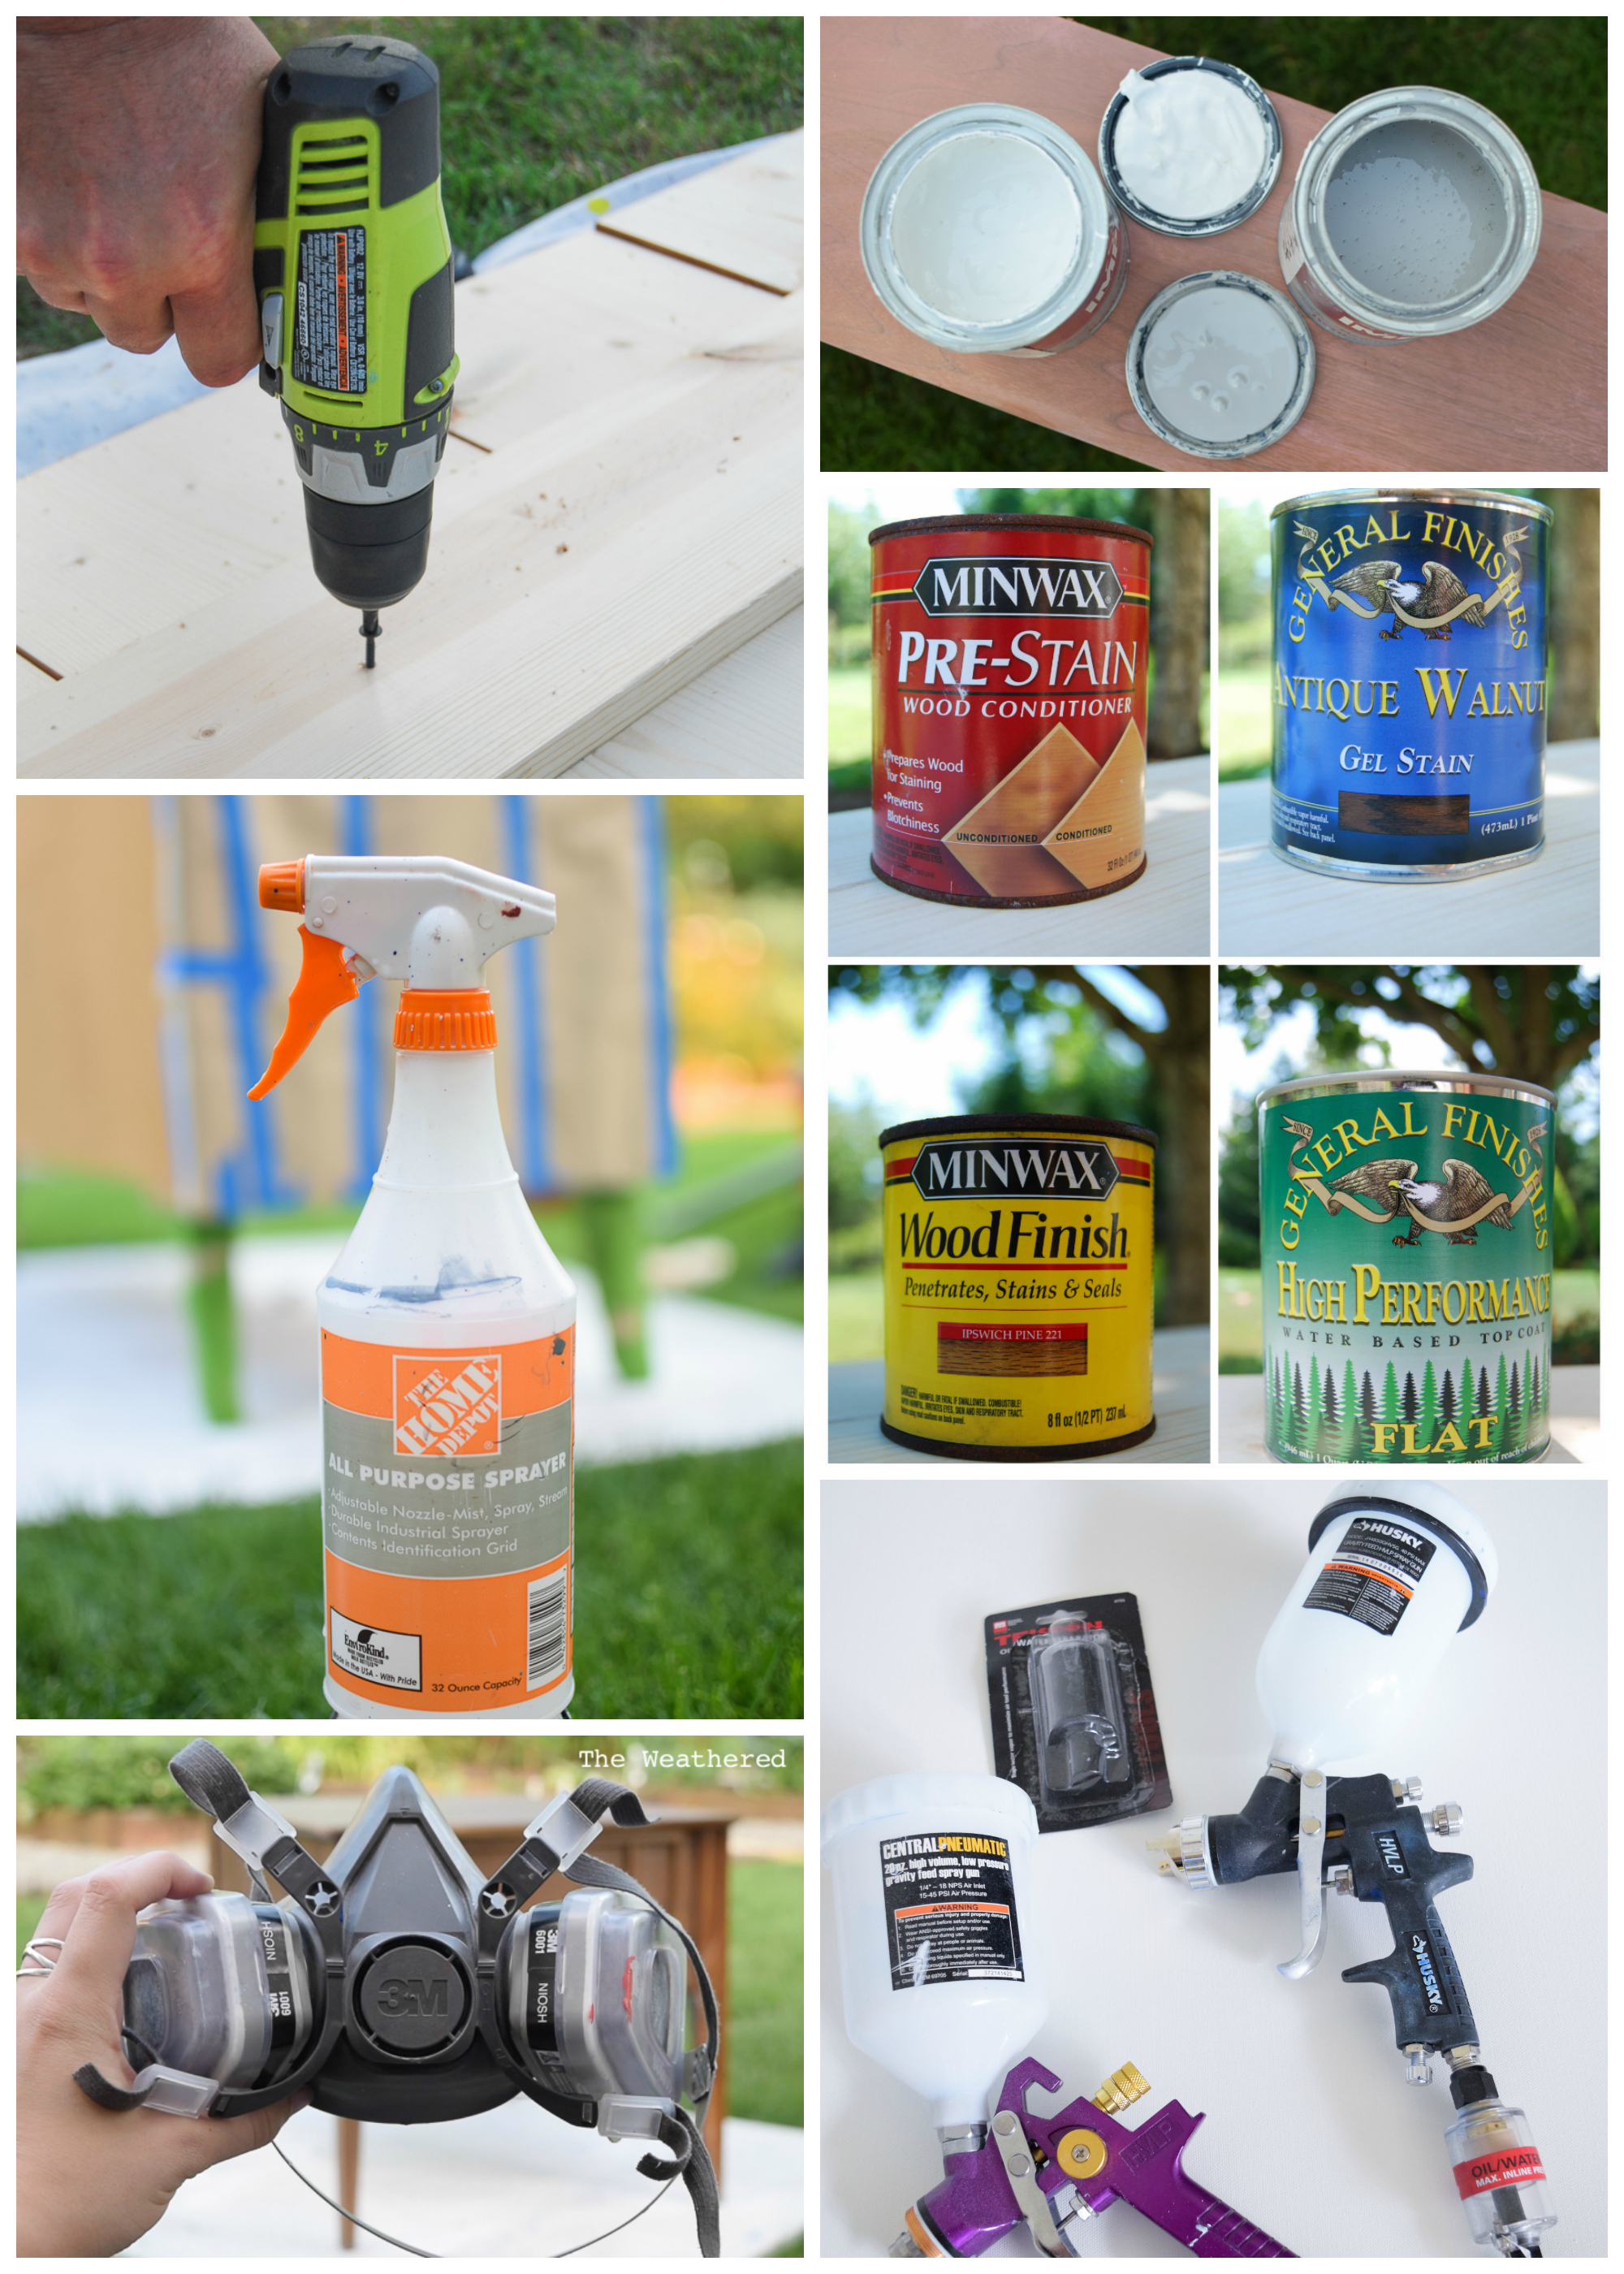
This is a quick list (with links) to some of my essentials for painting and refinishing furniture. I can’t do my work without these tools. I also have an entire post about my essential tools DIY here.
Prepping
Cleaning:
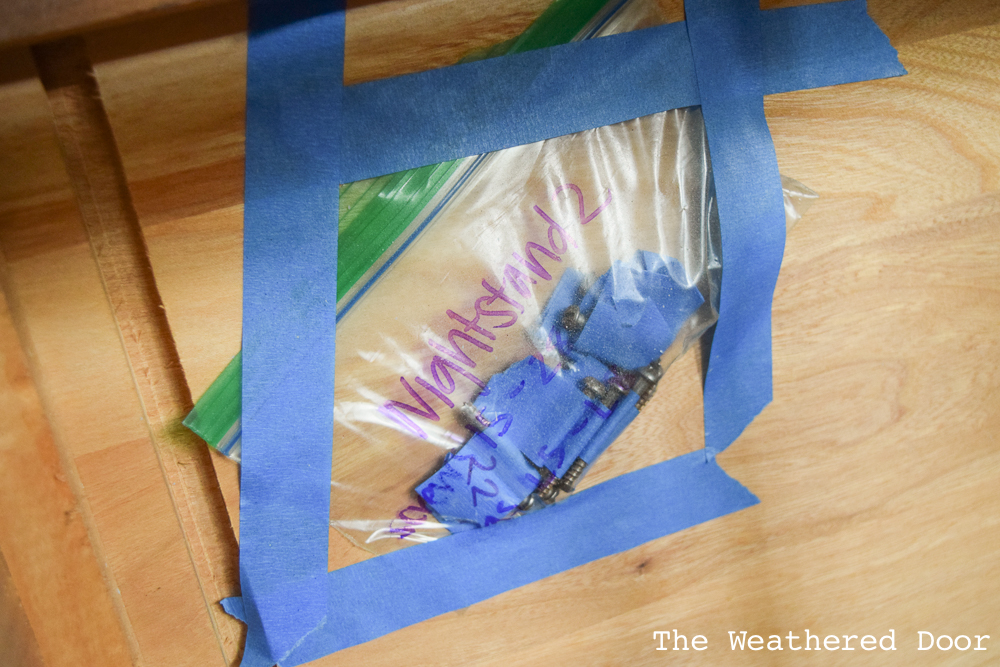
The first thing I do when prepping a piece is remove the hardware and stick the hardware and any screws/parts in a ziplock bag that I label with a sharpie. If you are going to reuse the hardware make sure to put it in a safe place so it does not get misplaced. Sometimes I tape it to the interior of the piece.
Before painting a piece it’s good to wipe it down to remove any initial grime (the outside and inside). A shopvac with a brush attachment works great for the inside of drawers and the inside of the piece to get out sawdust, dust and the other lovely things that build up over time. Often times a damp cloth or rag is fine to wipe down the piece, but other times I use a cleaner (Clorox wipes can work too) to get off the built-up grime that can be on a used piece of furniture. A cleaner I sometimes use is TSP substitute. I mix it a small amount of the concentrate with warm water and use it to wipe down the finishes portions of a piece. This product is also great for preparing a previously painted piece for a new coat of paint.
Stripping:
Since I paint many of my pieces stripping isn’t a necessary step unless I need to remove a chipping finish or there is previous paint on the surface. I do strip when I am staining a piece and I like to use Citristrip to do so. I have a detailed post on stripping furniture here with a detailed video tutorial.
Filling and Fixing:
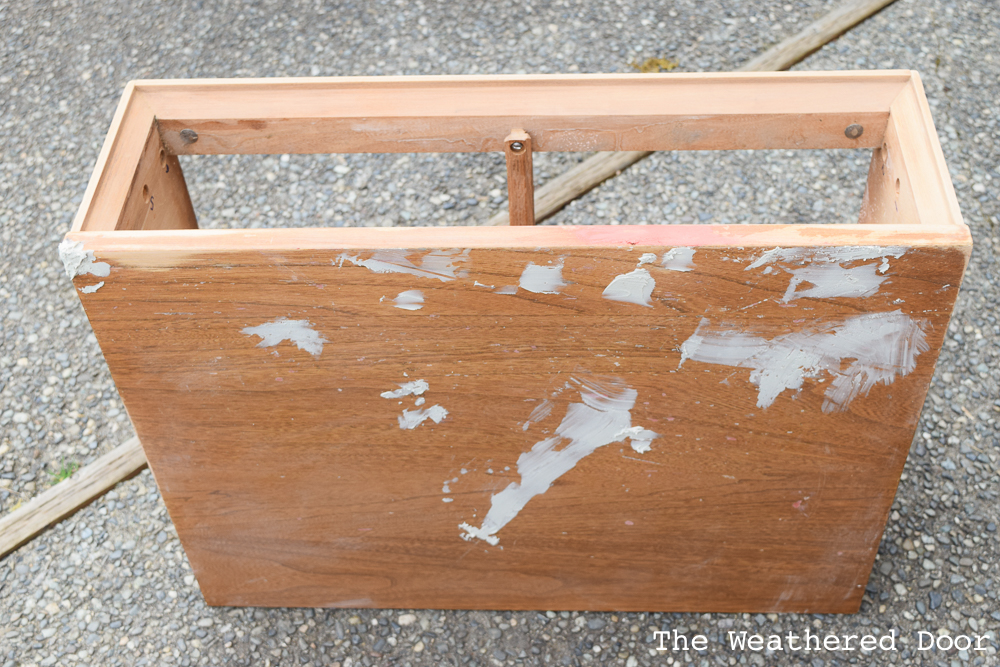
If anything needs to be fixed with wood glue or nails this is the time to do it. Sometimes drawer tracks need to be glued back in place or some peeling veneer may need to be glued and clamped down. I make sure to look over a piece and fill any spots that have deeper knicks, scratches or missing veneer. If I am adding new hardware to a piece I fill the holes left by the previous hardware. The best product for this is All-Purpose Bondo. It’s great for larger fills and it truly hardens and doesn’t contract as it dries like other wood fillers. With Bondo you mix in a cream hardener so it’s a 2 step process, but worth it for the results. When covering the old hardware holes I fill two (sometimes three times) with filler, letting it dry and sanding in between. For the final fill or for smaller dings, scratches, and gouges I use Bondo glazing putty. This picture below shows a piece where I patched and filled with All-purpose Bondo.
Sanding:
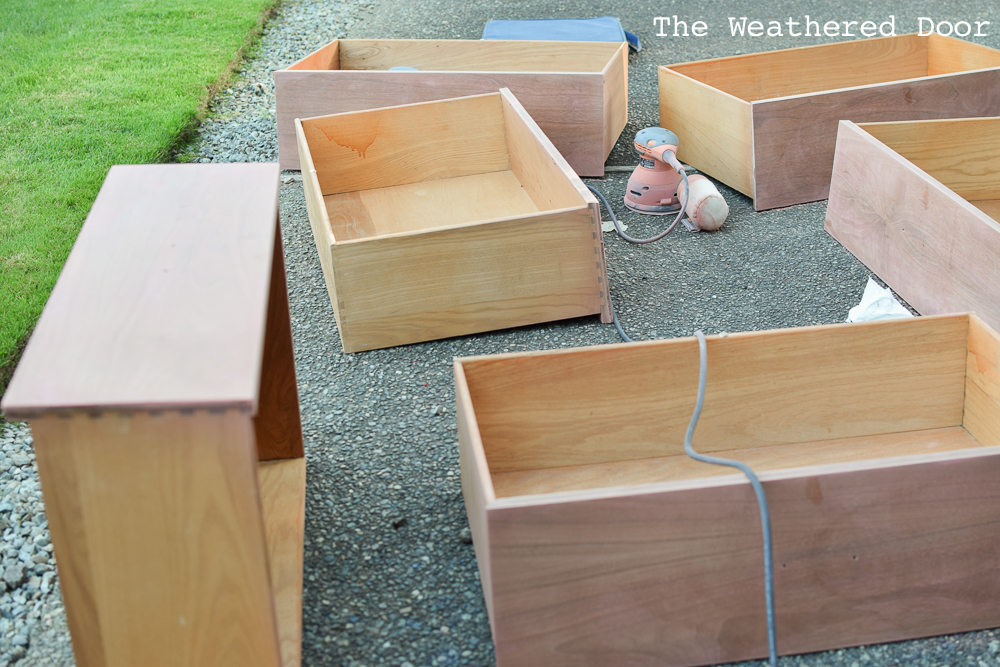
I often get questions on how much to sand. There is no perfect answer to that. It depends on the condition of the piece and what you plan on doing – staining or painting. Pieces that are in pretty good condition (without a peeling finish or very little scratches and dings) can just be sanded by hand. The surface just gets lightly scuffed up and helps take the sheen off of the piece. It is best and easiest to use a sanding block when hand sanding. For pieces that have more wear, an electric sander is the way to go. It is faster and will help get out some scratches and even out the finish. Be careful if a piece is veneer though, an electric sander can go straight through veneer if you aren’t careful!
Final Prep:
After a piece is sanded it needs to be wiped down again to remove any dust left over from sanding. I vacuum with a brush attachment and then wipe with a damp cloth or paper towel. Keeping a spray bottle handy that is filled with water is a must-have for me. I spray a cloth down to wipe off a surface before painting so I don’t have to run inside to get a damp cloth and then back out. It’s kept in a convenient spot on my tool cart.
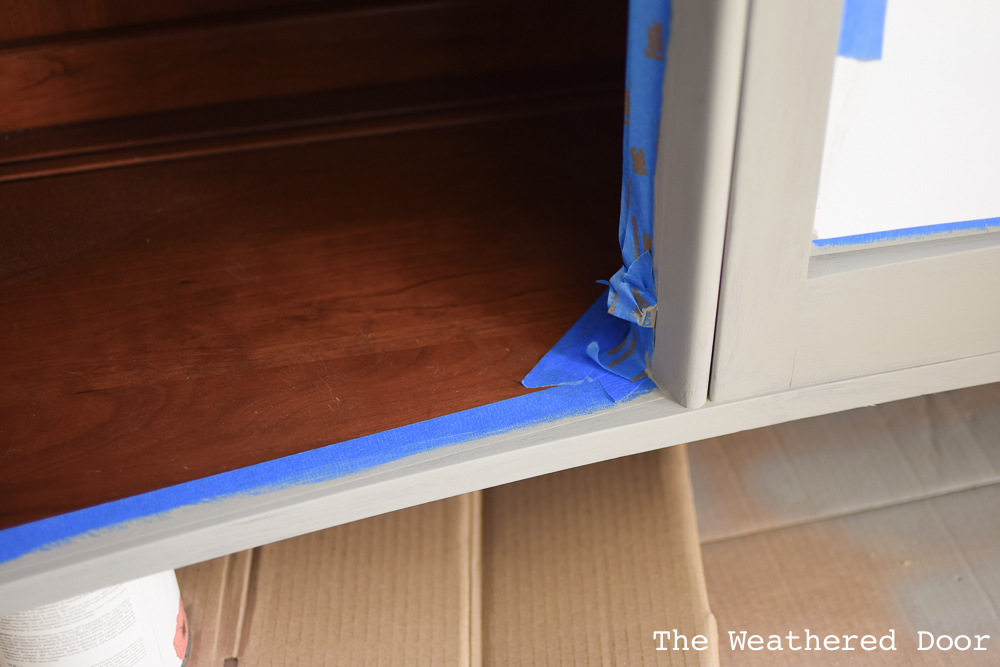
An extra step that helps give a professional look is taping off the sides of drawers and tape off a clean line inside where the drawers fit in. It’s not necessary but who selling pieces it’s an important step to take. In the photo above I was leaving the interior the cabinet wood and painting the exterior. Using some painters tape I taped off a straight line for the paint to end that kept the piece looking professional when the doors are opened.
Priming
I use Zinsser primers and I prefer to spray on primer for a smooth finish. The two primers I use are Zinsser Cover Stain (oil-based) and Zinsser BIN (shellac-based). Both block stain, smells, and tannin bleed through and can be purchased in paint can or spray can. These primers act as bond coats to provide a base for the paint to adhere to and create a long-lasting finish. If you are painting with color you can get your primer tinted at your local hardware store which can help with coverage.
More recently I have sprayed Zinsser BIN using a critter spray gun and my 25 gallon air compressor. It can be sprayed un-thinned and the critter gun is simple to clean which is a plus. If you don’t have the space or volume of have a spraying setup, a foam brush or high quality roller work for applying primer. No matter which method I use to apply primer I always sand the primer before applying paint. A fine sanding sponge or400 grit sandpaper work best.
Painting Over Laminate
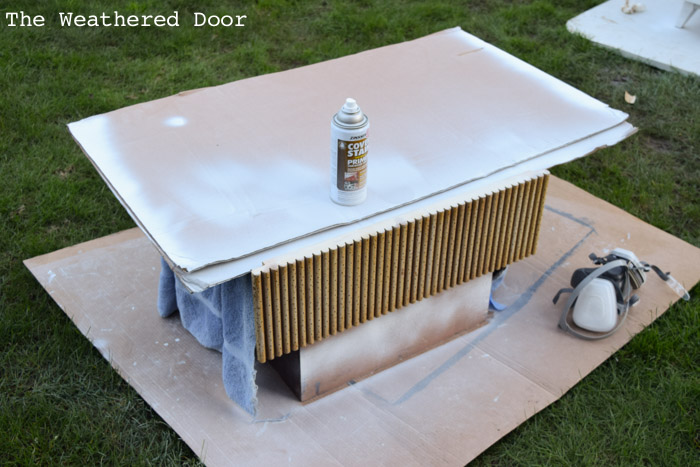
Some people think you can’t paint over laminate, but you can! I wrote about painting over laminate and why a laminate top on a furniture can be a positive. This video tutorial shares how to prep and paint over laminate.
Painting
I paint pieces as a way to update and give the piece a more contemporary look. Another reason is paint has the ability to cover imperfections and wear/problems (once properly prepped) and create new purpose for an older, used piece. I love the idea of reusing and creating something new from an older item that has been “worn out”.
Over the past 4.5 years I’ve used many types of paints. I have experience using milk paint, latex paint, acrylic paint, chalk paint, mineral paint, BM Advance (read why I don’t use it on furniture here), oil-based enamels, and lacquer. My favorite water-based paint is probably General Finishes milk paint (it’s acrylic). I find it easy to use and it’s super durable when paired with GF’s topcoat. More recently I have been using oil-based paints (which you can read about here) and have sprayed lacquer a few times. I love those as well but they aren’t as easy to work with as a water-based paint. If you are just starting out painting furniture I highly recommend General Finishes products. They are high quality products that are very user-friendly.
When I first began painting furniture I used a 2″ angle brush but after a few years I switched to spraying furniture with a HVLP spray gun. I detail how I began spraying furniture, my set-up, and which tools did and did not work here. I also purchased a used 25 gallon air compressor to be able to have enough CFM (power) to spray the types of paint I want to use.
Milk Paint:
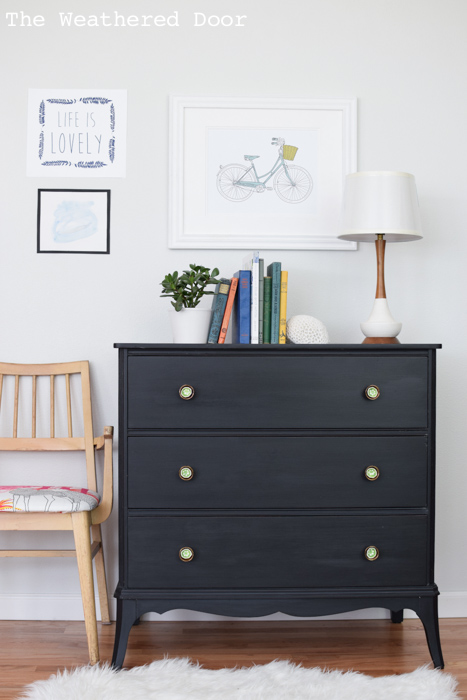
I love the finishes that can be achieved with milk paint. A few years ago I painted most my pieces with milk paint. I still use it occasionally and truly love the look of the paint and that it’s all natural and can easily be used indoors. This paint comes in powder form so you simply add water and mix it up. It can have a very chipping appearance when used over a previously finished surface or you can create a clean look by prepping well and adding the bonding agent (my personal preference). I have a very detailed post on milk paint where I give all the nitty-gritty details on how to successfully use the paint. You can read it here. My favorite brand of milk paint is The Old Fashioned Milk Paint Co (OFMP). I really love their colors, specifically driftwood and pitch black. The photos below shows a piece I painted in pitch black using the bonding agent.
Water-Based Paints:
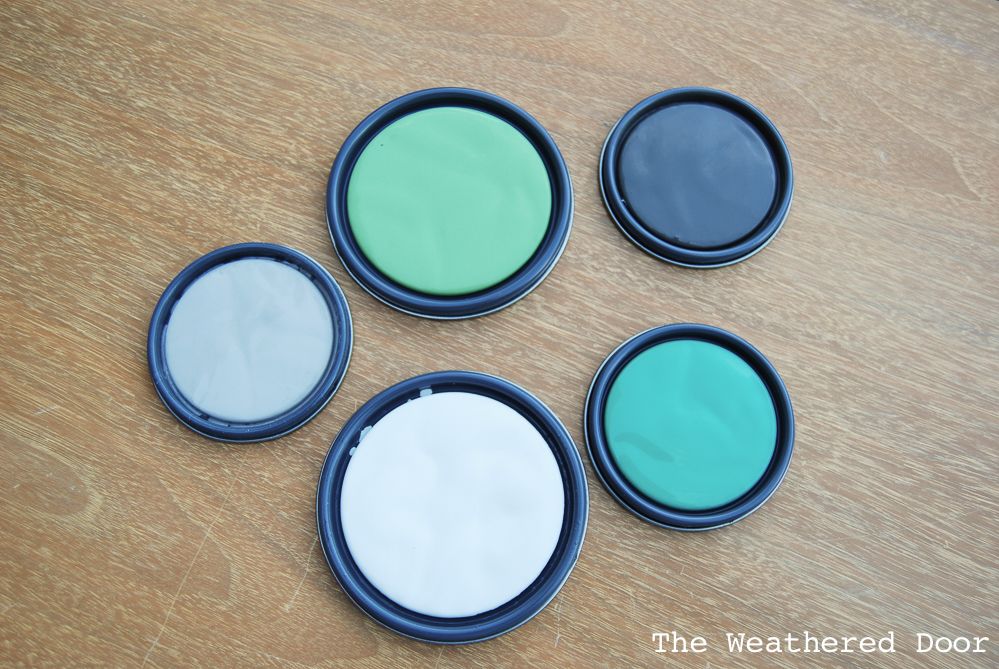
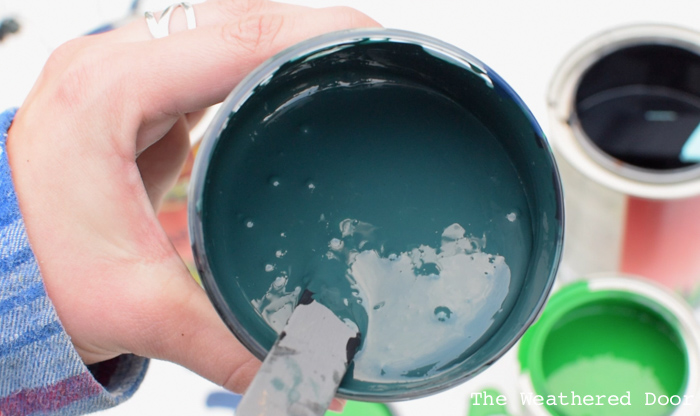
As I mentioned before I prefer using General Finishes Milk Paint when it comes to water-based finishes. It’s called a milk paint but it is not a true milk paint – it is an acrylic paint. This product is great for furniture but a topcoat is recommended by the manufacturer. Whether I use GF paints or another water-based finish, like Sherwin Williams Pro Classic, I find a topcoat is a must. Regardless of what the claims are not finishing with a topcoat can result in a tacky finish that never fully cures and marks easily. I talk about sealing in a section below (skip forward if you want to read that). Right now I spray my finishes, but a 2″ angle brush is what I would use if I were not spraying. I also tend to custom mix paint I have on hand (only those that are the same type/line of paint) to create a new color while also using up paint from previous projects. I custom mixed this deep teal using General Finishes paints.
Oil-Based Paints:
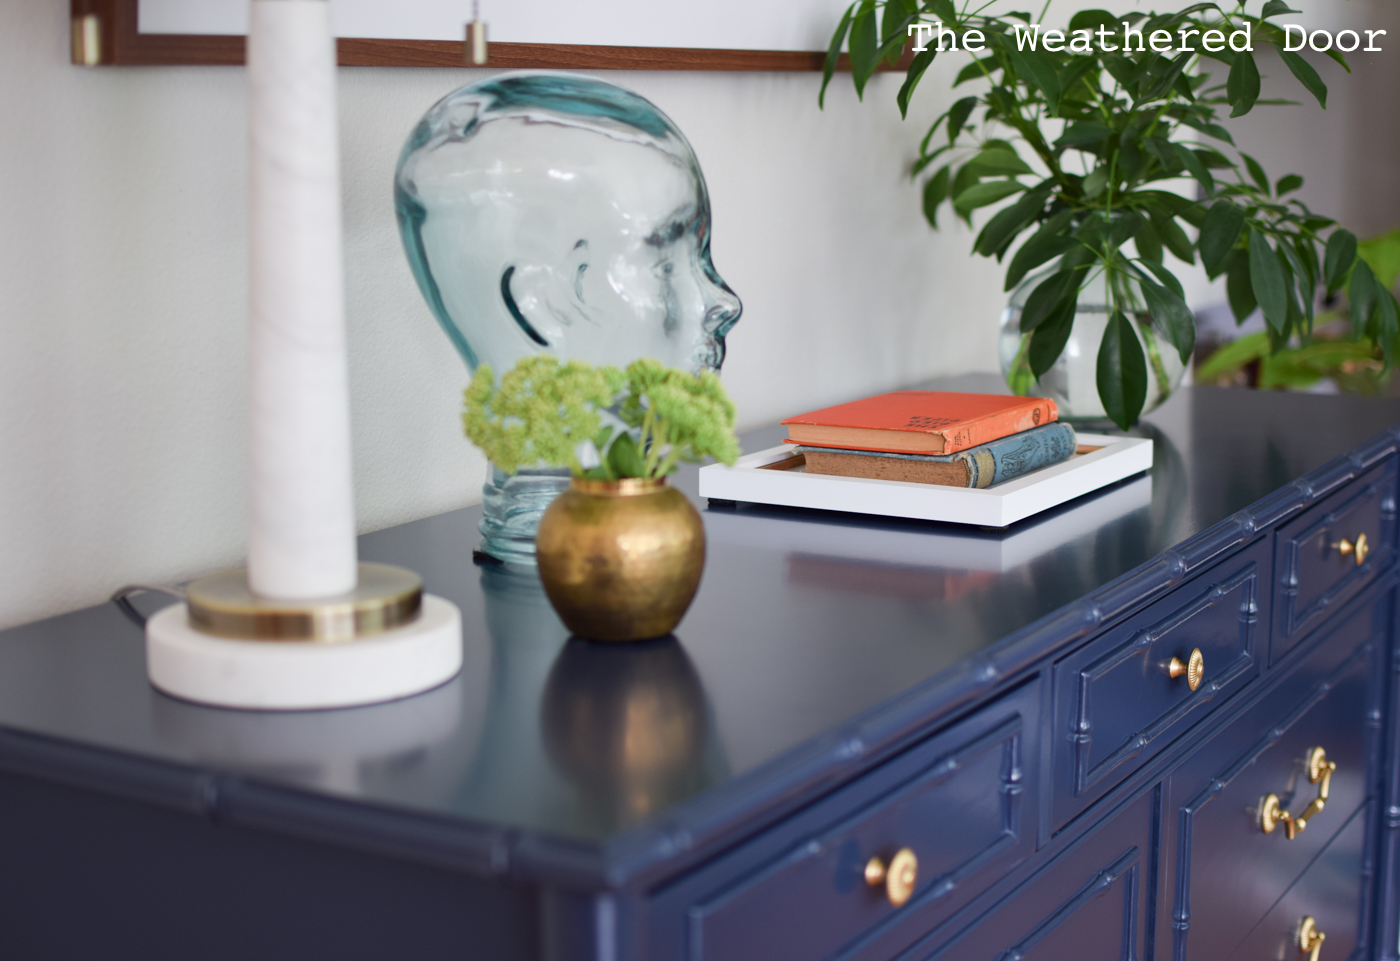
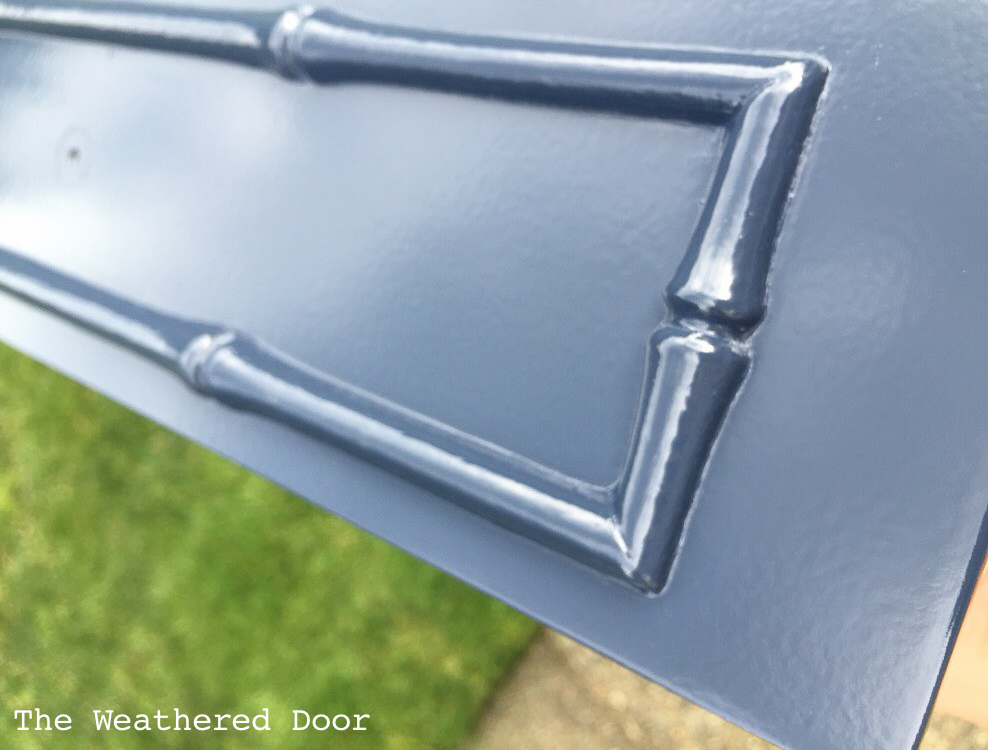
I have less experience with oil-based paints since I began using them more recently. I have painted some furniture pieces with oil products and they turned out quite well. The two pieces are this Navy Bamboo Dresser and a Grey Mid Century Credenza. The product I used is Benjamin Moore’s Satin Impervo Oil Enamel. For more information on Satin Impervo paint please read this detailed post as it is too long to reiterate here.
Pre-Catalyzed Lacquer:
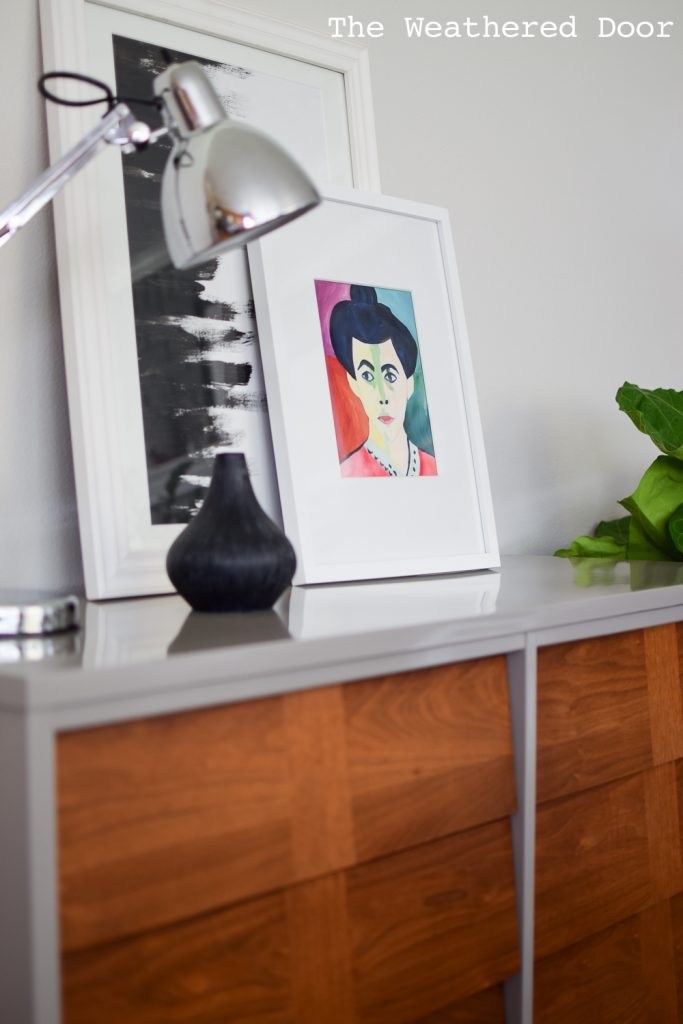
I have yet to write a specific post about my experience spraying lacquer. I did paint my headboard in a high gloss lacquer and also this Mid Century Dresser. Lacquer is highly combustible and you do not want to breathe it in (always wear your respirator and change the filters & cartridges as directed!). I only spray outside in nice weather so ventilation is not an issue. Lacquer does dry extremely quickly which is good and bad. It means you can re-coat and finish a piece in one spray session, but the fast dry time (it dries in minutes) can create flashing problems. To explain that technical term, you get an uneven sheen since it is hard to maintain a wet edge and prevent overspray from getting onto the already dry portions. Luckily for me, this wasn’t big problem with the 2 pieces I painted. I got a nice, high gloss finish that looks so great! This is a product I will be using and purchasing again.
Spraying Finishes:
In January 2015 I built a spray booth using PVC pipe and thick painters plastic. Since then I have almost solely been spraying furniture using a HVLP spray gun. I’ve had the same gun for 2 years now and it still works great for me. It is usually necessary to thin paint (specifically water-based paints) to be able to actually spray them through a gun. A large enough compressor with enough CFM (power) is essential, too. I use mineral spirits to thin oil-products and when I have sprayed with lacquer I found it was not necessary to thin. Please follow the manufacturers directions on thinning and which solvents to use for clean-up.
Combatting Orange Peel:
Orange peel is a hard thing to deal with and combat. OP is that texture you see when a finish has been sprayed but it does not lay down perfectly. The reasons for it are the paint was not thinned enough and so it did not flow out. It could also be that the product dried too quickly and so it did not have time to flow out. Another reason is not enough product was applied/sprayed on for it to flow out leaving the OP texture. You have to make adjustments depending on the type of product you are spraying or change the settings on your gun. Practice and experience is the best way to learn. In reality, a perfect finish is almost impossible to achieve straight from a spray gun without rubbing out the finish. Rubbing out a finish is essentially sanding with very high grit paper (in the thousands) and finally buffing and polishing the finish. It’s the process used on automotive finishes. If you get an orange peel texture, you have to let it dry sand, and spray again making the necessary adjustments.
Staining
Stripping/Prep:
For staining I strip the old finish off of the wood to reveal the raw, unfinished wood. It’s the same process I talked about in the “prep” part of this post. This post details (with a video) how I strip furniture.
After cleaning the piece from the old finish and all the stripping residue I let it dry over night. The next day I then sand using my orbital sander with 120 or 150 grit sandpaper and working up to 220 grit. One thing to be careful of is to not go too fast when using an electric sander. Move slowly otherwise you can end up with swirly marks that can be almost impossible to get out and they will show through a stained finish. When staining it is not recommended to go above 220 grit because if you continue to use high grit sandpaper it smooths out the wood too much and does not allow it to accept the stain.
Products:
Certain woods can accept stain unevenly so to prevent a headache and uneven finish use a pre-stain wood conditioner. I use Minwax and follow the directions on the can. This will help the wood accept the stain more evenly. I use oil-based stains (which are most common, inexpensive, and readily available) and so I use an oil pre-stain condition. Just note that if you are using a water-based stain you would want to use a water-based pre-stain conditioner.
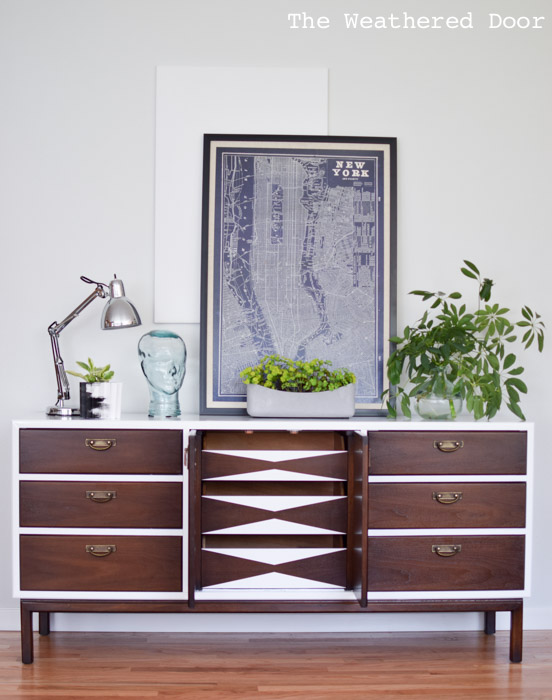
I find that Rustoleum Ultimate stains are my favorite and I can buy them at my local hardware store. Dark walnut is my go-to color. Gel stain is the other type of stain I use. I only use General Finishes Gel stain because I trust the quality of their products. I mostly use this when I want to refresh wood without stripping.
Method:
To apply stain I like to use staining pads. A from brush or old (non-shedding) t-shirt can work, too. With a staining pad there’s enough surface area to apply with one side and wipe off excess with another. Or you can use an entirely different staining pad for wiping off excess stain. The best place to buy these is Harbor Freight. It’s best to follow the manufacturer’s directions for the product you are using. Be sure to stain in a well ventilated area and use the proper protective gear (gloves, respirator, safety glasses, etc). I prefer to wait at least 24 hours for stain to dry before adding a topcoat, but again, follow the directions of the product you are using.
Sealing
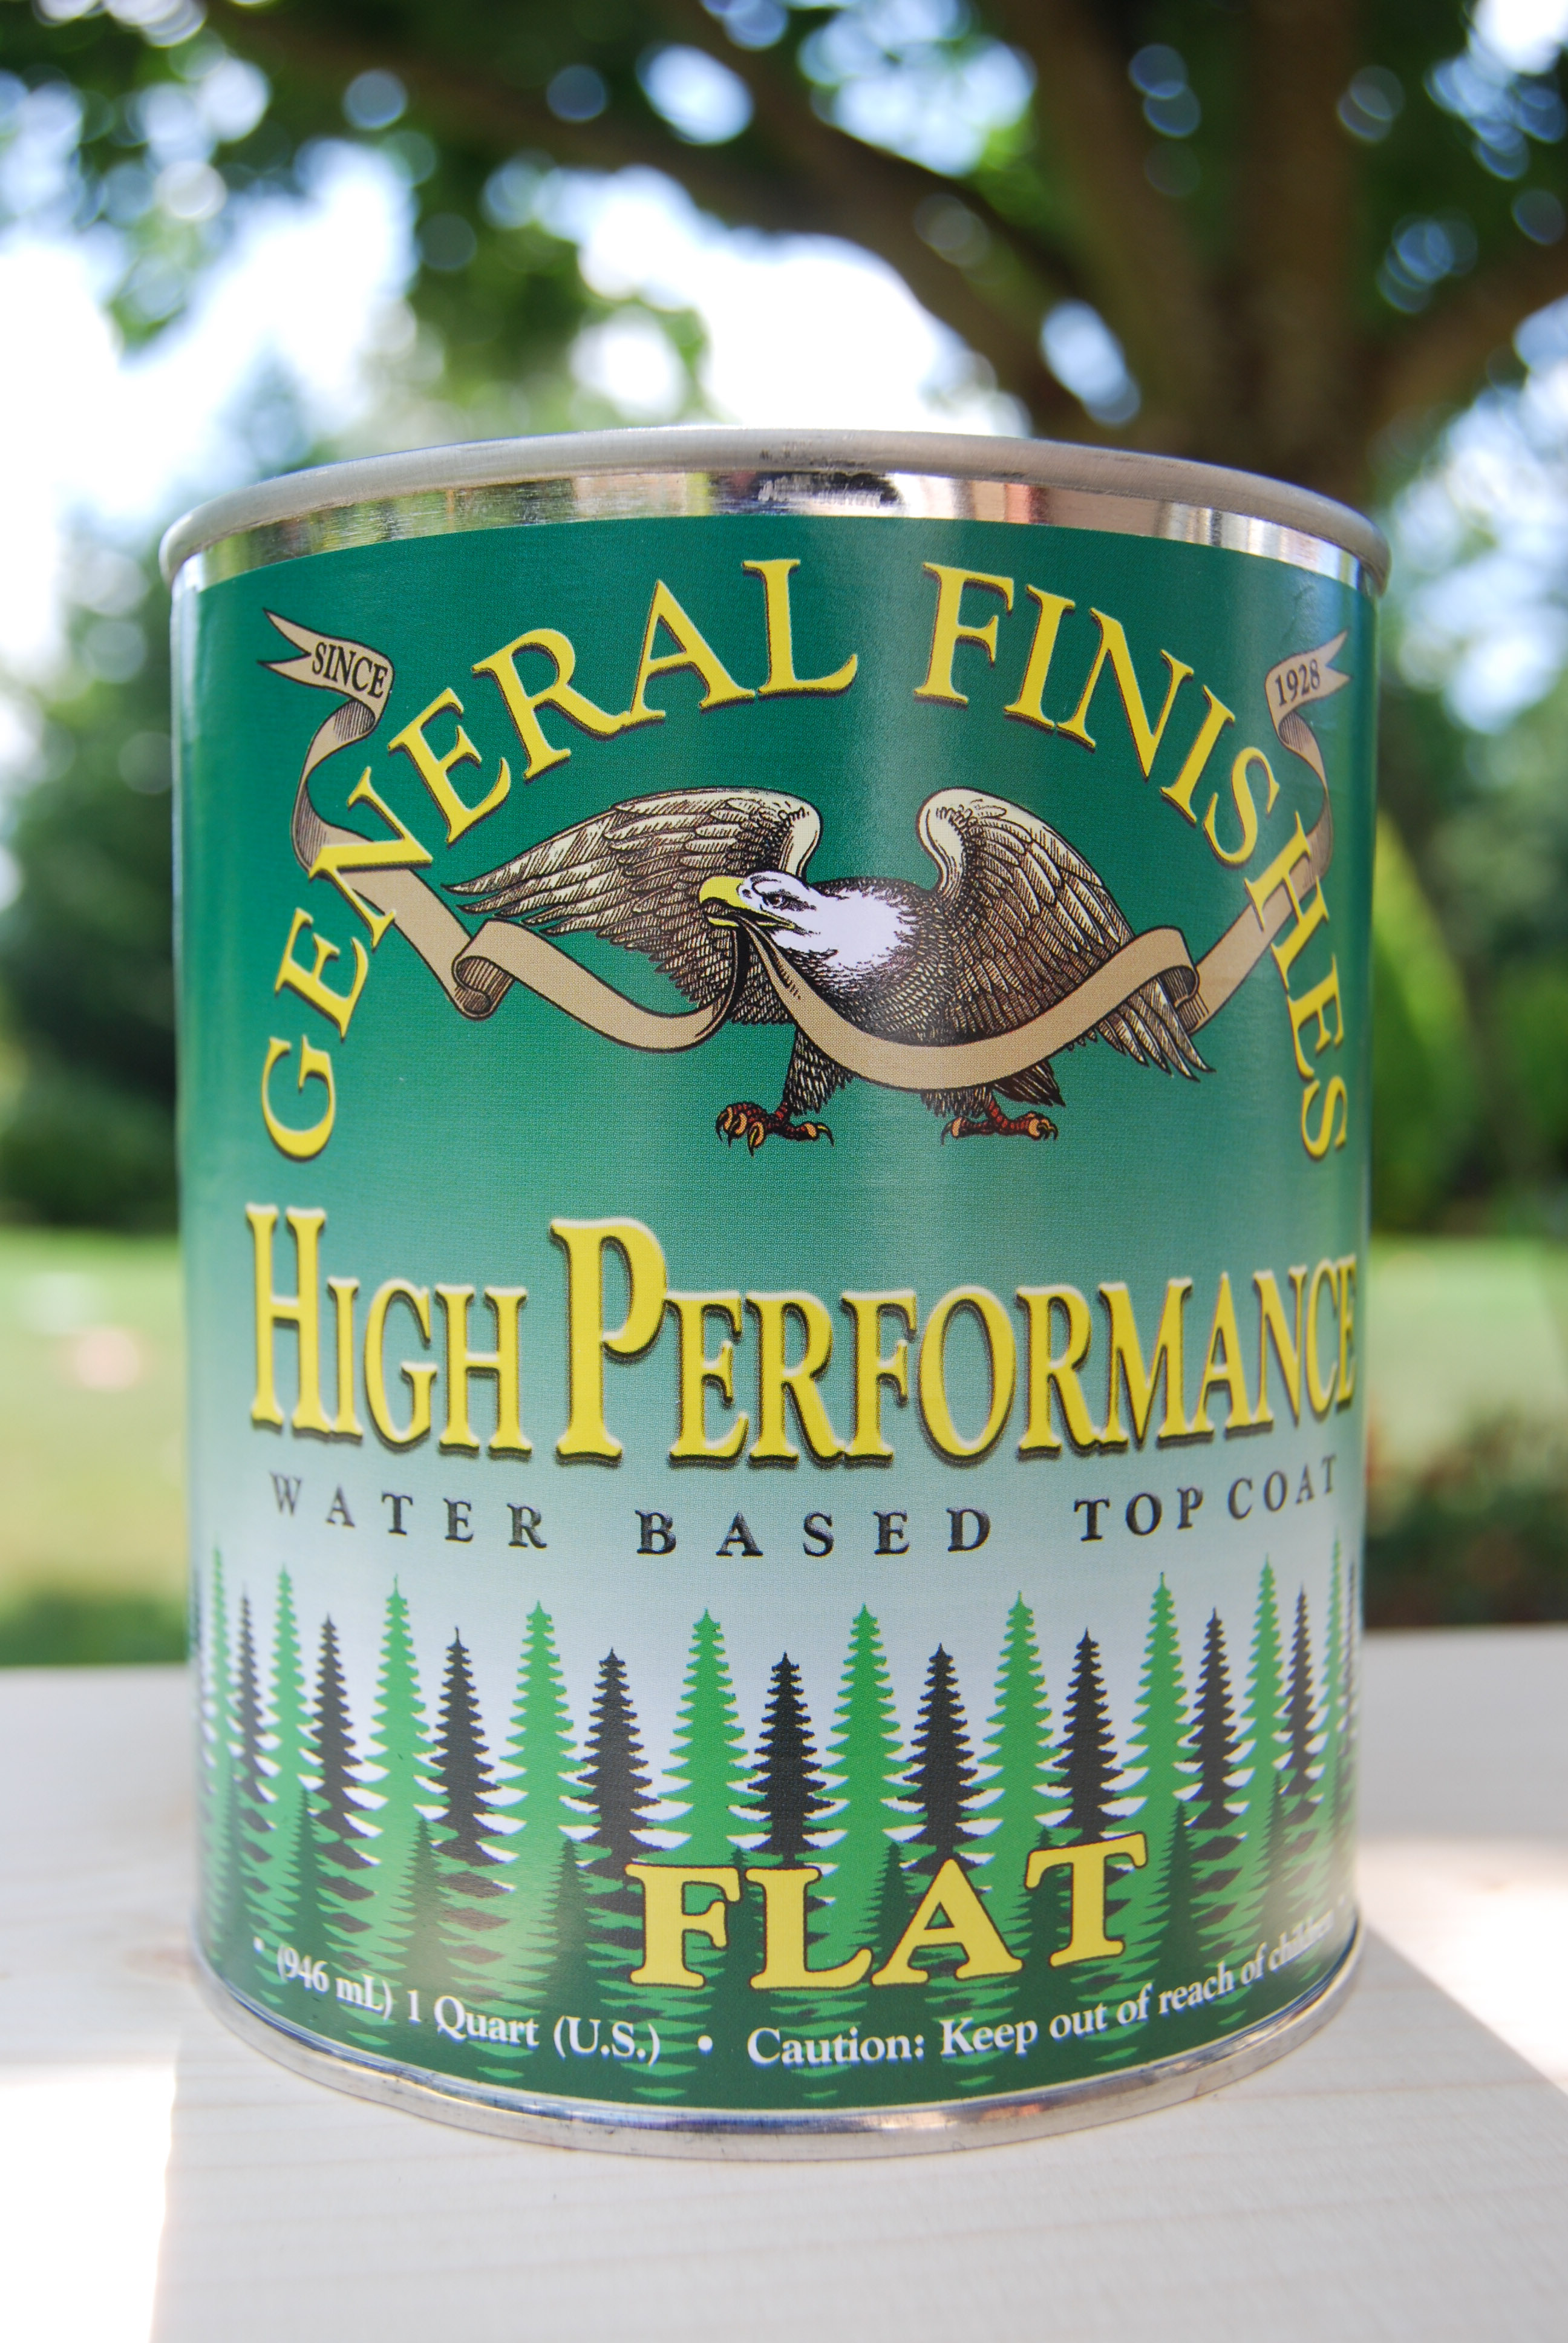
I use a topcoat over water-based finishes and all of the stains I use because I find that it is necessary. There are certain companies and products that claim no topcoat is needed, but the finishes do not wear as well or last as long. The topcoat/sealer I use is General Finishes High Performance Topcoat. It comes in multiple sheens from matte to gloss. This product wears well, I personally have multiple pieces (both stained and painted) that are sealed with HPTC. The satin sheen is the most versatile and the one I use most. I spray this product on or brush it on with a high quality synthetic brush or foam poly brush.
Hardware
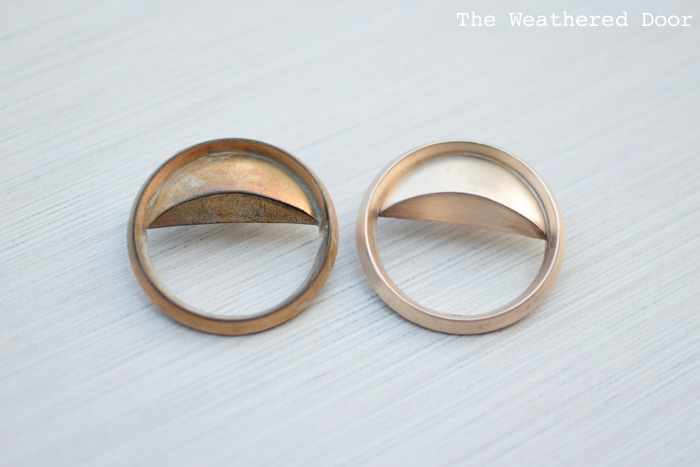
Hardware has the ability to drastically change the look of a piece. That’s a great thing because there are so many options and styles to choose from. Reusing the hardware that comes on a piece is something I do quite often. I love polishing and reviving vintage brass options. I have a post on how to do that here along with a video tutorial.
Another option is to purchase new hardware. I would have already filled and covered the boring holes from the original hardware before even beginning the prep and painting process. This allows any type and style to be chosen whether it’s pulls or knobs. Read this full resource guide on where I purchase new and vintage hardware if you are in the market for hardware.
Finishing Touches
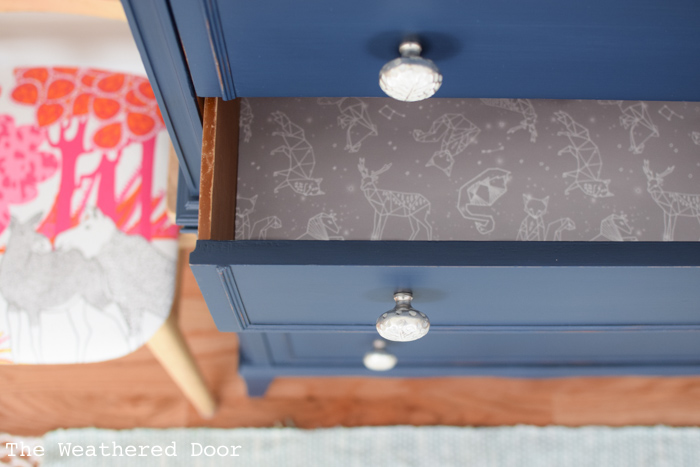
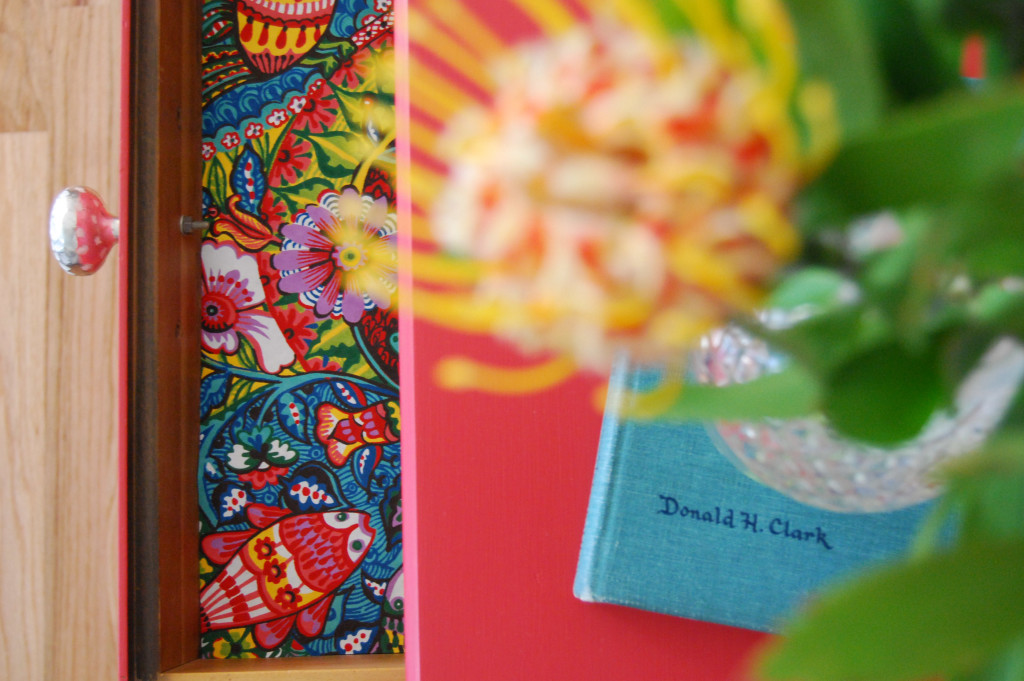
Once a piece is complete it can be nice to go one step farther and dress it up a little more. Personalize the interior of the drawers by painting them and/or lining them with fun paper. It provides a clean place for clothing or belongings to lay and it’s a fun surprise when opening up the piece.
________________________________________________________________
I hope you found this post helpful and informative. Pleas pin this post to reference whenever you need. There is so much involved in the process of painting and refinishing furniture. I tried to cover everything and provide links to posts I already have on topics. As difficult and time-consuming as it can be that “after” always seems worth it to me. 🙂 If there’s something I missed or you have a questions, leave a comment and I’ll try to answer.
-Reeves
LOVE, love, love this post! Having recently purchased a few pieces to refinish, your post explains the how to’s and in such simple, understandable terms.
Having read this post, I feel a lot more confident going into this chapter of my life. Thank you so much for sharing.
When you use lacquer paint does it require a primer? Can you used zinsser cover stain or bin under lacquer?
When I used lacquer I did not prime. If you do prime you need to use a primer that is compatible with lacquer. I don’t know that the cover stain or BIN are/aren’t, you would have to look into it. The solvents in the lacquer can react with the primer and cause sagging and dripping. A total mess! It’s best to ask your local paint store for a primer compatible with lacquer or test the products on a scrap piece of wood before beginning your project.
If you are painting as opposed to staining, there is no need to strip the finish or sand it down to the bare wood. I can gain the knowledge from your site which is really interesting. Thank you so much for sharing valuable information.
I saw a photo you posted of a Dixie Campaigner armoire that was missing part of one of the pulls. I recently bought the exact piece with the exact hardware missing. Were you able to find a source for a replacement?
This is the ultimate guide. I am planning to do furniture painting. This can really help me out.
This is the ultimate guide. I am planning to do furniture painting. This can really help me out.
Where do you buy lacquer paint? I want to try it but not sure where to buy it
Thanks Reeves for this guide. It’s simple, straight forward and fills some gaps. @Illiana, have you tried your local store or paint shop? Many specialty stores or paint supply stores have thick materials like lacquer and you should have problem if you have one of the in your locality.
Hi, your site is great! Is the HPTC going to be waterproof enough to do a bathroom vanity top or do you have another suggestion or tips?
It’s a laminate topped wood dresser.
Thanks!
Having spent a ridiculous amount of time resurrecting a large old cabinet which had been disassembled to get it out of a room being renovated, I painted it satin black with a product new to me but recommended by dealer: Benjamin Moore® Advance. What an unexpected disappointment… which is why I went to internet and, thankfully, found your blog.
Can I just paint over it with another Benj.Moore water-based black paint without trapping Advance paint layer so it won’t ever cure?
(Of course, getting this storage piece usable is still blocking a series of inter-related projects to get us unboxed & functioning in new home.)