I have a little throwback piece to share today – a record cabinet makeover. It’s a piece I want to repaint now that I have so much more experience under my belt. Before that happens (or if that ever happens) I wanted to document this one as it exists today with some not so great photos 🙂
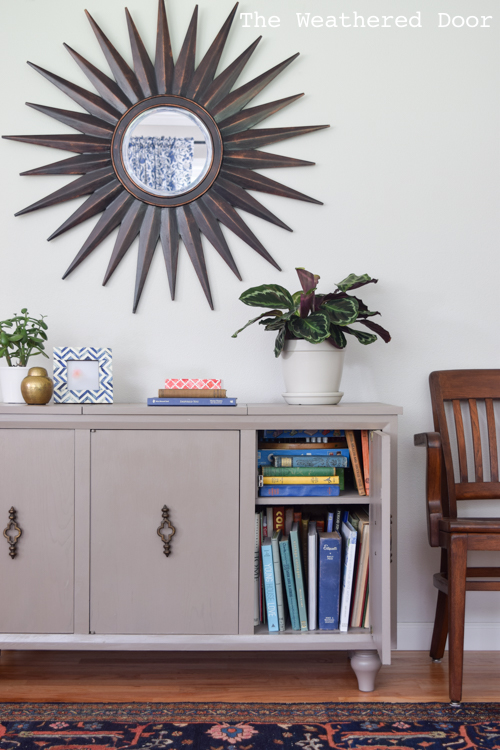
This little record cabinet was originally used as a storage piece in my bedroom. I redid my room in high school (I believe it was summer before my junior year, so 2010) and this is one of three pieces I made over. The other two are my weathered door headboard and an antique turned leg dresser.
I purchased this record/radio cabinet for $15 at a garage sale. It already had all of the components removed which is perfect for the way I use it. The cabinet originally had an inset base so it sat on the floor and was painted a funky green with a odd, yellowed glaze. All I really have to say is it wasn’t good. At all.
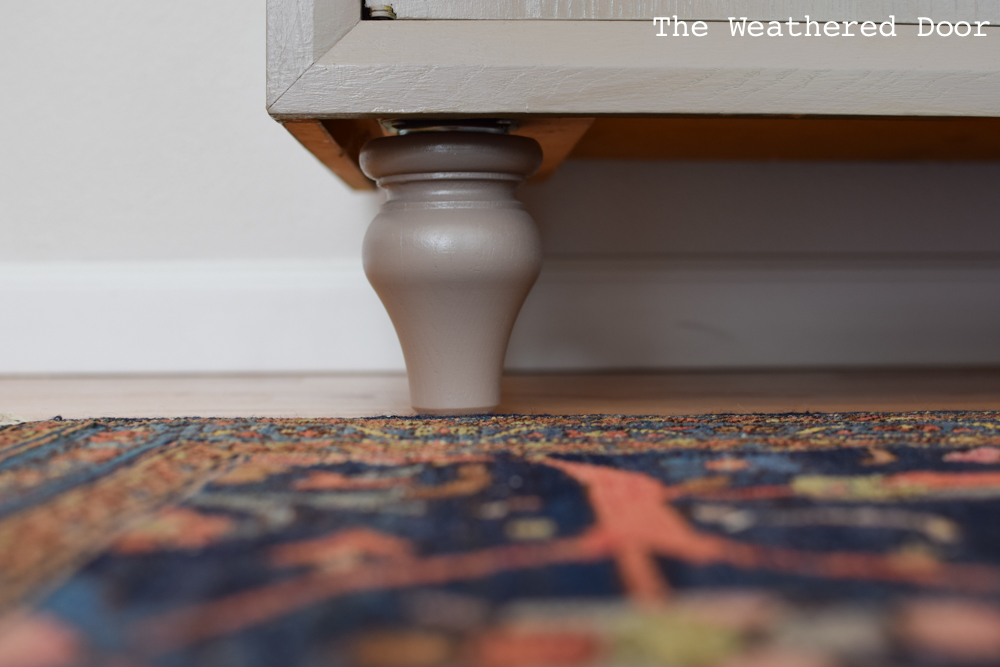
The first done was removing the base and adding new brackets and legs. I recently shared this process while updating a mid century dresser. You can read that post here. The legs and brackest for this cabinet were purchased at Home Depot. I chose this leg because it mimics the hardware that came on the piece which I left as-is. Here’s a view of the brackets and where they are attached underneath the cabinet.
At the time I painted this cabinet I didn’t have the experience I have now. This was the first real piece I painted. (I’m not counting the grey-wash I did to an old door and made into my headboard). I sanded/cleaned the piece and then use a mis-tint sample size paint that I paid $0.50 for. Using a 2″ angled trim brush I applied 2 coats of paint. I used a spray bottle to thin paint as I applied it and somehow miraculously was able to cover the whole thing. Even the interior of the cabinets (all 3 compartments behind the doors and inside the center top which lifts open) were painted out.
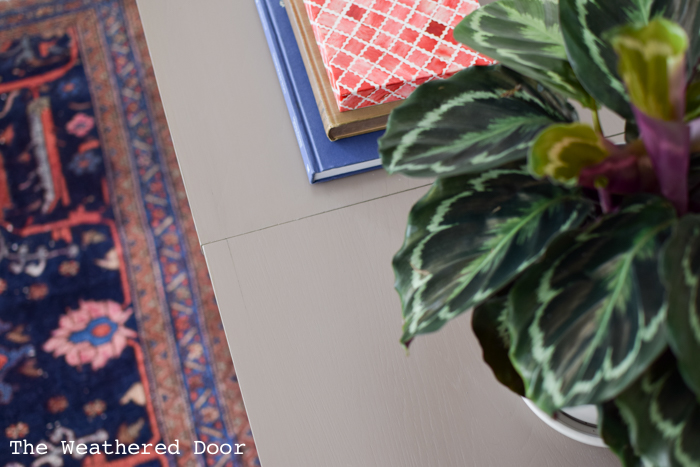
Once the two coats of paint were applied I sealed it with a satin poly. All products were purchased from Home Depot and so I used a quart of Rustoluem’s Ultimate water based polyurethane. You can tell from the photos that the wood grain is very prevalent on this piece. It makes the paint look textured, but the paint and poly laid down smooth and the heavier wood grain is what give the piece texture.
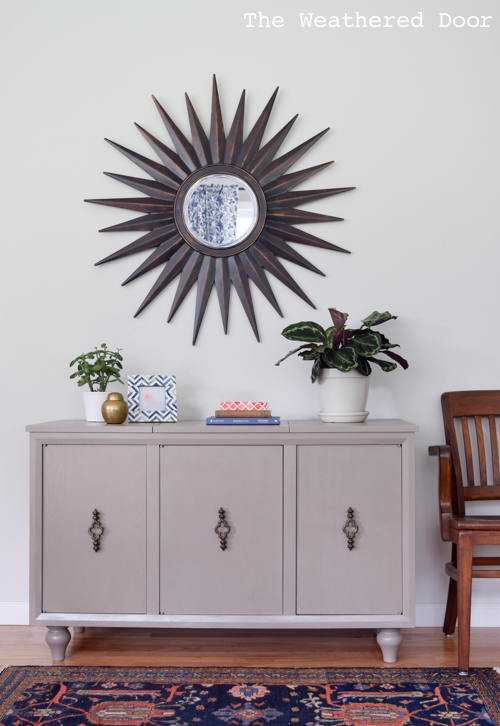
This warm beige-taupe is hard to capture with all the hues bouncing around in this room. In person it’s really pretty and rich looking. The warm taupe color of this piece is something I’m coming back around to right now. I think it truly fits my personal style even though I paint with pretty much every color.
Disclosure: this post contains affiliate links.
Leave a Reply