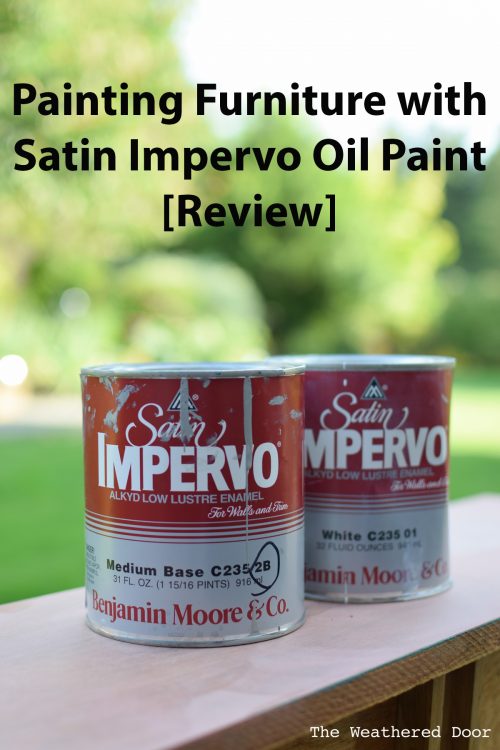
The first time I sprayed oil paint I used Benjamin Moore Satin Impervo. It came as a suggestion from Christina at Phoenix Restoration since she also tried the paint a few months ago. Since using this paint I have moved onto trying lacquer. That’s a whole other post we’ll get to some other day. For now this is just a Benjmi Moore Satin Impervo Oil Paint Review.

Disclosure: this post contains affiliate links.
If you have been reading this blog for any period of time you may know that I’m often trying new paints. I think it’s important as someone who paints and refinishes furniture to be aware and have experience with many different types of products. There’s not one perfect paint. Each person has options and requirements for how they need paint to look and perform. Different paints work best for different projects.
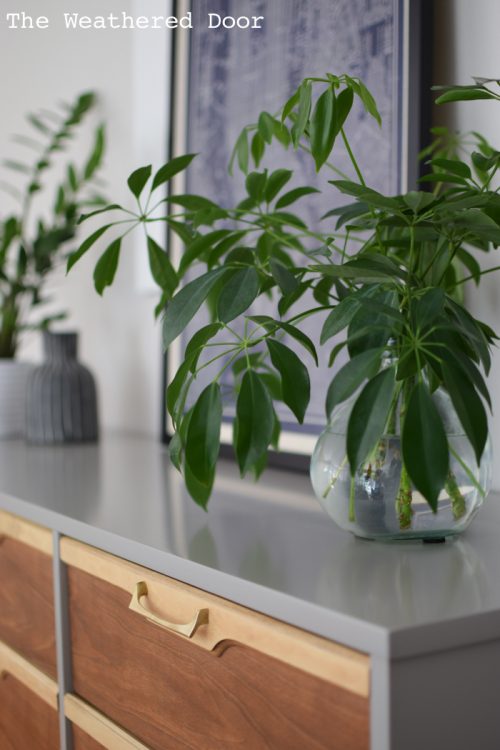
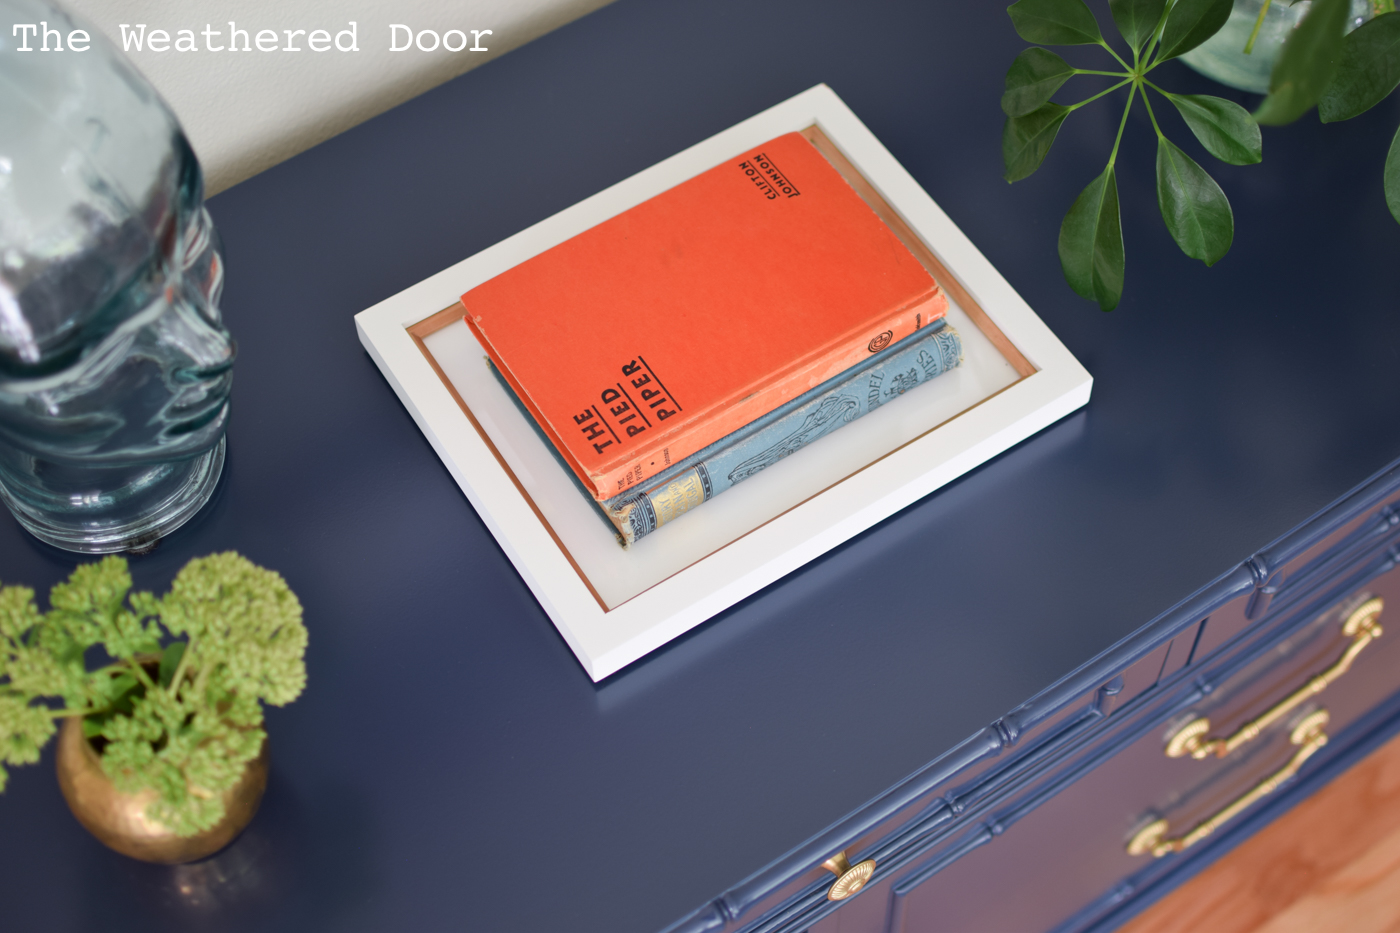
I have used Benjamin Moore Satin Impervo three times. I’ve posted 2 dressers, this Navy Faux Bamboo one and this Mid Century Grey one. Before painting those two pieces I did purchase a $3 dropped can of off the shelf white to play with. As I previously mentioned this was the first oil-based product I have sprayed. I had a little shelf that had been primed and half painted when I was first trying BM Advance. I practiced on the shelf using the white SI (satin impervo) so incase it went terribly wrong it wasn’t a piece I cared about.

Spraying Setup
The first thing I had to do was purchase a filter in order to spray oil products. I have a 25 gallon husky air compressor. Water can build up in a compressor and make its way through the hose, out of the gun and end up in your paint finish. When I was only spraying water-based products I just used a oil/water separator filter that hooks to my spray gun. While I still have one on my gun to collect any water before the air is finally pushed through my spray gun, I also purchased another filter.
At the recommendation of my painting friends (Christina and Kayla) I purchased an in line compressor filter. Having water end up in the oil paint I’m spraying would be a disaster. It would ruin the finish and just cause me more work. This filter is not a small investment, but it is something that is needed for spraying oil finishes in the long run. I purchased mine off of amazon here. I then have a 50 foot hose running from my compressor to the Devilbiss air filter and dryer and then another 50 foot hose from the filter to my spray gun.
I did also rebuilt my spray booth right before starting to spray oil finishes. It was over a year old and was in need of new, clean plastic. Plus, the first “test” booth wasn’t as stable as it could have been. I definitely didn’t believe I would continue to spray furniture so it was a quick and cheap build the first time around. See the spray booth in this post here.

Thinning and Straining the Paint
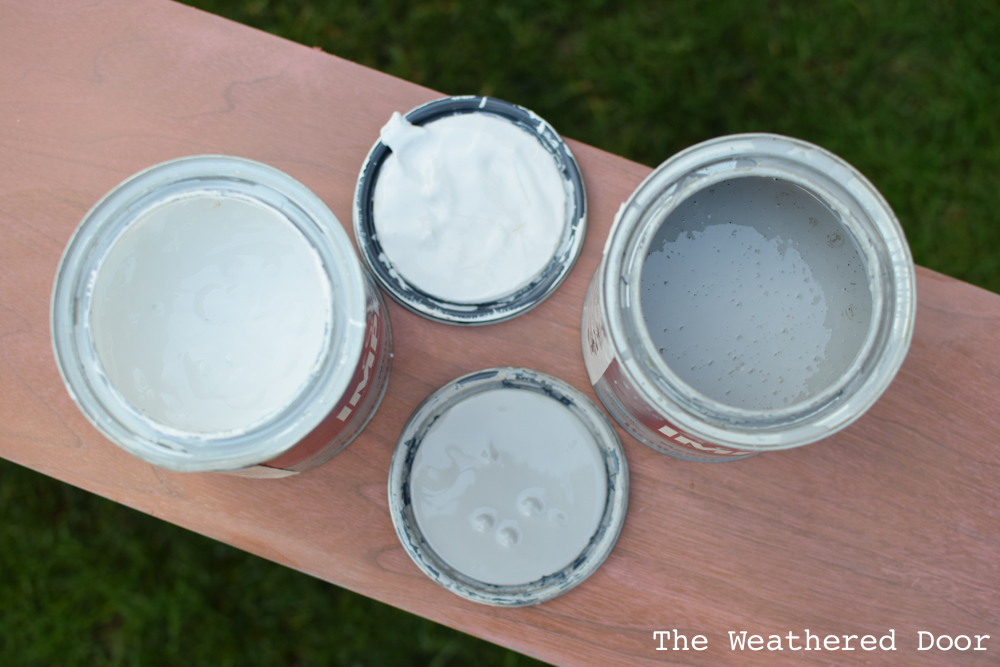
Thinning may have been the hardest thing to figure out (at least for me). How much should I thin? What if I thin too much? Really it is just trial and error. Each color comes in a different consistency. The white SI paint was so thick, the dark navy was much thinner, and the grey color was in between.
What is really comes down to is feel and how the paint runs off of the paint stick. I thin with mineral spirits, which I recommend. Lacquer thinner would also work but it dries faster so there’s less time for the paint to flow out. Always read the recommendations or precautions on the can about thinning. I find that I always thin more than what is recommended in order to get the finish I want. My paint was so thin it ran off the paint stick very quickly.
A problem I ran into was the paint drying in the can (even though it was sealed). A film would form and even though I pulled it out little bits were in the paint. I wasn’t aware and ended up having gummy bits of paint end up in my finish. After that problem I started straining my paint and bought this pack of mesh strainers. I don’t care if the can is brand new, I strain my paint to filter out any bad particle that could end up in the finish.
When thinned correctly this paint isn’t difficult to spray. I would compare it to spraying Benjamin Moore Advance. Really the big difference is thinning, clean-up, and dry time. The whole setup for spraying oil is more complex an time consuming.
Dry Time
Dry time is one of the drawbacks of this paint and most oil paints. They take forever to dry and then a few days to cure in between coats. The manufacturer states 24 hours is sufficient, but 48 to 72 is more accurate in my experience. The previous coat should not be tacky when another coat is applied or the finish will never fully cure.
Satin Impervo dries to the touch in about 8-12 hours in my experience. The paint itself would flow out for an hour or so before it really started setting. When I would check 12 hours later it would be dry but quite tacky. After 24 hours it was dry enough to lightly touch it, but picking it up could possibly mean finger prints so I would always just wait a full 2 days before moving the piece. This long dry time means there is more time for little particles to land in the finish. The good thing is the paint has enough time to flow out (meaning little or no orange peel if thinned correctly). I never had problems with flashing – the sheen was consistent since the paint flowed out so well.
Curing and Durability
The durability of Satin Impervo has been great for me. Even when moving pieces in and out of my workspace and in and out of the house for photos and staging it didn’t ding. I am always cautious about what I set on a freshly painted piece when staging. Most paints do not reach maximum durability until about 30 days after the final coat. That doesn’t mean they can’t be used or are not durable before that. It really just means the paint takes a longer period to fully cure. I used felt pads under most things that were sitting on the pieces painted in SI. Nothing left indents, marks, or stuck to the finish.
Even though I have not kept and used a piece painted in Benjamin Moore Satin Impervo for a longer period of time, it seems to be a product that does provide a pretty great finish without a topcoat. Is it the best? I don’t know. I am still experimenting with other oil and lacquer paints to try and figure that out.

One thing I did notice is that the dark navy I painted did take longer to cure than the light grey color. This is something I first noticed when painting with BM Advance. The darker, more saturated colors have more pigments and colorant in them and so they take longer to cure. I even find that they don’t always cure quite as hard as lighter paint colors.
Overall, I think this is a good product for painting furniture. I would use it again but a drawback is it only comes in a satin sheen. Having a spray booth and being able to spray the product is the way to get a nice, smooth finish. I do not know how rolling on or brushing on this product would turn out. I’d guess it would be extremely difficult to hide the brush strokes and roller texture.
If you have an questions or experience using this product, please share it in the comments! I would love to hear your experience and it’s always nice for others to see more than one opinion about a product. 🙂
-Reeves
yeah, it’s the solvent (I think ethylene glycol) in the liquid colourants that cause the softer finished film in darker colours. BM used to have prevented bases for deep colours, so that less liquid colourants were needed to get to final colours, and so harder. It also had the benefit of making a better hiding paint, too.
I always appreciate you sharing your technique, process and results with us 🙂
Ben, I love reading your comments and the insight you add to the “discussion” in the comments. 🙂 It’s nice to learn from someone with your experience. Thank you!!
I love satin impervo. All of the trim in my house is oil based paint and that is what I use. With animals it dries quicker so less chance of cat and dog hair having a chance to settle in. It also does not smell as bad as other oil paints. It levels well. I only brush it on and have never had issues.
Hey blogger, thanks for this blog post about Painting Furniture with Benjamin Moore Satin Impervo.This blog content is really amazing and its very informative. Since using this paint I have moved on to trying lacquerthanks for this amazing blog post. I really like this post.
Love, love satin impervo. All of my trim is oil and this dries faster and is less stinky than the SW oil paint. Easy to use, levels great. I have never had an issue with brush marks showing and I do not thin the paint. Does not drip either, did doors on the hinges and just a beautiful finish. Painted doors black over white paint, 2 coats.
I painted the top of a buffet with impervo. It was quite an experience. The top of the cabinet is pine. I sanded it down as much as I could. As pine is a soft wood, and the top it had been drenched in stain, I could not get all top completely sanded out. Thus, the impervo. I painted the first coat a deep carmel and then I waited, and waited, and waited for it to dry. Finally after a week it was dry enough (but definitely not cured) to put on a second coat which is a faux finish. I bought a deep brown, thinned it out and have a beautiful wood like top. I waited 10 days. I was delighted to put my first item on the new top and low and behold it scratched. So back to touching up.
After reading a few of the comments, I guess I will be the 30 day waiting period before it is cured. It looks beautiful but definitely takes time and patience.
I do not have a satin finish, even though I purchased a satin product. Can I use minwax to provide a slight shine and a more finished look, or another product? Thanks for the great information.
Just a heads up. I just finished using the latex (water based) sister product on a consol table. I was not satisfied with the finish using a brush so I tried a high quality roller sanding it smooth in between. Once again the finish was poor. After reading several reviews it appears the paint has a bad rep for brush marks or an “orange peel” finish using a roller. So I sanded it down once more and then sprayed it spending time to get the dilution correct for my spray gun. Yet again the finish has the orange peel look although less pronounced. I used the oil based product for several rooms in my house and was very happy with it.
Use VM&P to thin as it is much drier and add a cap full of Japan drier. Allows a quicker set but still plenty of time for the SI to float out. Low nap rollers work wonderfully with this product and it doesn’t yellow like SW ProClassic. Love BM SI.
Thank you for posting this! I’m spraying BM’s SI in my HPLV (first time!) and I have no idea how many coats I should spray since they seem much thinner than applying with a brush. This is the paint we’ve loved for years on our trim, but we’ve always applied it with a brush before. Now that I have the sprayer I figured a flat panel interior door would be an easy first time spry attempt. I did thin a little bit with VM&P and I used the 1.8 tip on my husky…I was able to get the pressure and paint to spray evenly and then it flowed to a great finish, but I have three questions: 1) how many coats should I plan on doing? 2) Do I sand between coats? 3) Do I need to break down the gun and clean it out between coats?
THANKS!!
I enjoy reading your blog. What is the Color name of the BM paint used for your navy bureau project?