Hey, Friends!
Who here loves furniture? I assume most of you do since that’s what this whole entire blog is centered around 🙂 Over the past few years I’ve grown more and more appreciative of quality craftsmanship and fine furniture. With the hundreds of furniture pieces I’ve purchased, painted, and refinished I have seen the construction of great furniture and slowly I found myself wanting to learn how to build a piece of furniture myself. It’s one things to put hours of work and sweat into prepping and refinishing a piece, it’s another to start from scratch and actually build and finish something.
The summer before beginning my last year of college (summer of 2015) I kept talking about how I wanted to build a piece of furniture and learn the basics of woodworking. I knew some very basics, but learning how to create joints, dovetails, and gain experience using all sorts of power tools was a goal I had. At the time I was registering for college classes I found myself searching for a 2-3 credit course options (these were extremely limited at my university, and I needed it in order to graduate a quarter early) that fit with my school schedule and related to my studies or interests. That’s were this all came to fruition (sooner than I expected). I finally found an internship course that fit the bill and allowed me to choose and find an internship that had to be in my field of future work. This all ended up coming together quite flawlessly. I work for an interior designer and so I asked her if she knew of a woodworker I could contact and do an internship though, which is when she connected me with her neighbor. She had a project I could do for one of our clients which was great to contribute to a project in that way. And that’s how this whole thing came together.
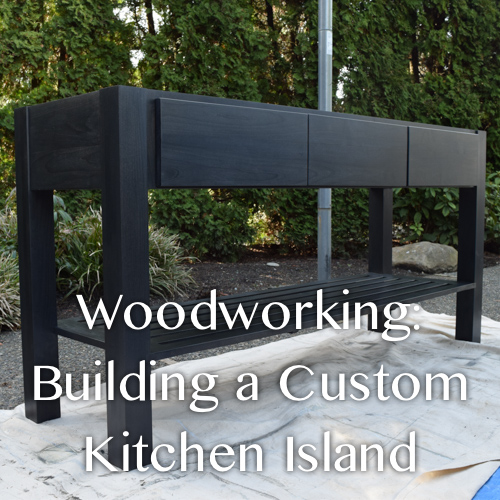
Now, onto the piece. I talked with my boss about size requirements, style, and functionality of the island that was needed for the clients kitchen remodel. From there I drew up a few options and together she and I finalized the design. I then worked with Bruce, her neighbor and talented woodworker, to figure out how this piece would come together (joints, wood material, what we needed, etc.). The island is build out of Alder (the same type of wood used in the clients kitchen cabinetry), which we purchased from Cross Cut in Seattle. I created a poster for my internship course final presentation (in the photo below) that shows some of our sketches/drawings, boards we joined together, and progress shots).
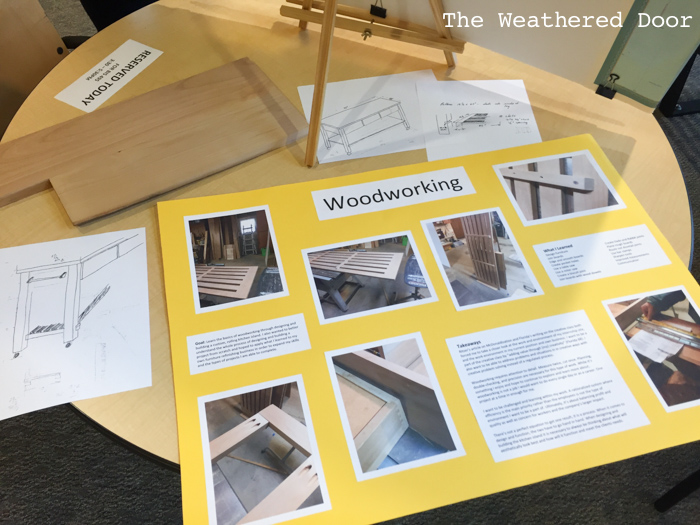
I don’t have many progress photos of the actual building process (this all took place each Friday morning during Oct-Dec/January) and it was freezing here in Washington so my gloves weren’t usually coming off to take photos 🙂 . I only have a few low-quality phone photos. Plus, we were always busy building and learning new things. I do have photos from when it was assembled and before & after photos of the raw piece and the island stained and ready to be delivered. (Scroll down for more photos).
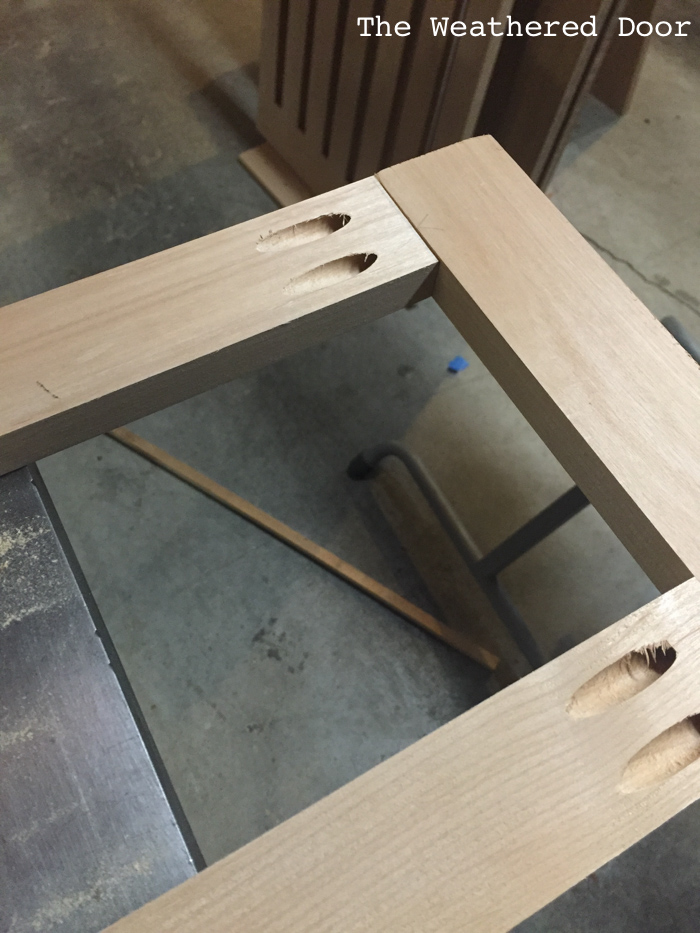
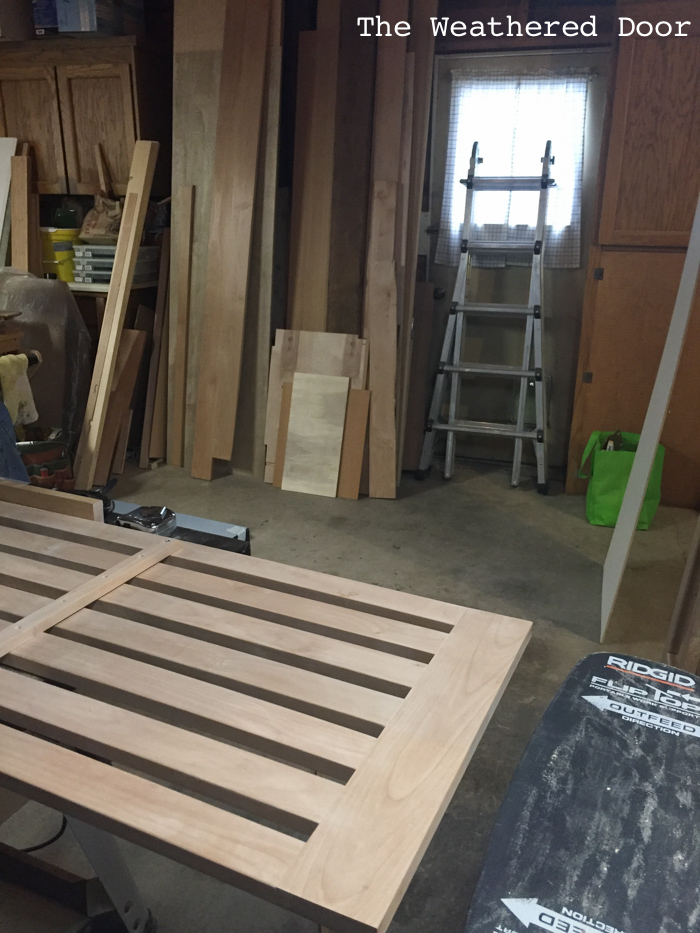
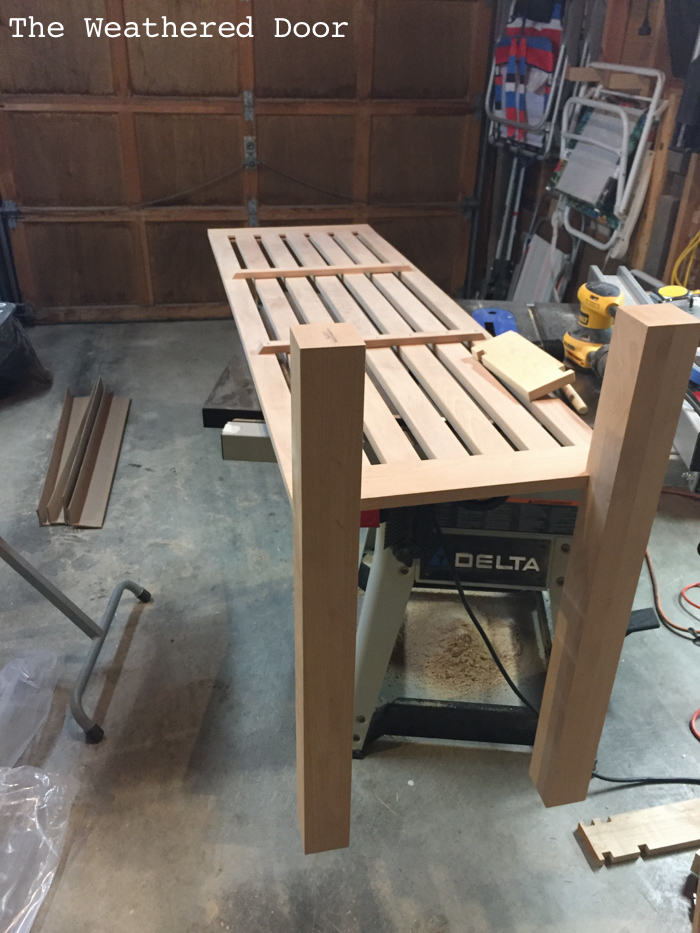
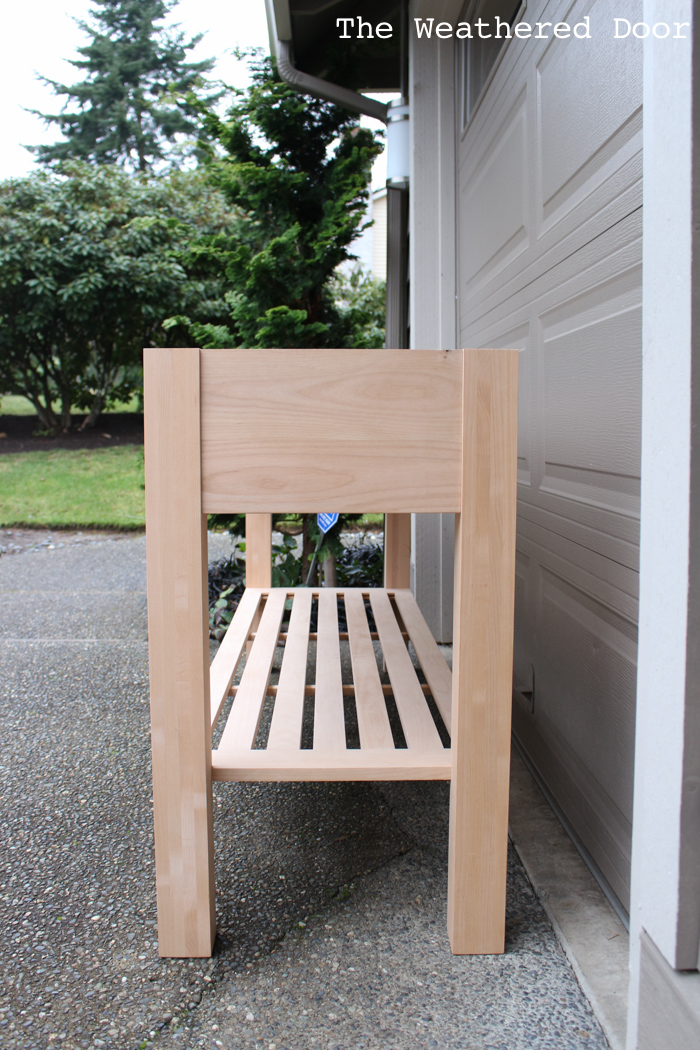
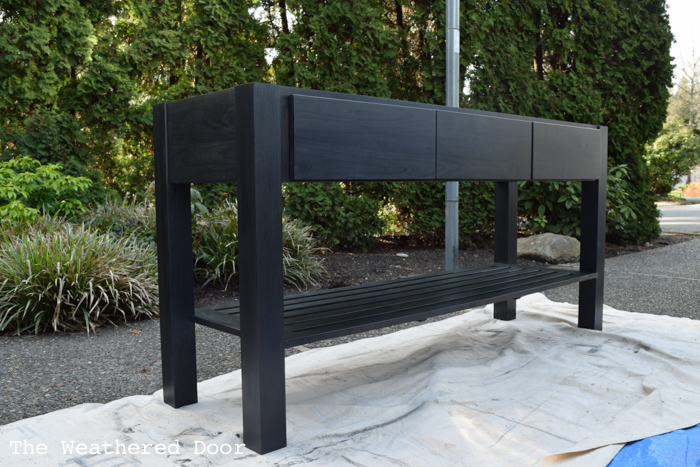
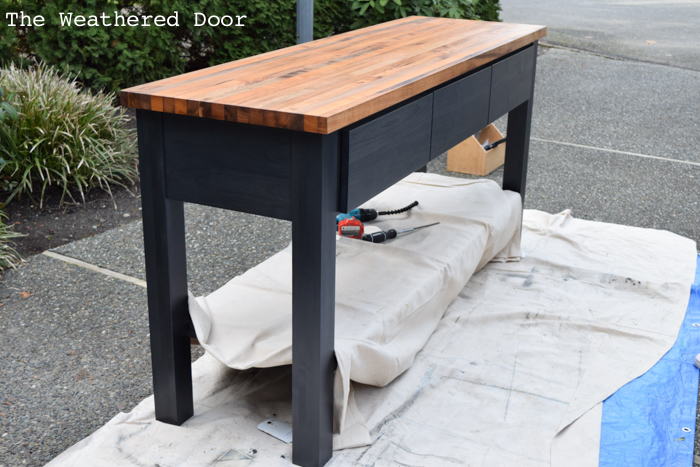
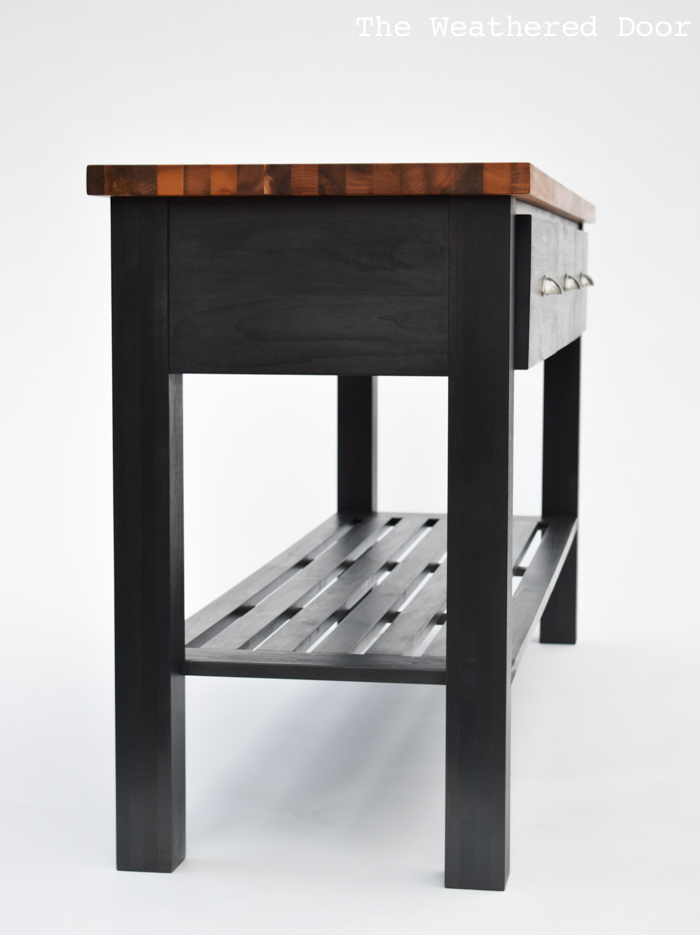
First we planed down all of the wood to a uniform thickness. From there we chose which pieces would be used for what part of the island. In order to not have warping we joined two boards together. We did this for the drawer fronts, back, and sides where we needed 10″ wide boards. This was done by adding dowels and gluing up the boards. In other parts of the construction we also used biscuits, like in the front face frame where the drawer are. The three drawer fronts were cut from the same piece of wood so there would be continuous matching woodgrain. We also cut grooves, dados, and rabbets when constructing the shelf. When it came to assembling the whole island we used a kreg jig to create pocket holes. I’ve never done so much measuring and double-checking in my entire life. There is no room for errors. The other thing is there was a lot of was sanding. I will just say sanding raw wood that has never been finished before is so much more enjoyable than sanding old finishes off of wood. It’s the same with sanding solid wood versus sanding veneer – so much more enjoyable 🙂 Below is the island assembled, minus the drawer fronts and top which were attached once the stain and sealer was applied.
*If the shelf looks slightly bowed in the photos below it’s because the cross pieces were not fully attached (only screwed into once slat of the shelf so they could be taken off for staining).
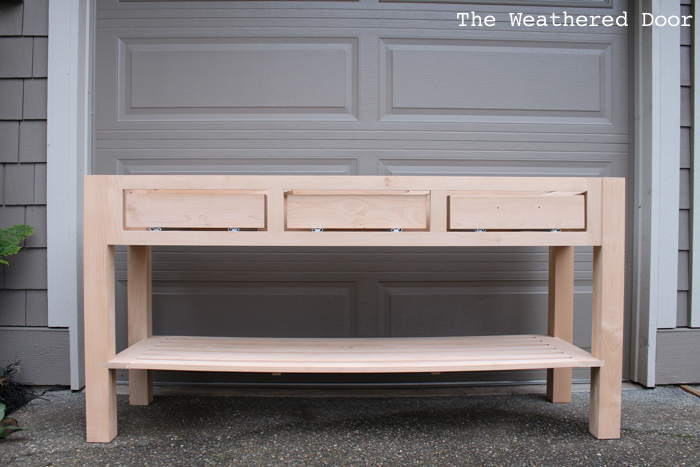
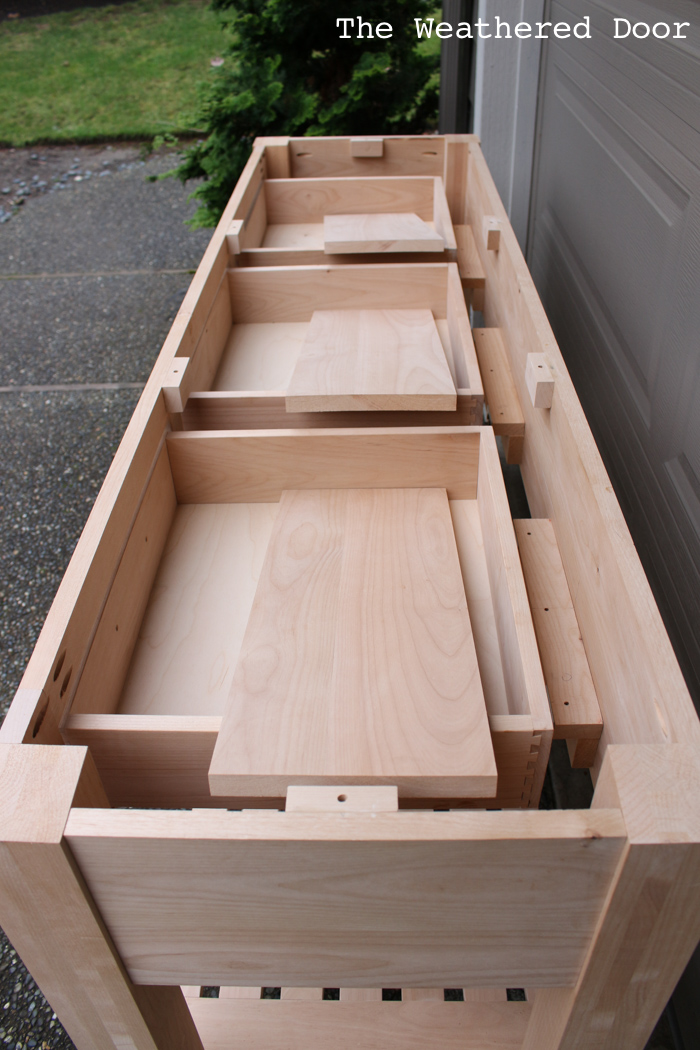
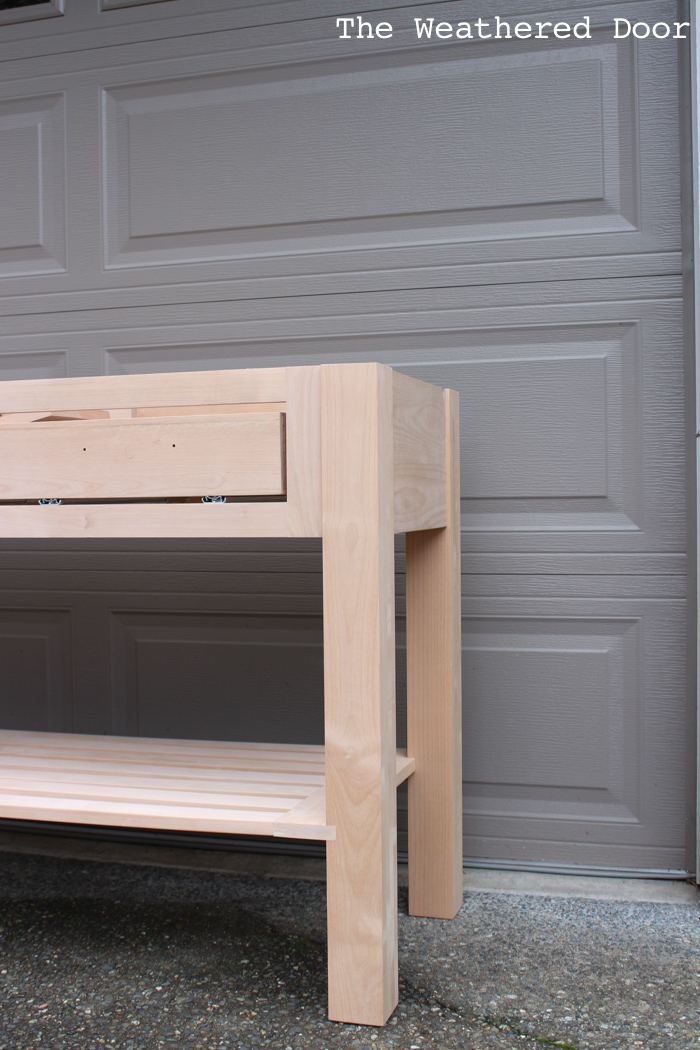
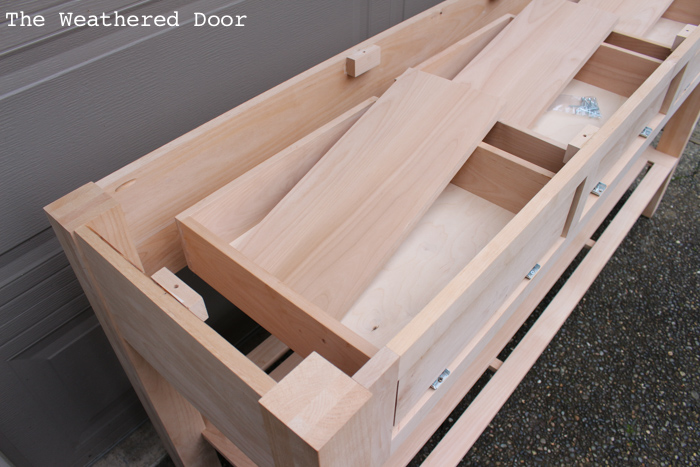
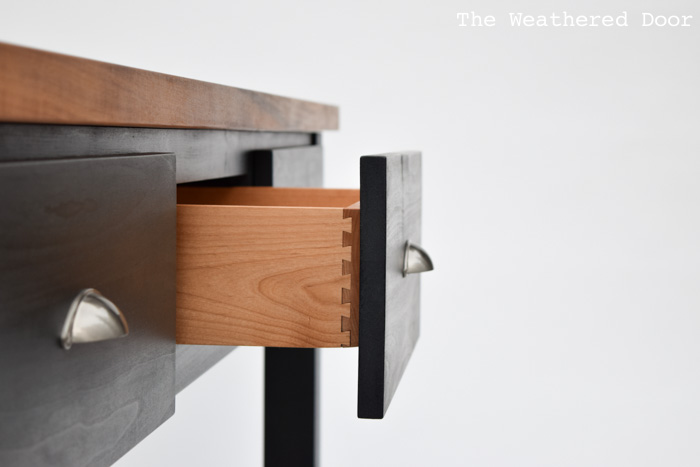
The drawers were made out of the same alder (planed down to be a little bit thinner) and constructed using dovetail joints.
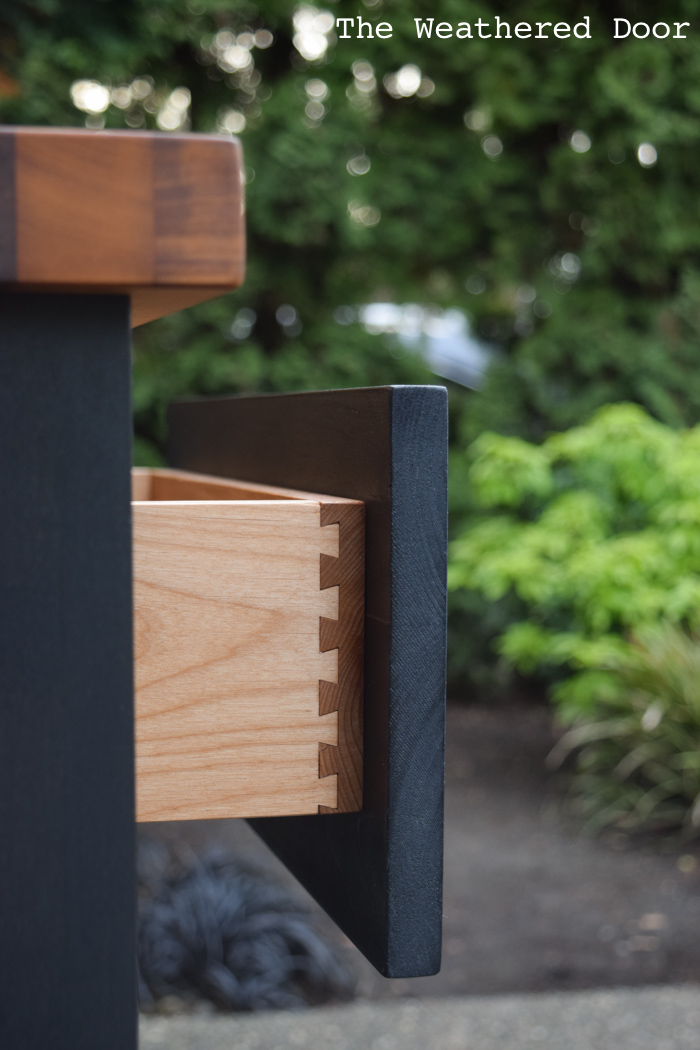
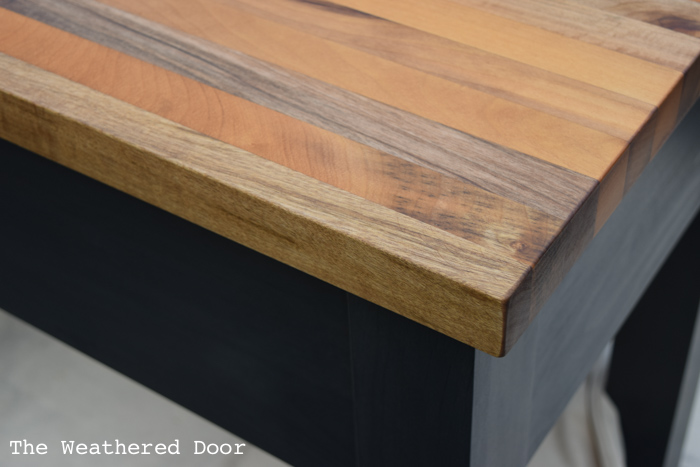
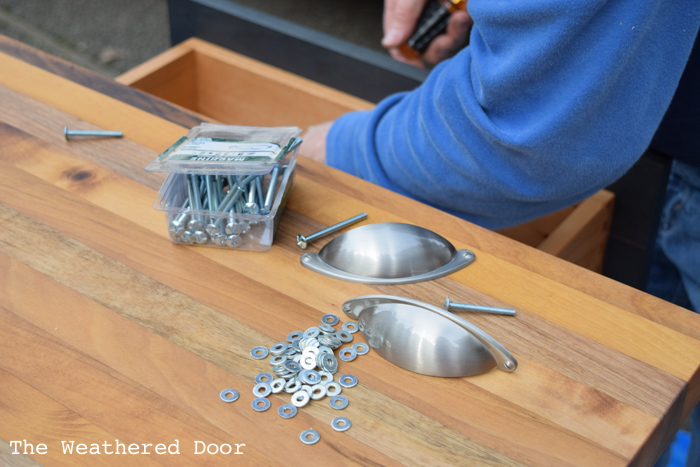
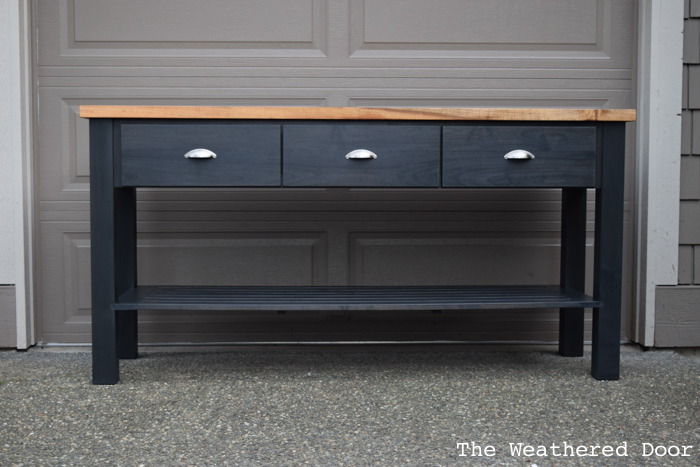
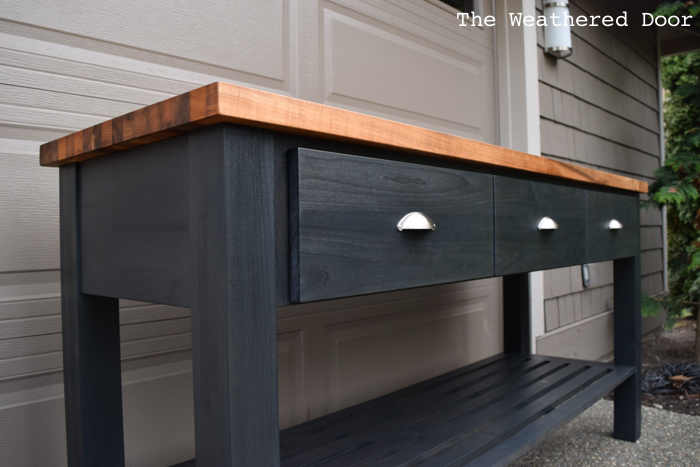
When it came to picking a stain finish we chose a dark green-black color (the green tint comes through more in person – and it’s gorgeous). We use an aniline dye and stain combination from Daly’s. I love that this stain combination allows for deep, rich color but the wood tones still come through and the grain is not lost. The whole island and the drawer boxes were sealed with 4 coats of satin Profin. The Bay Laurel butcher block top (locally sourced) brings in the wood tones from the clients floors and we attached the hardware the clients selected for their kitchen. This island look so amazing in the space I wish you could see it in person.
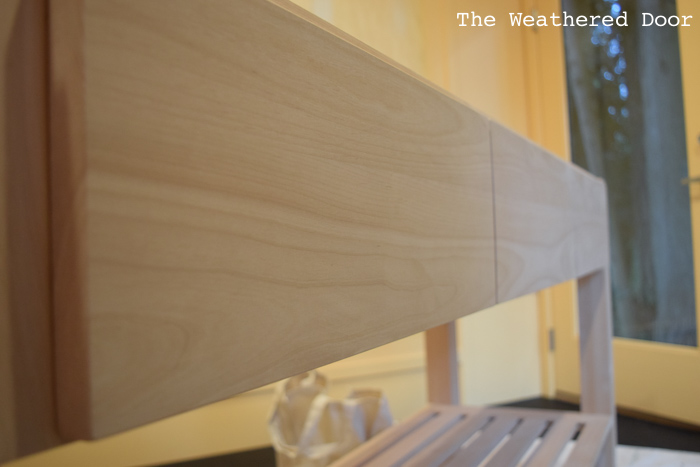
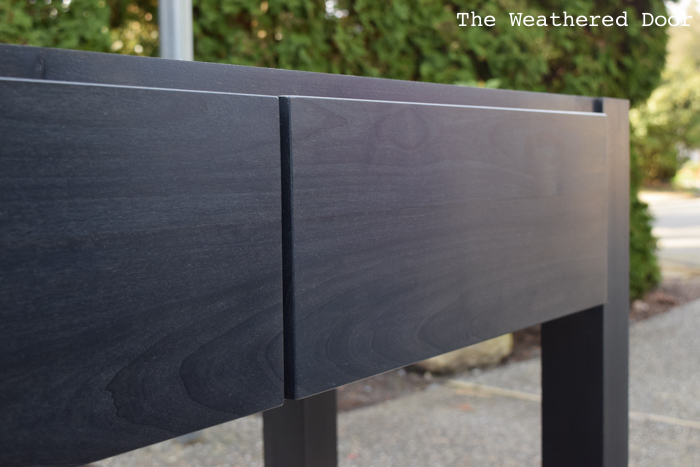
This photo above was taken right before the drawers fronts were removed for staining. It shows the continuous wood grain across all 3 drawers really well – I love all the grain!
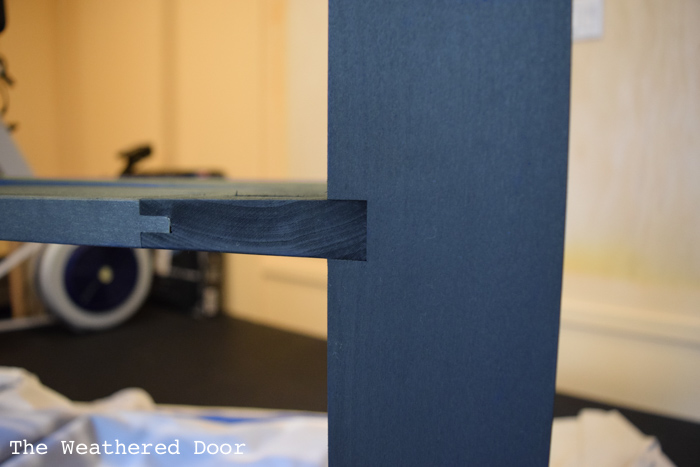
I also love the joinery and construction of the piece that is visible in person. This photo shows how the shelf was constructed. It’s a progress shot when the island was turned upside down during the staining process. The color is also a bit off in the photo, too – but that’s not the point 🙂
Once the finish was done being applied and fully dry we finished assembling everything.
I am so grateful I had the opportunity to build this island for one of our clients, learn about woodworking and get school credit all at the same time. Now I just need lots of tools and the space to build some more things! Have you ever built a piece of furniture before? That’s a future goal of mine – I should get on it 🙂
Until next time,
Reeves
Fabulous! You have amazing talent.
This came out really good Reeves. I’m thinking about making a similar style for my bathroom vanity.
I love the color and that butcher block. Don’t you love aniline dyes?? That’s what I use when I do my ceruse techniques. They come in so many great colors too. I just dyed my new oak french doors in ebony and used Profin for the first time! There is a profin finish in ebony too! It makes the black dye even richer when you put on the final top coat. Glad you’re getting into the wood making part. You have some great skills!
Thanks, Beth! It was my first time using an aniline dye, but it was great! I do really like regular oil stains, though. They each have their place. I’ll have to look into the colored profit finishes, those could be really fun!