Last year I did a makeover on an American of Martinsville Bamboo dresser. You can view the reveal post for that piece here. Now, I took videos all along the way of stripping off the original worn finish, prepping and priming, and spraying on the paint with an HVLP gun. And then I dropped the ball and never got around to editing and putting them together after the first video.
While these videos center around the bamboo dresser I am working on the stripping process and the prepping, sanding, and priming process look similar for almost any piece I do.

I am not always the best about taking progress photos (I try to keep my camera far away from anything that can ruin it) but this video gives you a look at my process. For anyone who wants to read about the steps I take when prepping, sanding, and priming, keep reading.
How to Prep Furniture for Paint
Supplies:
- electric palm sander
- 150 grit sandpaper
- Bondo glazing putty (or wood filler of your choice)
- oil-based primer (I like zinsser cover stain)
- foam brush/roller (if you don’t spray primer)
- extra fine sanding sponge

1. Sand all Surfaces
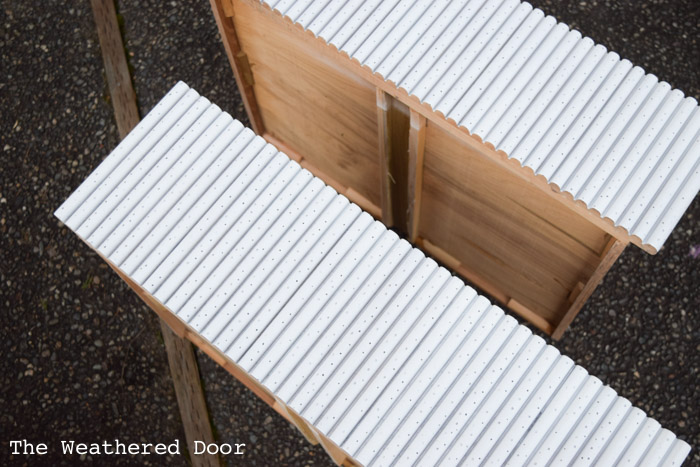
While wearing a respirator I used my electric palm sander and 150 grit sandpaper to sand all of the surfaces after stripping. This smoothes out the wood and removes any leftover residue from stripping. For the bamboo drawer fronts I hand sanded with the same 150 grit sandpaper.
2. Use Wood Filler or Bondo
Check the surfaces for scratches, dings, or chipped veneer and fill then in with wood filler or bondo. I love Bondo Glazing Putty for small fills. It sands nicely and actually adheres to the surface. Once dry, sand smooth. Repeat this process. I find that twice is usually enough unless there is more severe damage.
3. Clean Piece of Dust
Now that all of the sanding and filling is done vacuum everything with a shop vac to remove dust and them wipe the piece down with a clean, damp cloth. Let dry for a few minutes.
4. Prime
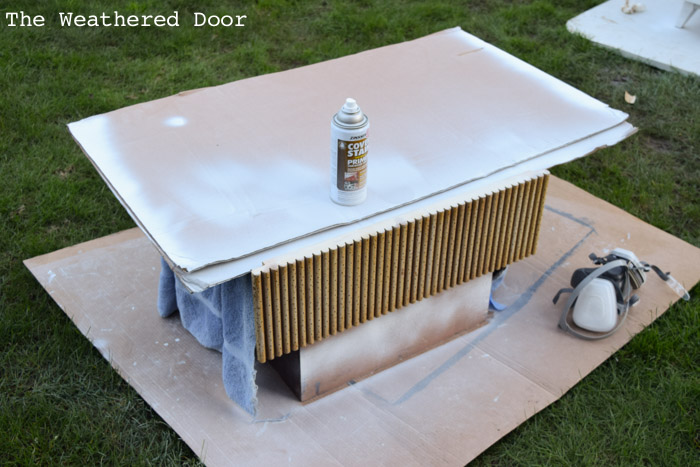
How that all surfaces are smooth it’s time to prime. I only use oil-based stain blocking primer, specifically I like Zinsser Cover Stain. Two thin coats of primer work best and are easily applied with a foam brush or roller, or to make it really easy on yourself use the spray cans of primer to get an even finish. Tape off or cover drawers boxes if you are spray priming to protect them from overspray. Prime in a well ventilated area and wear the proper protective gear.
5. Lightly Sand
Once the primer has dried (an hour or two in most cases) you can go over it with a extra fine sanding sponge. A high grit sandpaper works as well. Just smooth out any brush marks, grain pop, or rough areas. You should not be sanding through the primer at all, just smoothing it out so the paint has a nice surface to lay down on.
6. Final Removal of Dust
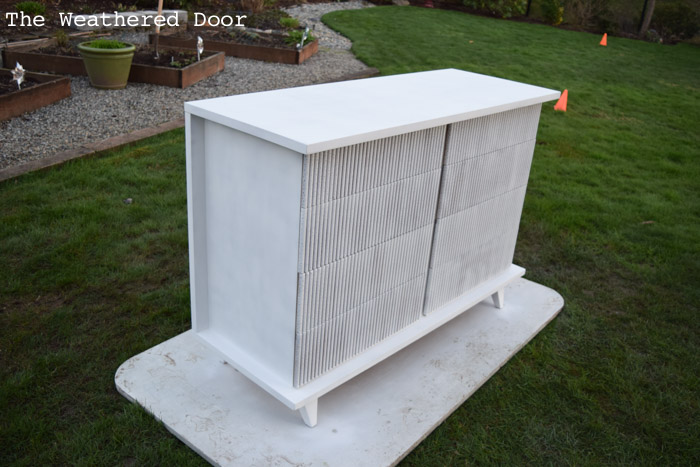
Once again use a vacuum and clean, damp cloth to remove any particles from the surface. Let the finish dry and then the piece is ready for paint.
_________________________________________________________

These are the steps I take when prepping furniture for paint. It takes time, so don’t fool yourself or rush through it. Properly filling, sanding, and priming are necessary in creating a professional finish that will last. Don’t skimp, buy quality products, and put in the time and labor. It makes a difference, I promise. 🙂 If you have any questions or need clarification about any part of this process just leave me a comment and I will get back to you.
-Reeves
This is a great break-down of the prepping process, Reeves! And I’ve ALWAYS regretted it when I’ve tried to cut corners…I’m looking forward to more content/projects from you!
Thanks, Rachel! I feel like I keep spending time working on projects but there is nothing actually done! At some point I’ll have something new to post 🙂
I ? your video. I am a beginner will start first project soon. I’m hoping comes well. It’s a nice piece currently spray painted black. Thank for blogging!