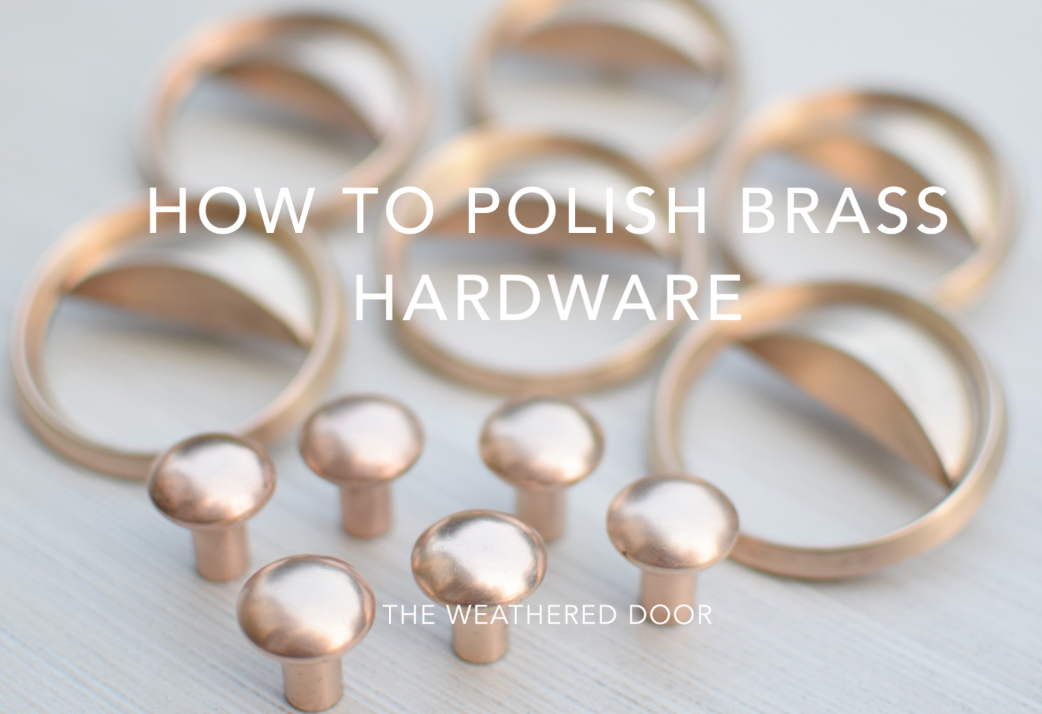
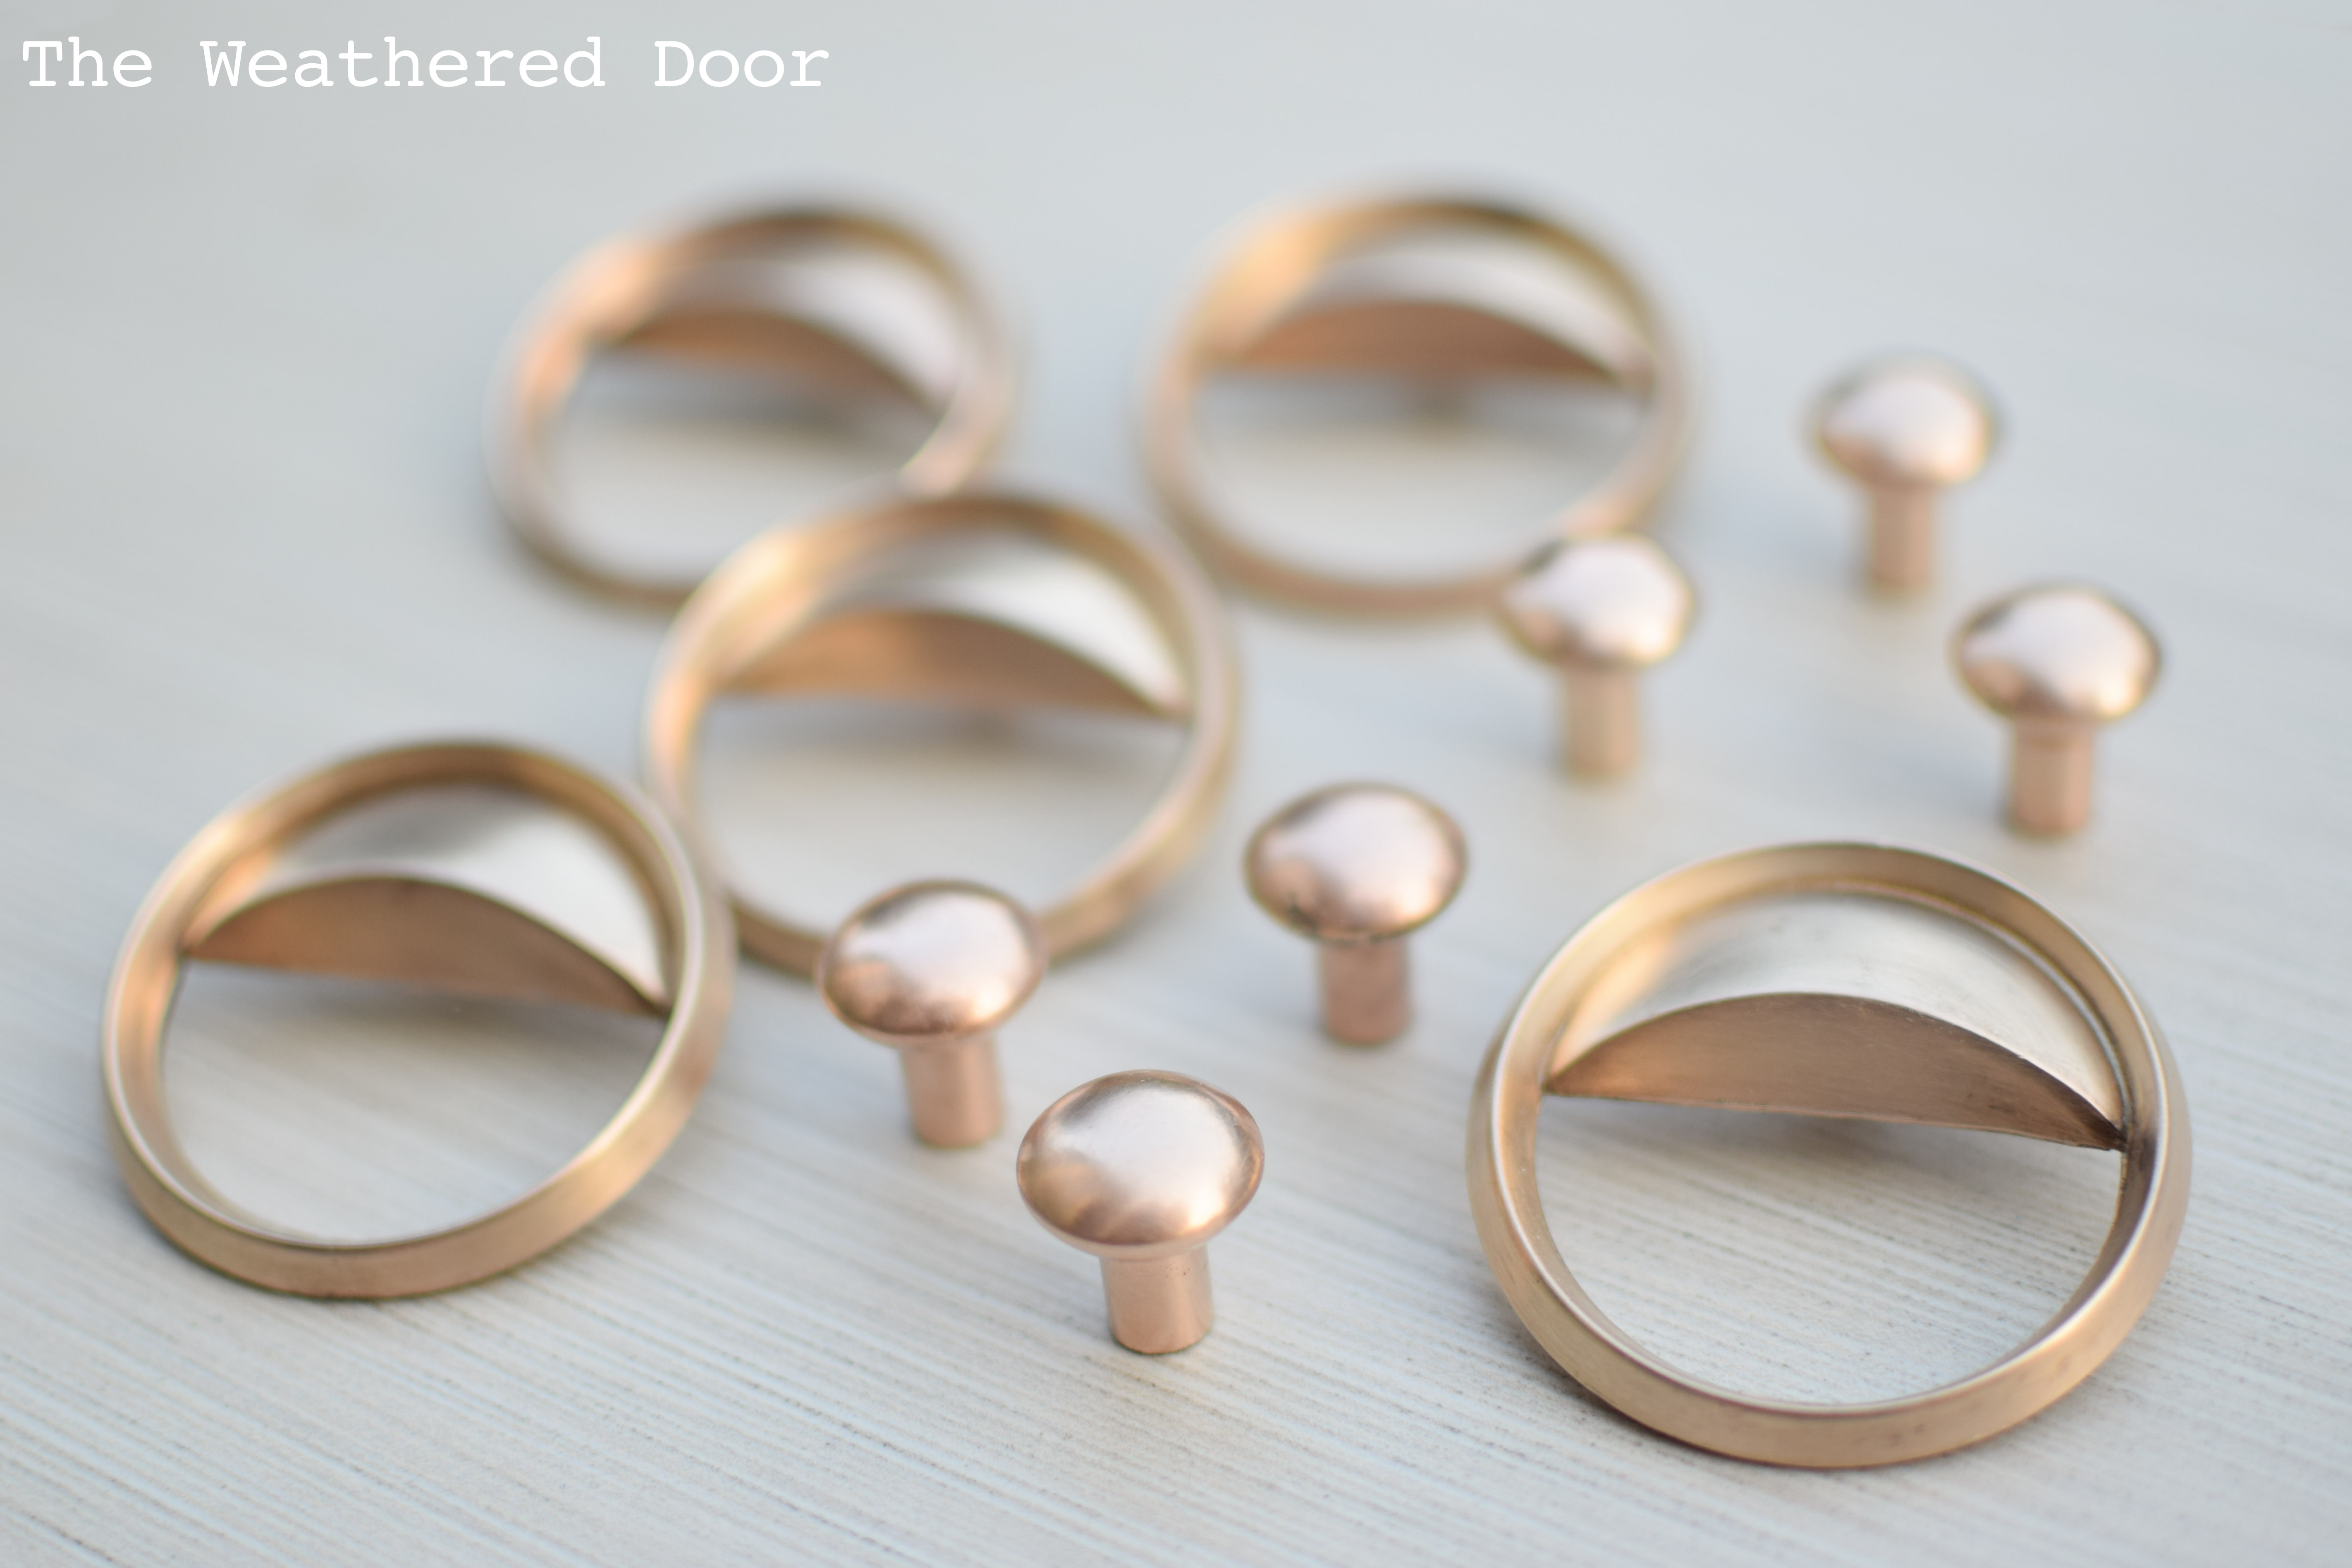
I recently refinished a mid century dresser that has some hardware in need of some polishing. Polishing up vintage hardware may sound like hard work, but if you have the right products to help you it’s quite simple and doesn’t take a whole lot of time. I was polishing 6 medium sized round pulls and 6 small knobs for the piece I was working on, and I was able to finish them all in under 15 minutes. It goes much faster when you aren’t trying to film a video, trust me.
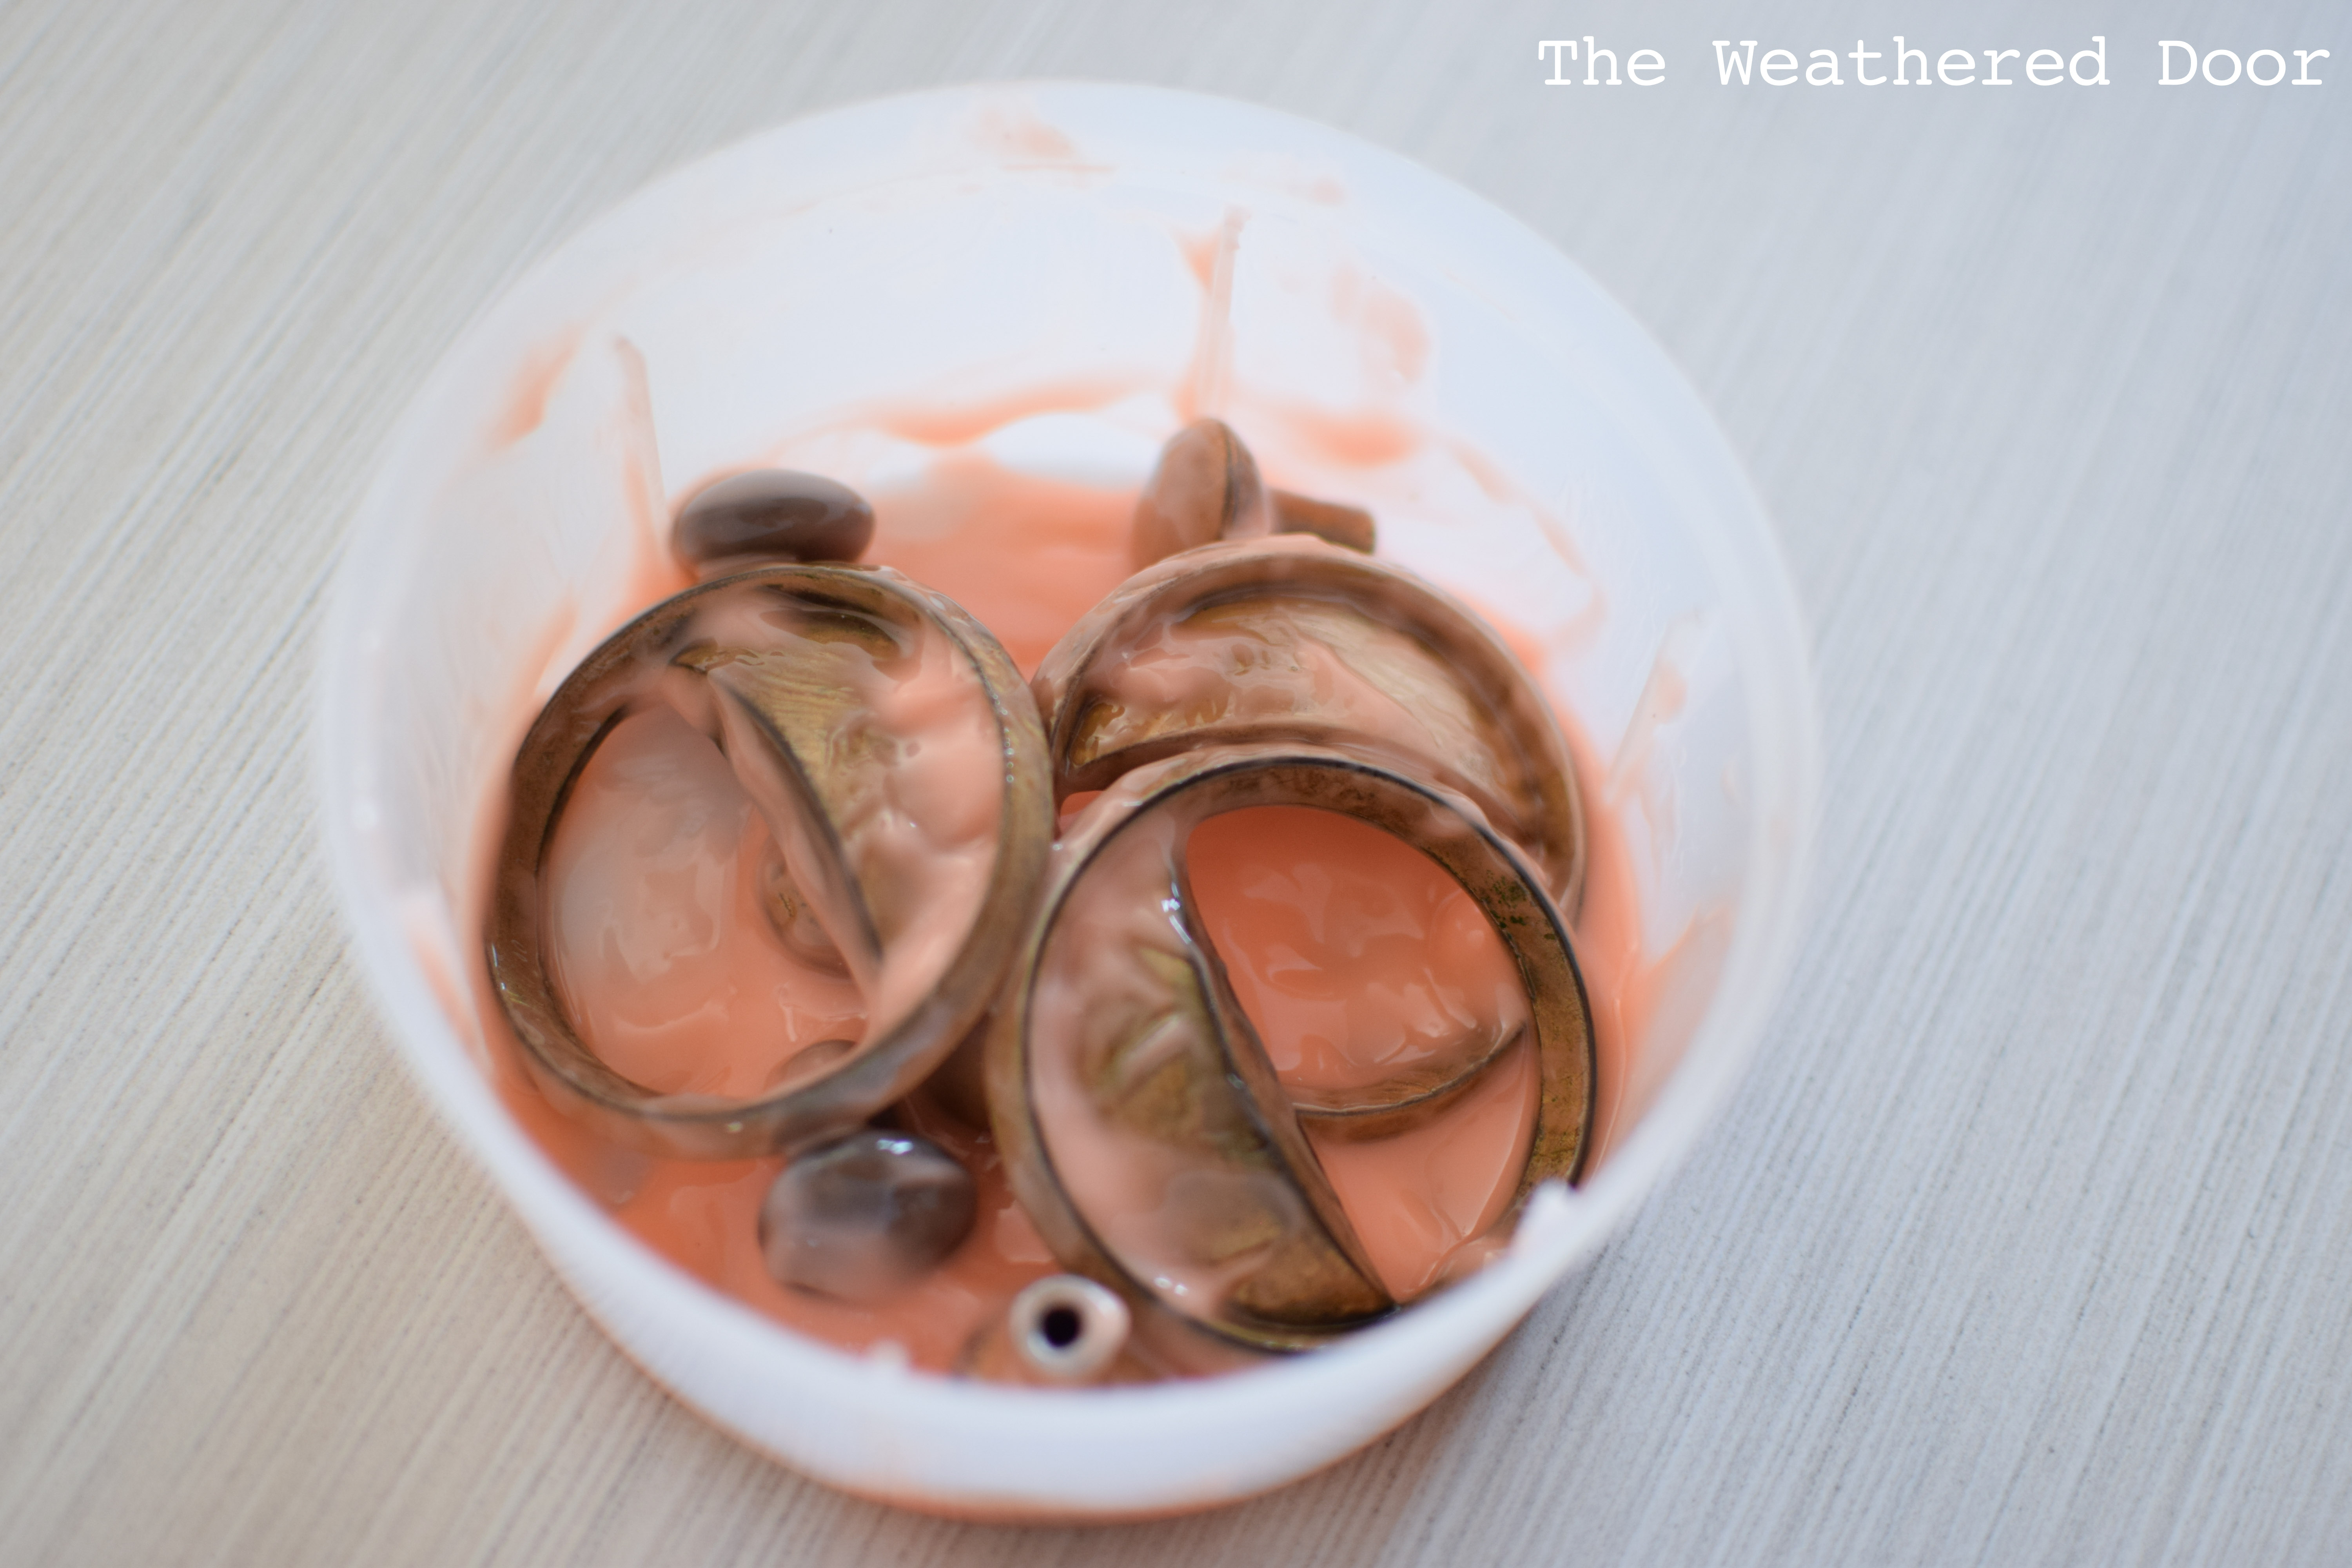
1. Strip the hardware – Most hardware comes with a lacquer coat (especially campaign hardware) which is meant to keep the brass from tarnishing overtime. If your hardware has a lacquer coat and you don’t strip it you could be polishing for hours. I’ve also had painted hardware or hardware with painted areas that needed to be stripped before I could begin polishing. To strip hardware I put all of the knobs and pulls into a small container and used my go-to stripping product, Citristrip. Use an old brush to make sure all surfaces of the hardware are covered in the stripping product and then let it sit for about 10-15 minutes.
2. Rinse – after you have waited for the stripper to do its thing, take the hardware and rinse it off with water. Make sure to get all the stripping product out of any crevices in the hardware.
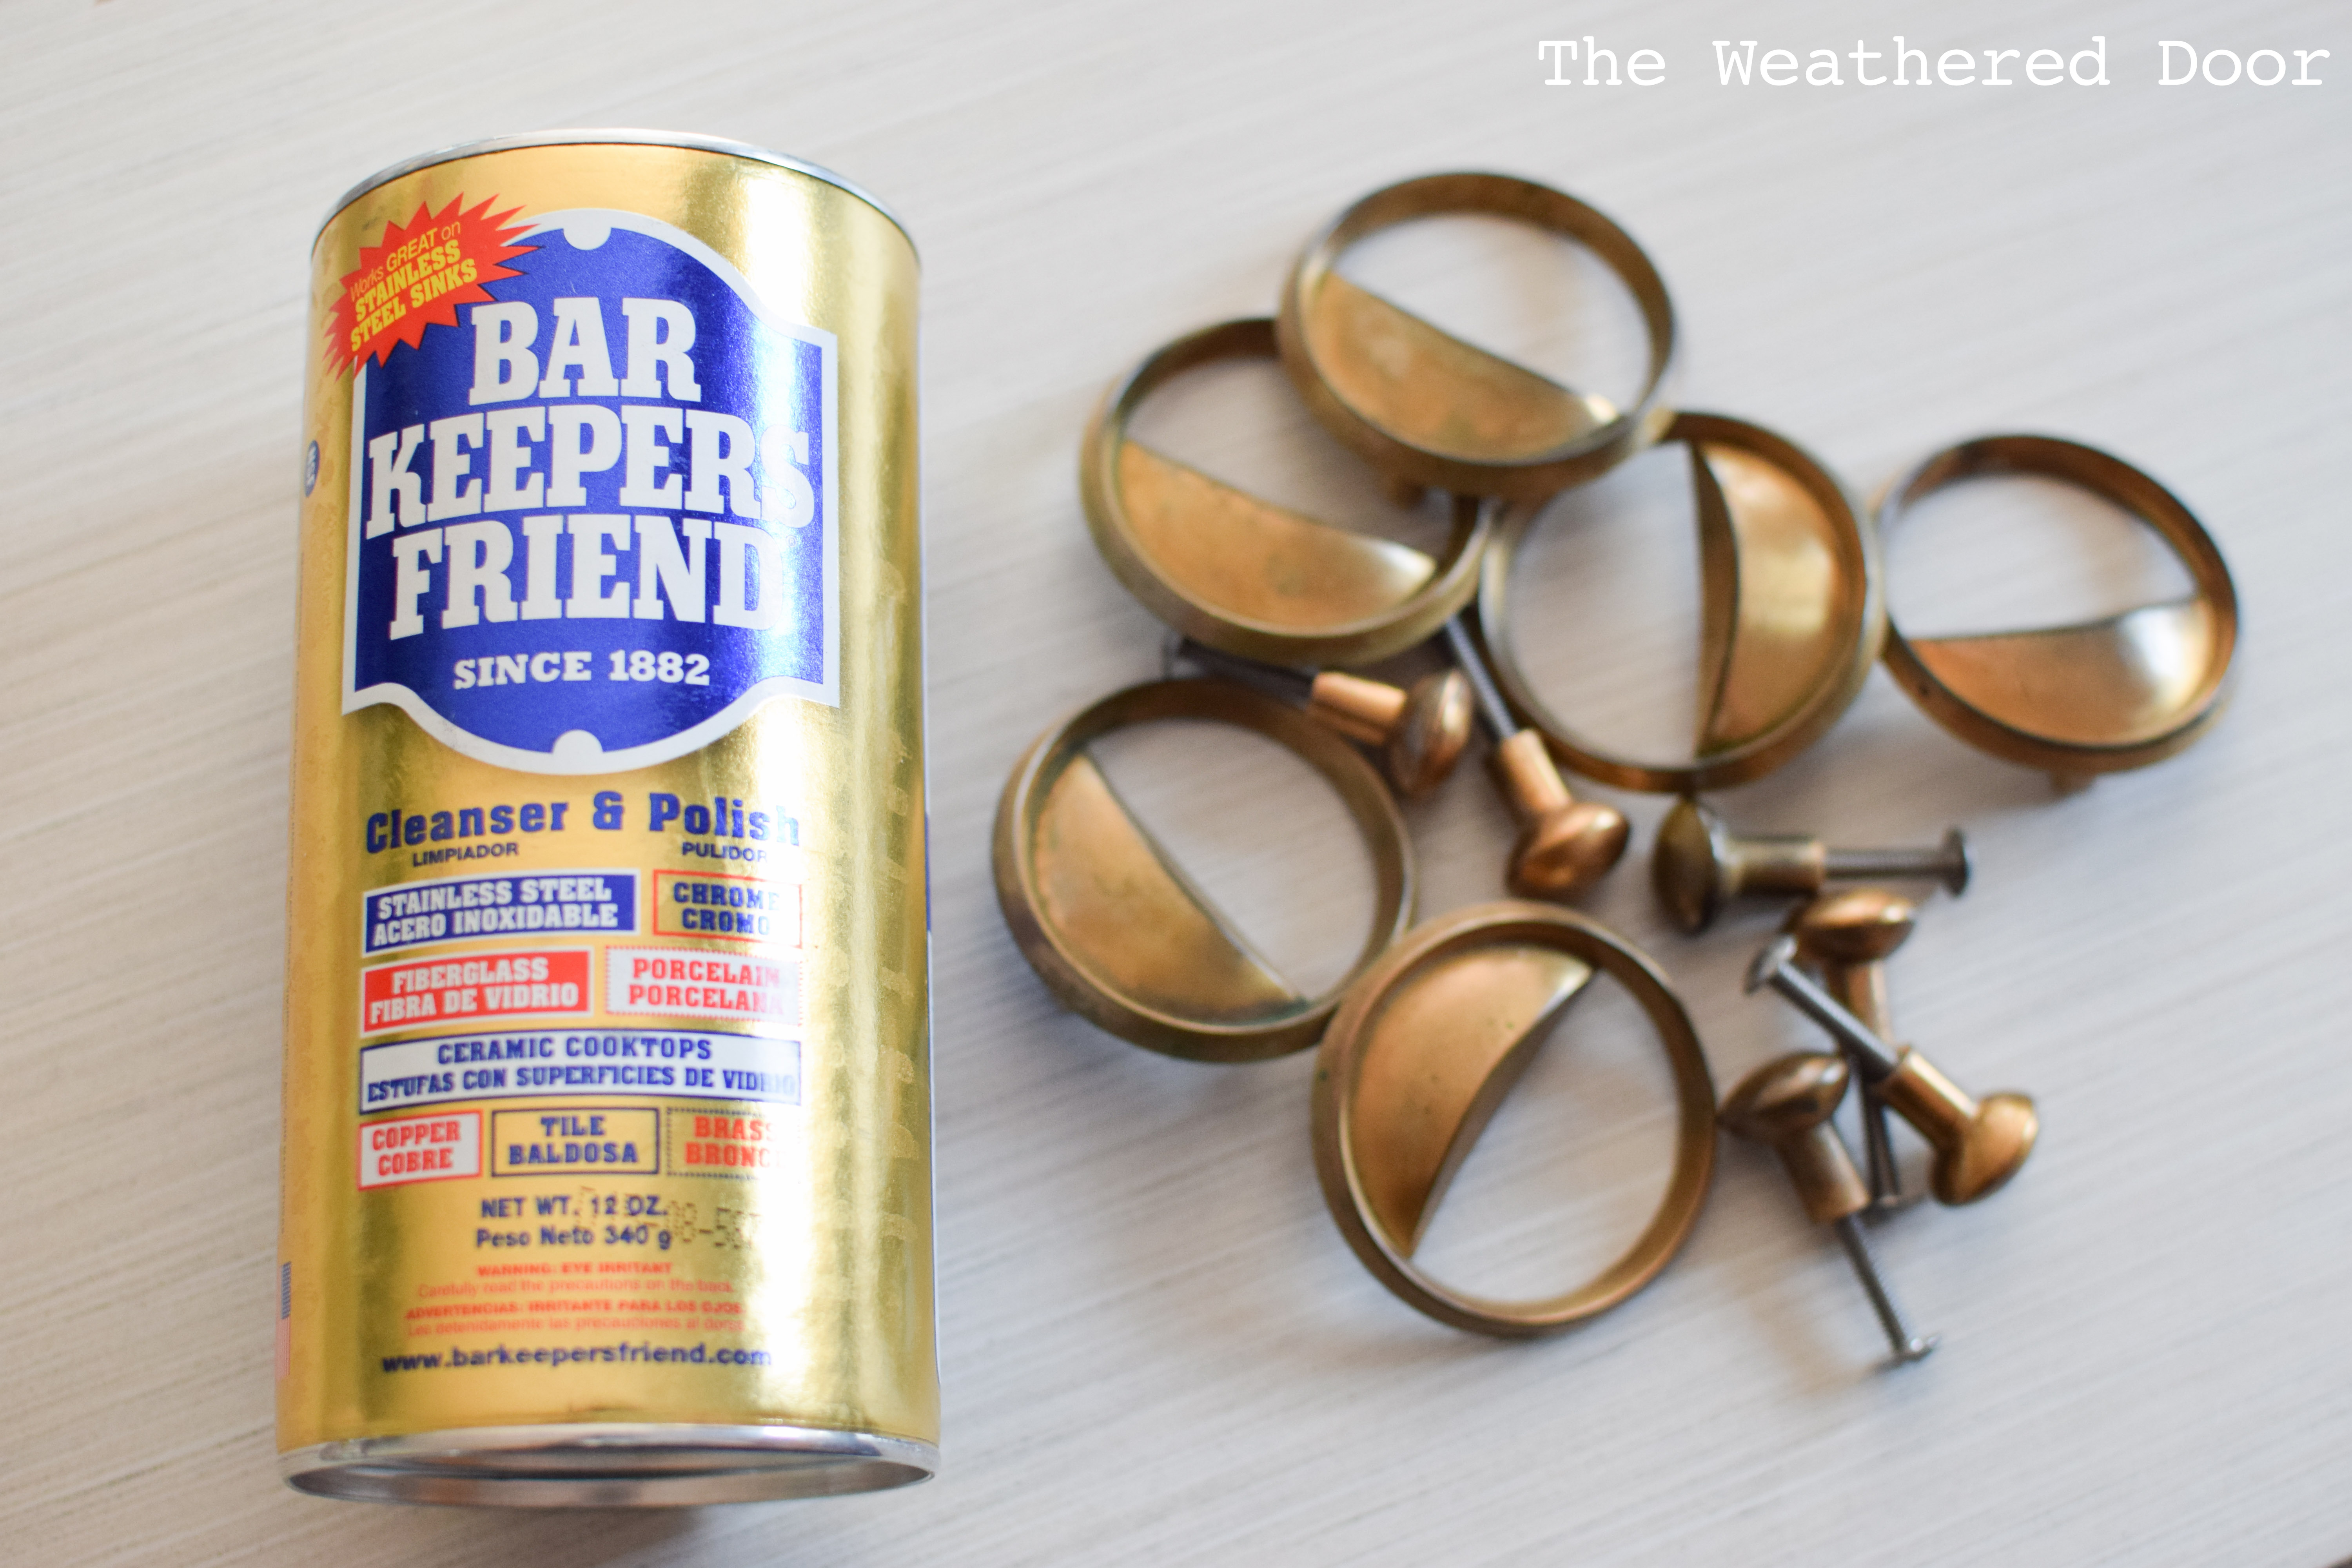
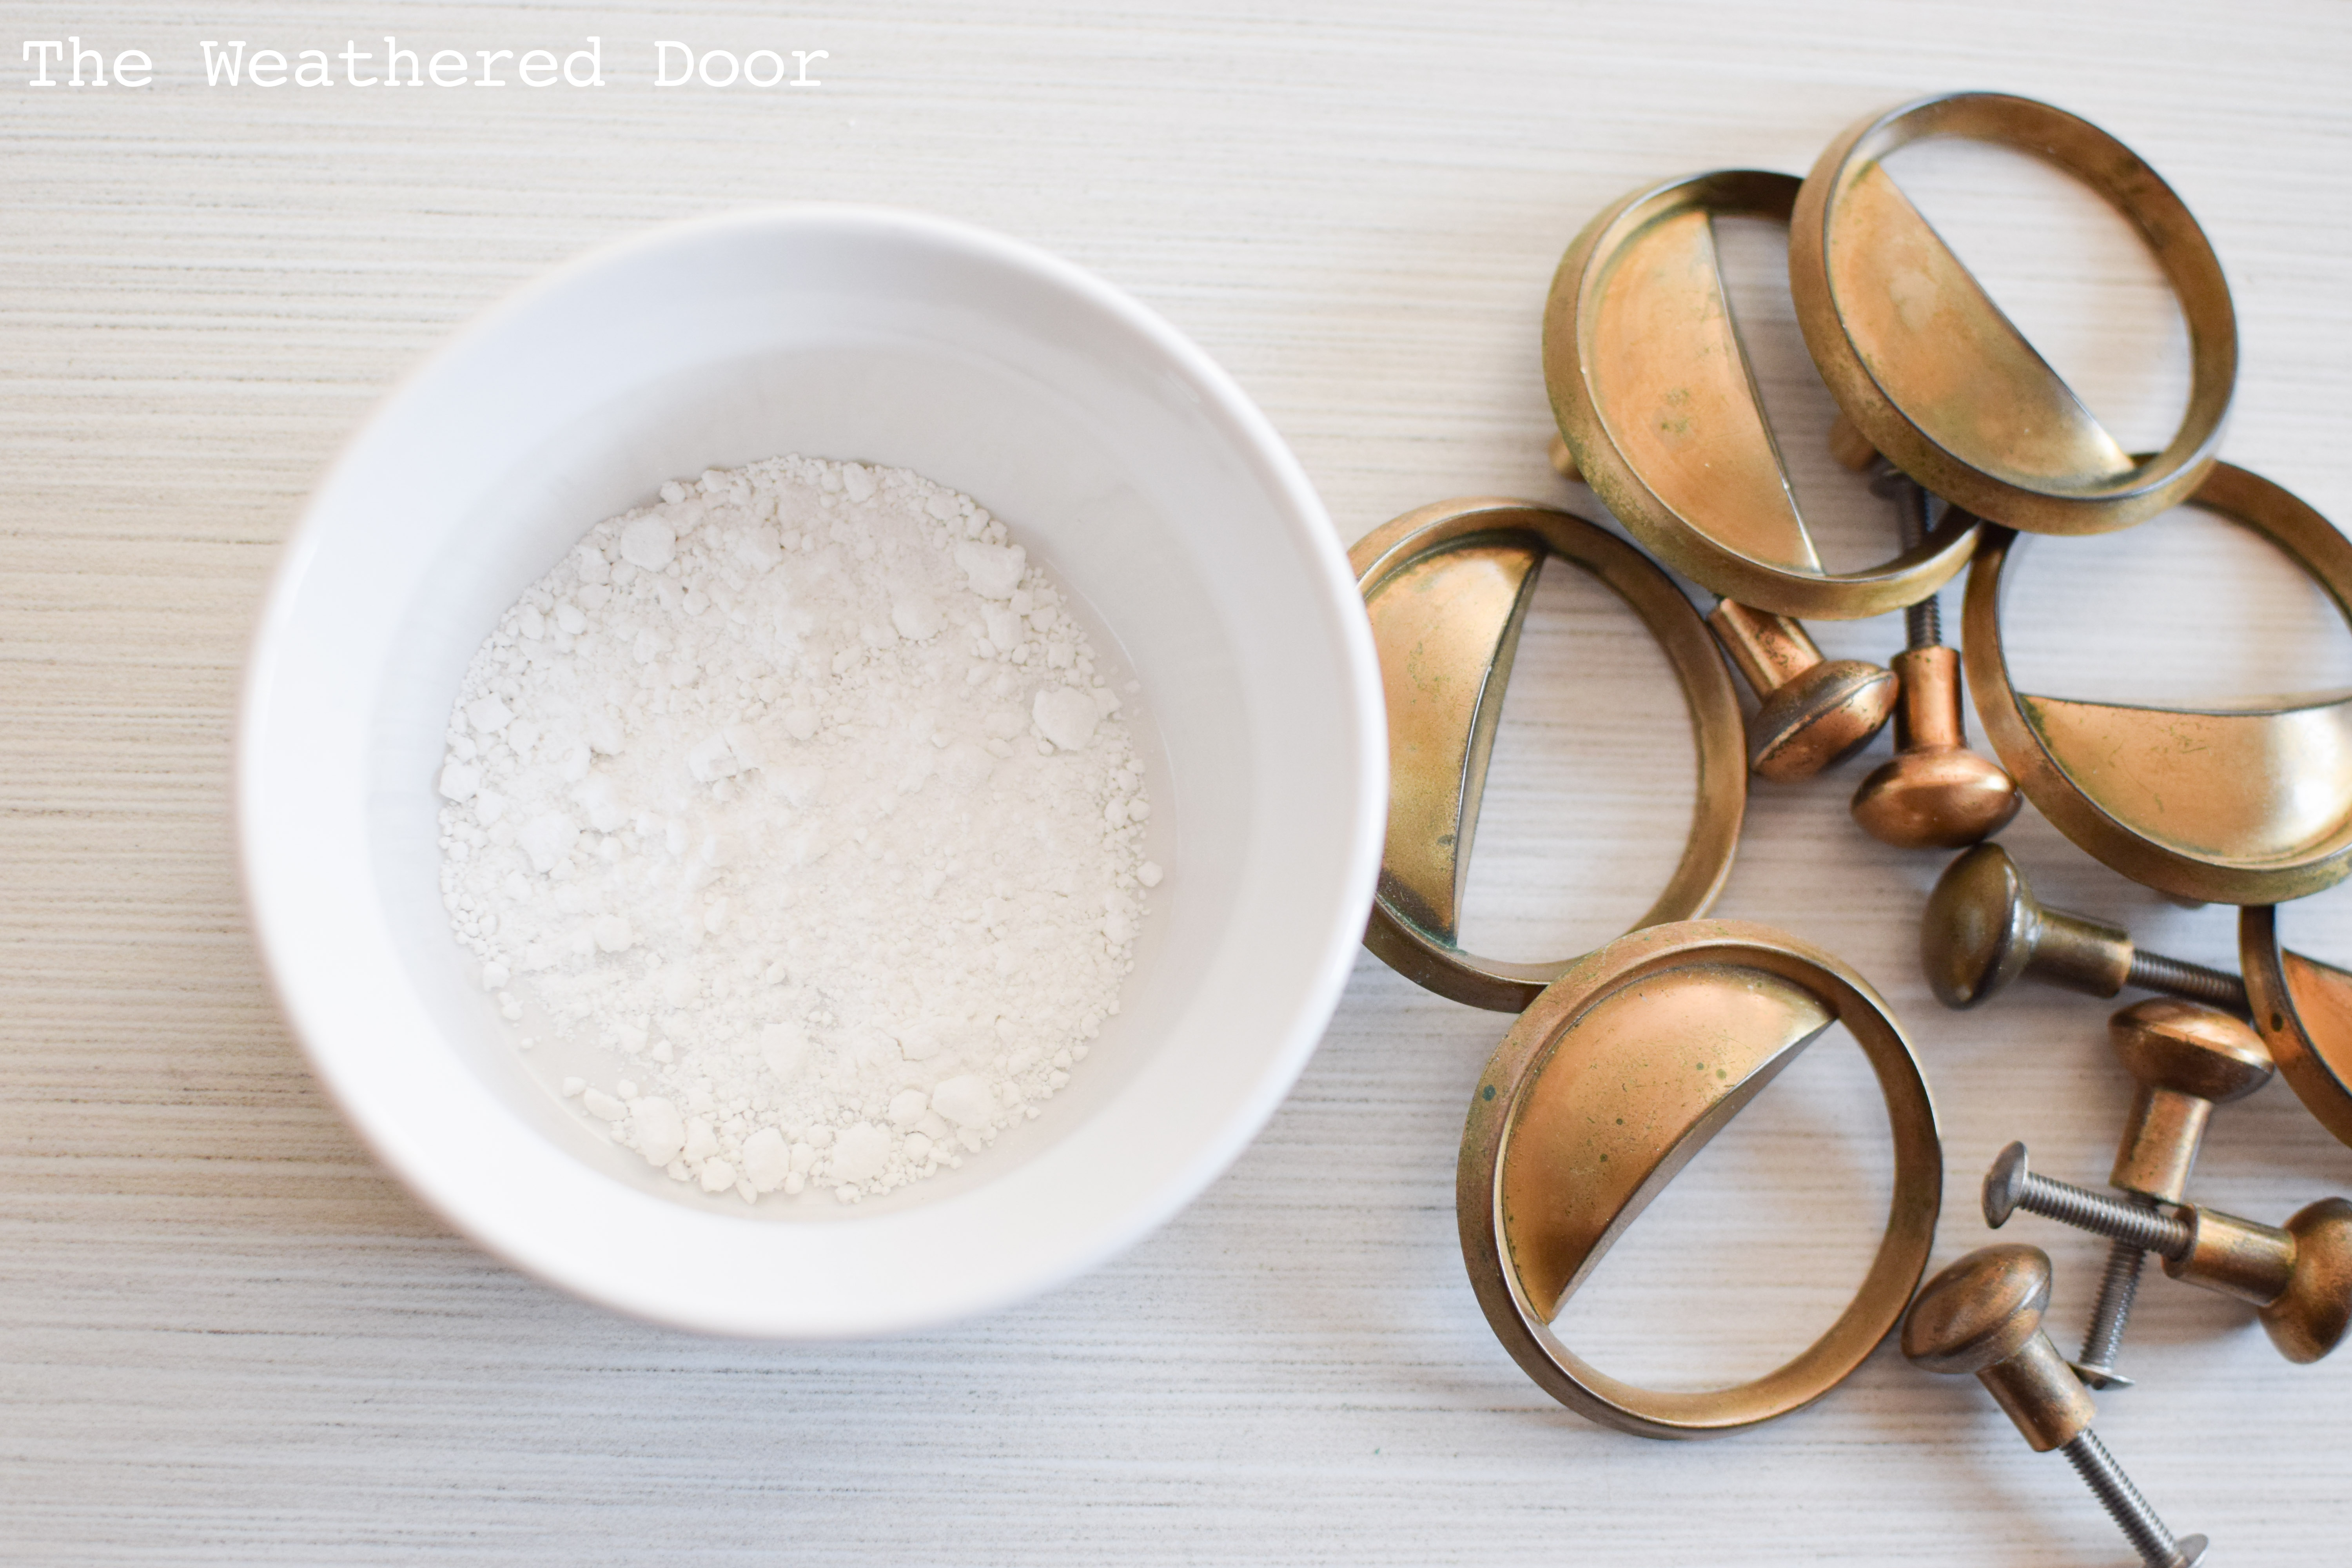
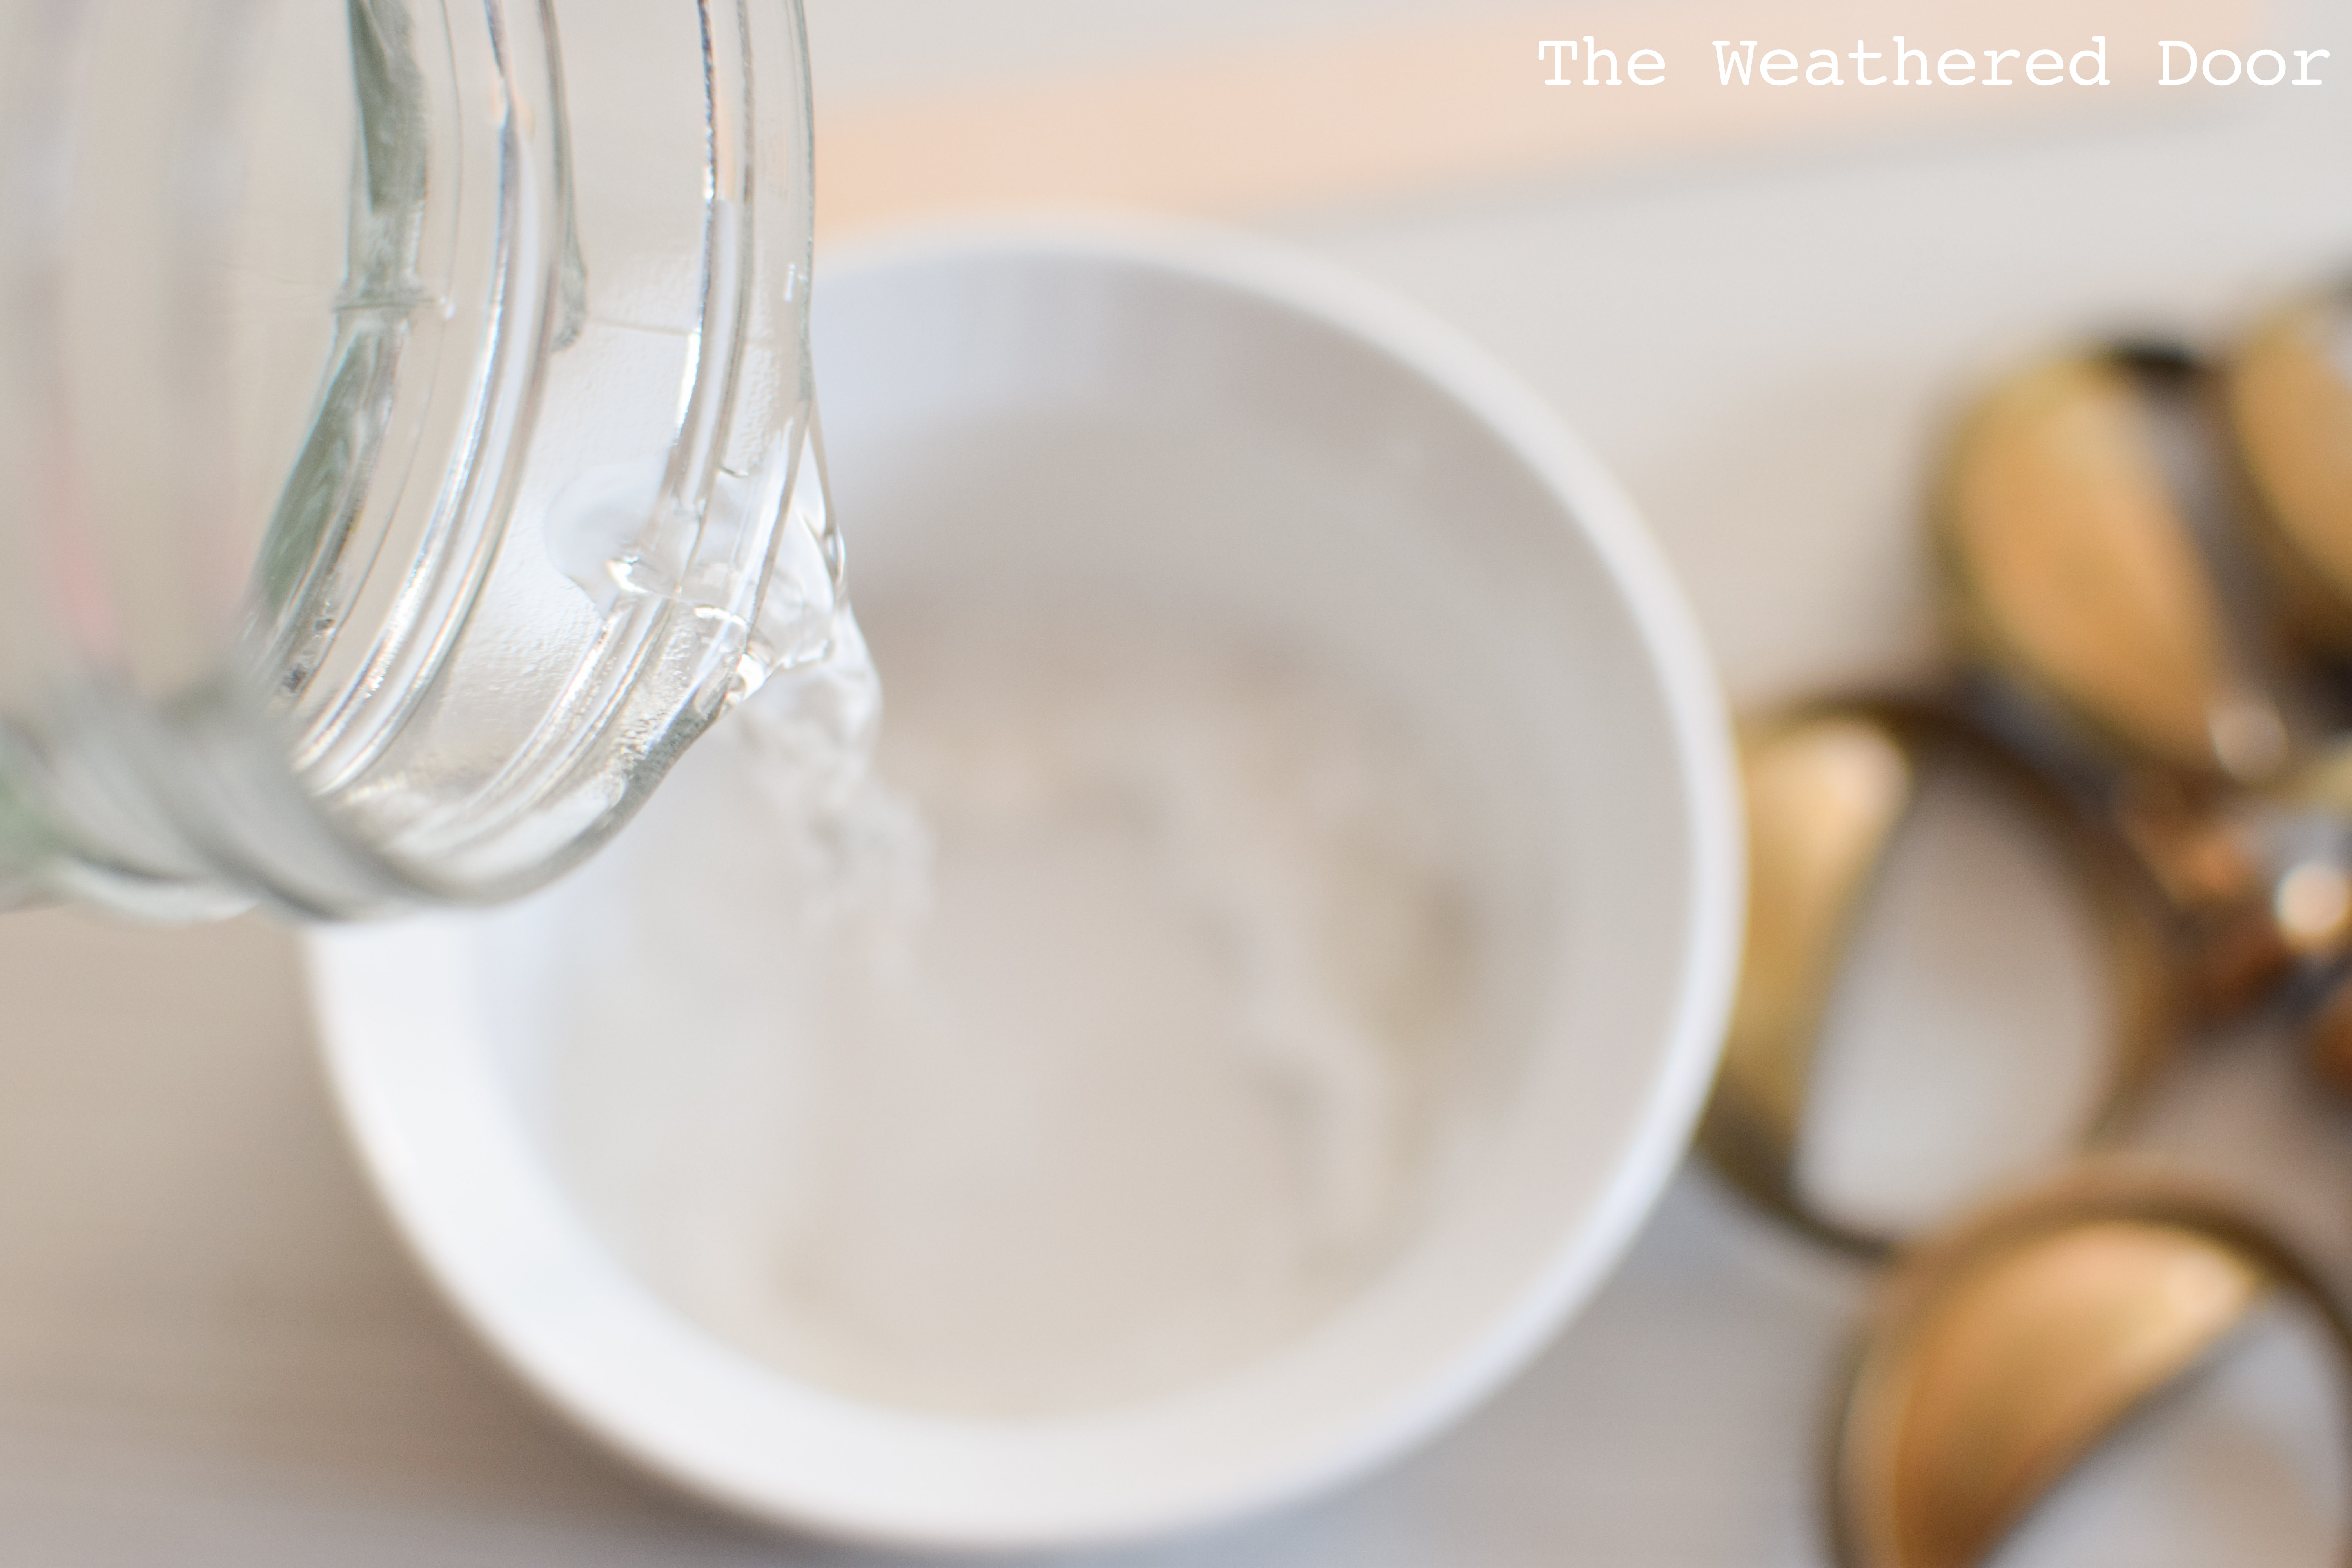
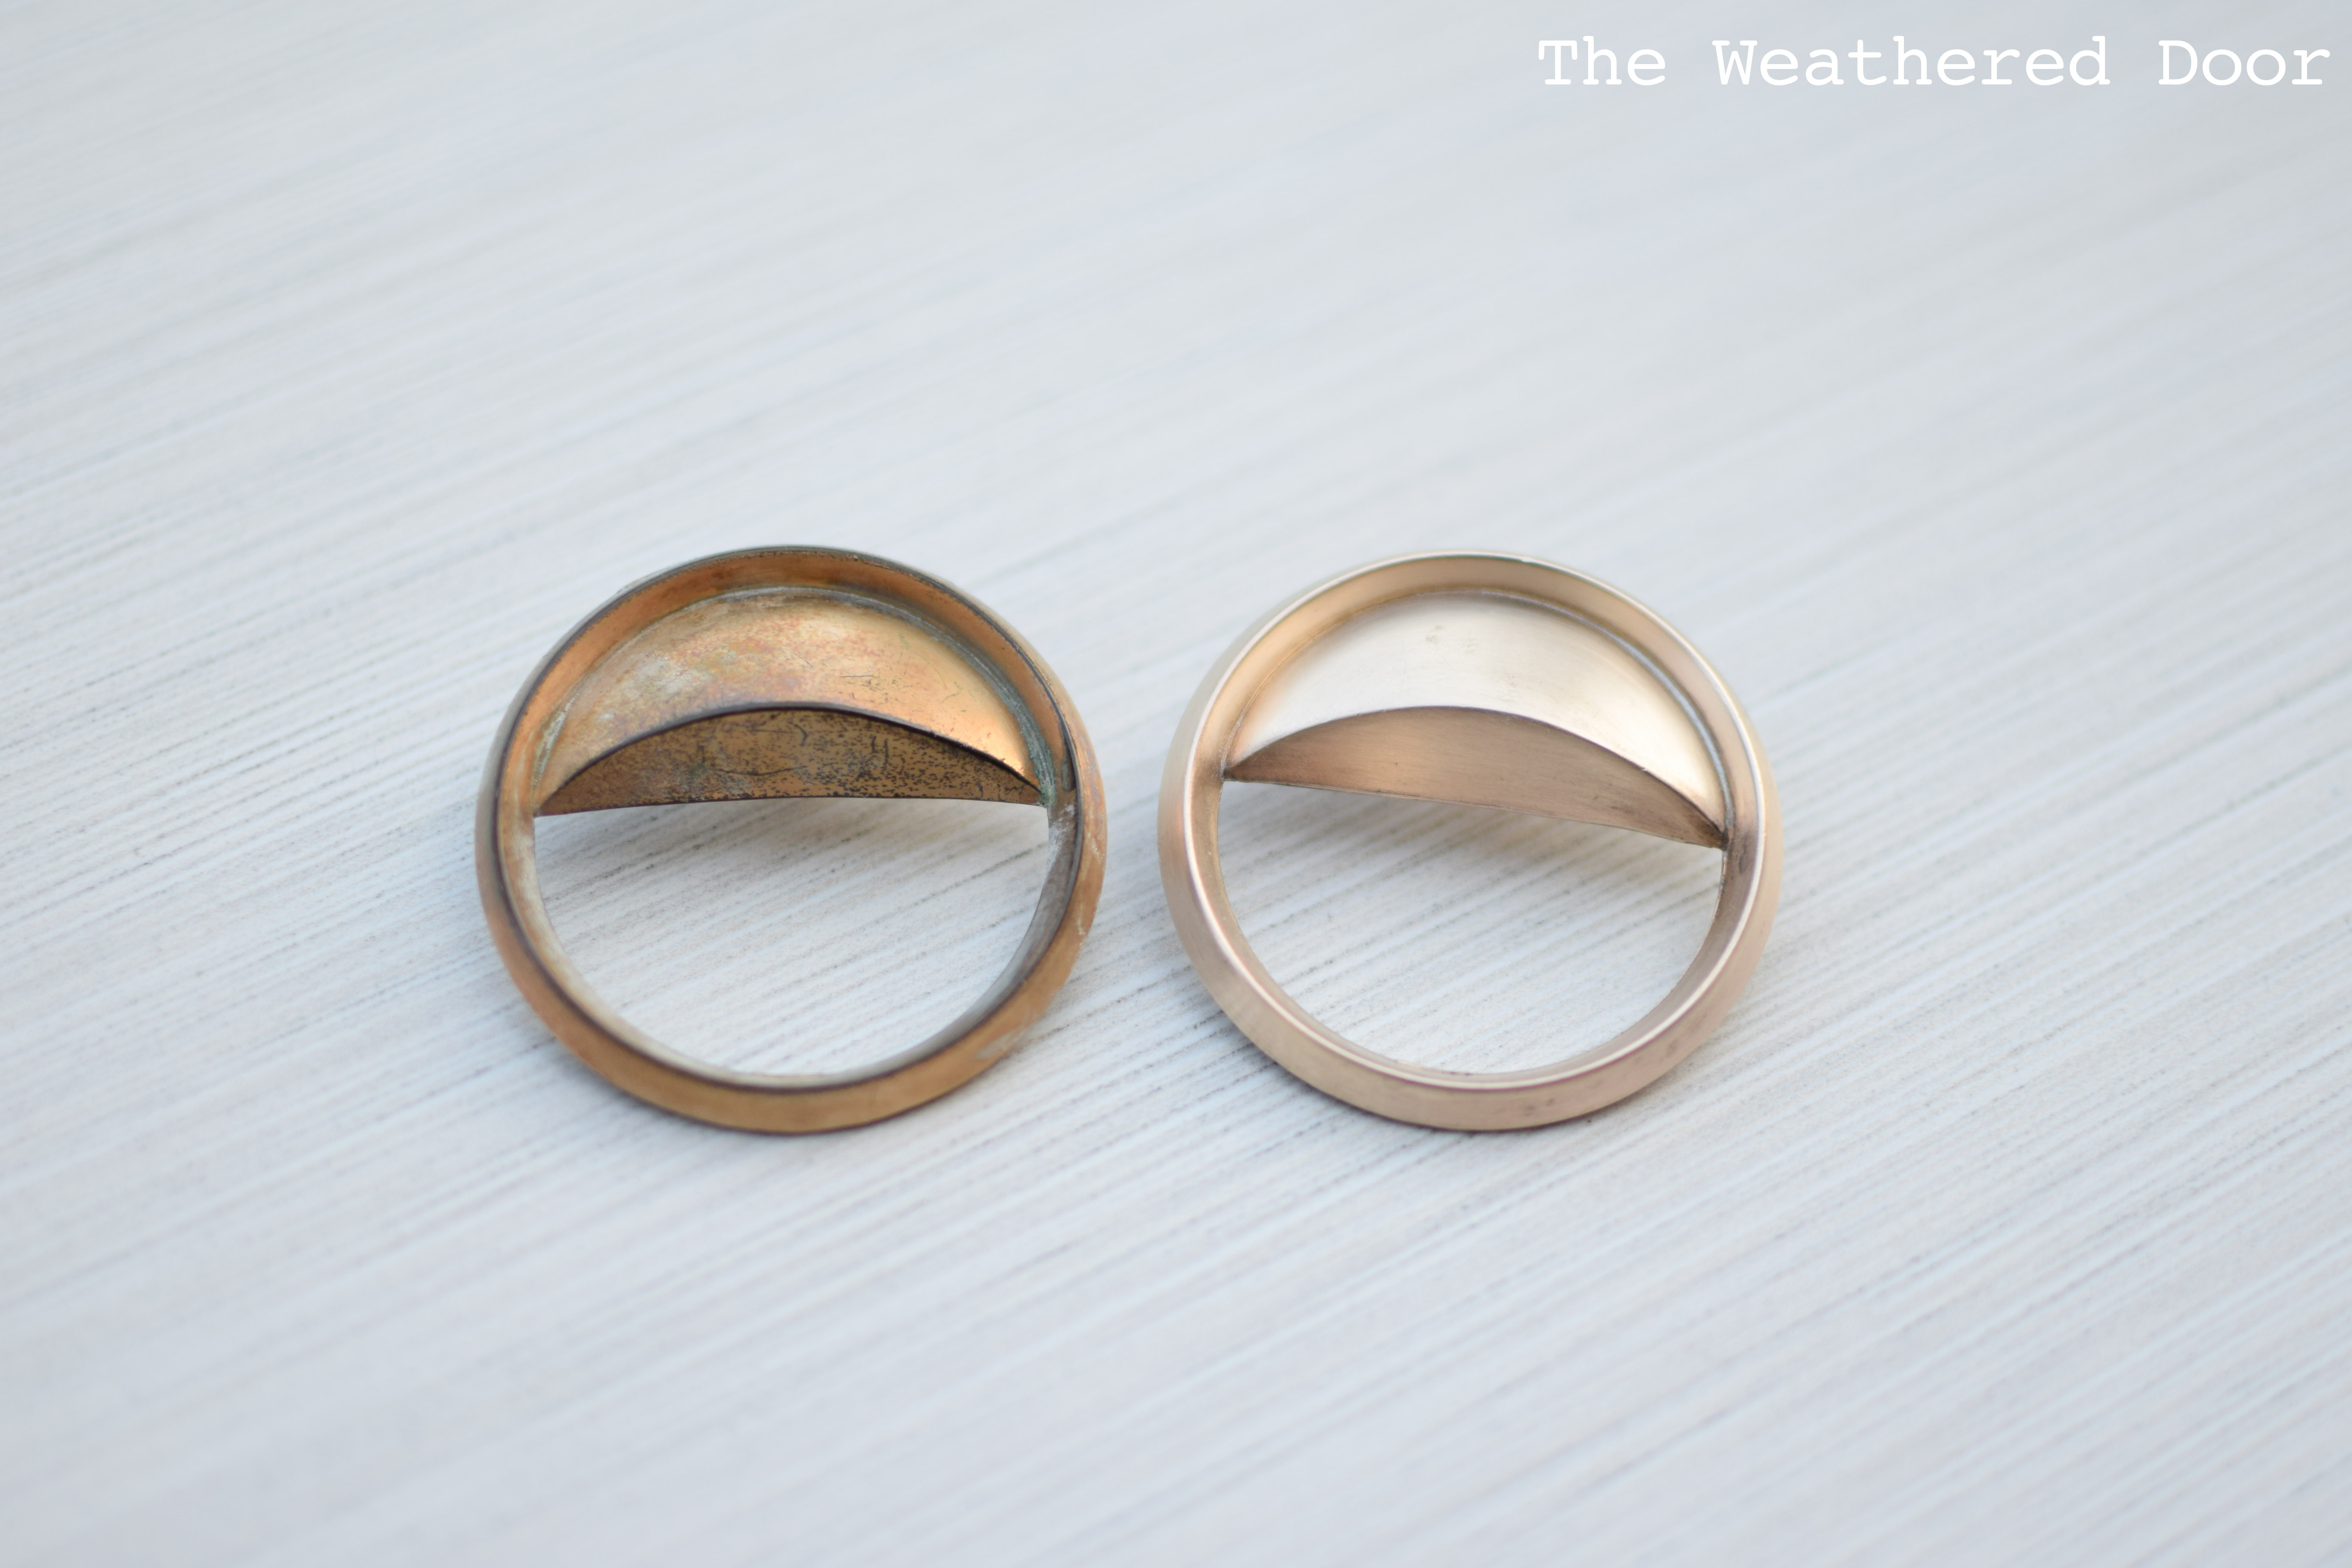
3. Polish – Bar Keeper’s Friend is the only product I have tried that really works to clean off the years of build-up grime and tarnish. It polishes brass so nicely and while I have not used it on other metals (yet) it is suitable for many different finishes. I use the powder Bar Keeper’s Friend and mix it with water in a small bowl to create a paste but it also comes in a soft cleaner. The other tool you need is a sponge. I use the scrubby side to polish up that hardware. Get all areas of the hardware that will be visible once it is attached back onto the furniture or cabinetry.
4. Dry – Once the piece of hardware is all polished, rinse it off with clean water and then use a soft cloth to dry each piece. Don’t let any water sit on the pieces as this will leave water marks which will need to be buffed off later.
If you found this helpful and enjoy videos, let me know by leaving a comment. Do you prefer explanation posts with just photos, or do videos help you visualize and understand the process better? Also let me know what you want to see next.
Have a great week
-Reeves
Hello Reeves! Loved the video; loved the music; and Bar Keeper's Friend is pretty awesome. Although I hadn't realized you could strip off the lacquer beforehand, so thank you! I've been reading your posts for some time now, and can see that you've put in the hard work of improving your photography skills. Your photos are really lovely and a pleasure to look at. Take care! Cynthia
You do beautiful work! I would love it if you would join in on my Making Broken Beautiful party! It starts 6:00pm (MST) this Thursday September 10 and I would love to have you join up each week!
Smiles for a great week!
Terry
(http://thecuratorscollection.wordpress.com)
Thank you so much for this tutorial! I just followed your instructions & polished some beautify hardware on a piece I’m refinishing for our home. They came out AMAZING! Absolutely beautiful! Thank you!
You are so welcome! I’m glad it worked so well on your hardware. It makes polishing so much quicker 🙂
Sharing and pinning this awesome video! Great job explaining exactly how to bring all that brassy goodness back!
Thanks so much!
Quick question. I got Citristrip and on the directions it says to use in a metal container but I see in your video you used plastic. It didn’t eat through the plastic? And how long did you leave it on the hardware? Thanks!
Defintarly going try this before buying new hardware.
Question, do you need to re lacquer the hardware at the end of the process?