This cute little dresser came from a garage sale and was in need of some love!

Someone had started to glue ripped up brown paper bags to give it this look. He never finished, and I wanted to do something different with it, so off came the paper bags.
After a sanding with the electric sander, the drawers were looking something like this:

There had previously been two coats of paint on the dresser. A funky green and a funky pink. I knew I was putting a map on the top of the dresser to cover up some ruined areas, so I picked out a light grey. I had previously gotten the paint for a quarter from the Habitat for Humanity Re-Store.

I painted one coat on the dresser and the drawers, but the spots with missing paint were still visible, so I re-sanded all the drawers by hand with 220 grit sandpaper. Then I put another coat on the dresser and two more coats on the drawer.
Putting the map on the top required two people, so I got my mom to help. The spray adhesive we had was not working (maybe it was clogged) so I used a glue mixture (Elmer’s glue and water). We laid the map out, positioning it on the top. I spread the glue mixture on the top and we laid it down, and started smoothing it out with our hands and some gift cards (really just needed something plastic). The map wrinkled and bubbled in many places. I thought it would is a couple areas but not as much as it did. There was nothing I could do, so I left it. It is hard to see the winkles and bubbles in the pictures.
The next day I cut the map so it fit the top of the dresser, and used polyurethane to seal it and stick the edges down. Usually polyurethane is used on pieces that have been stained, but I have found it also works on painted furniture. I had previously used polycrylic, but that yellowed the pieces I put it on, so we returned it to the store. When using polyurethane on paint I make sure to do multiple thin coats.
The hardware for the drawers also came from Habitat for Humanity. Each pull was $0.50. You can’t beat that! The only problem is finding enough matching drawer pulls since they may only have a few of each and they are thrown in boxes. It’s a hunt!
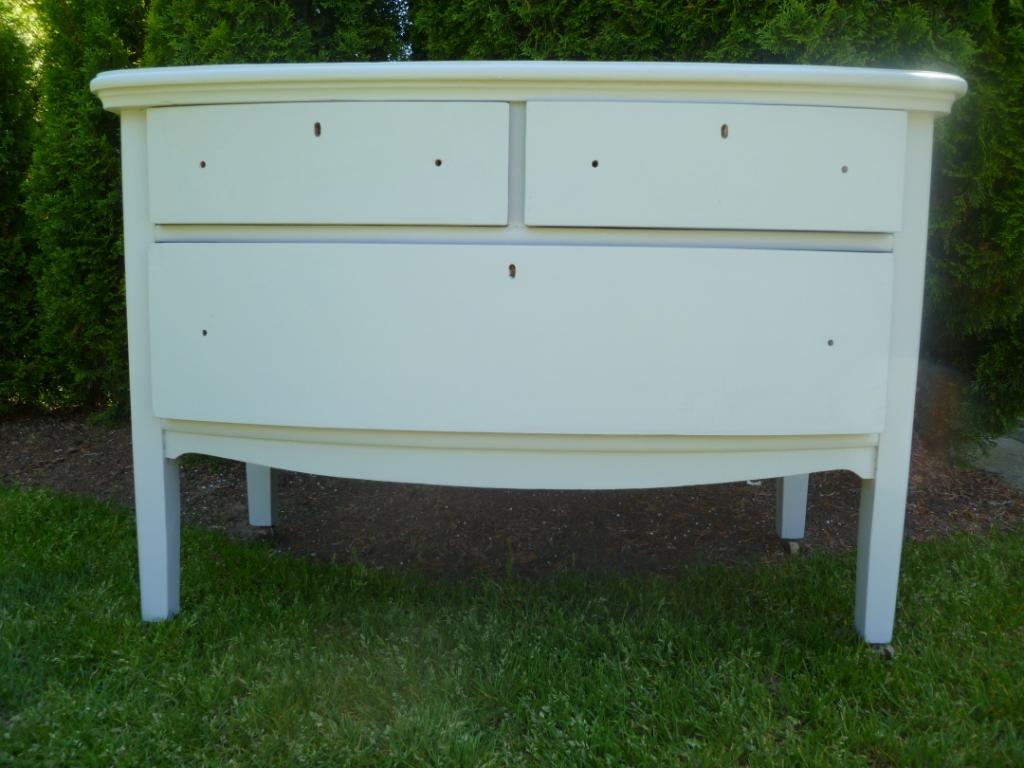
Here is the dresser all finished!


My family had a piece like this one. It never looked this good.
how did you cut the map so that it fit the curve of the top so perfectly?
I laid it out on top, then folded it over the edge to create a somewhat folded area, then cut it out. There was a little bit extra the I trimmed with scissors or a exacto knife after it was glue down, but not all the way dry.