When I first started dabbling in spraying furniture in January 2015 I never expected to end up here . At that point I was just looking to create higher quality, professional finishes and brushing paint on (or rolling) wasn’t going to cut it. I bought a spray gun, built a spray booth, and I guess the rest is history ? 🙂
It’s the natural flow of things, in my experience, to learn something and after some time “perfecting” (that’s in quotations because we all know there’s no such thing as a perfect finish) what I learned I find something new as a means to improve my business, blog, and finishes. My friend Christina of Phoenix Restoration helped push me to try out non water-based finishes. Check out her work, she’s incredibly talented.
Disclosure: this post contains affiliate links.
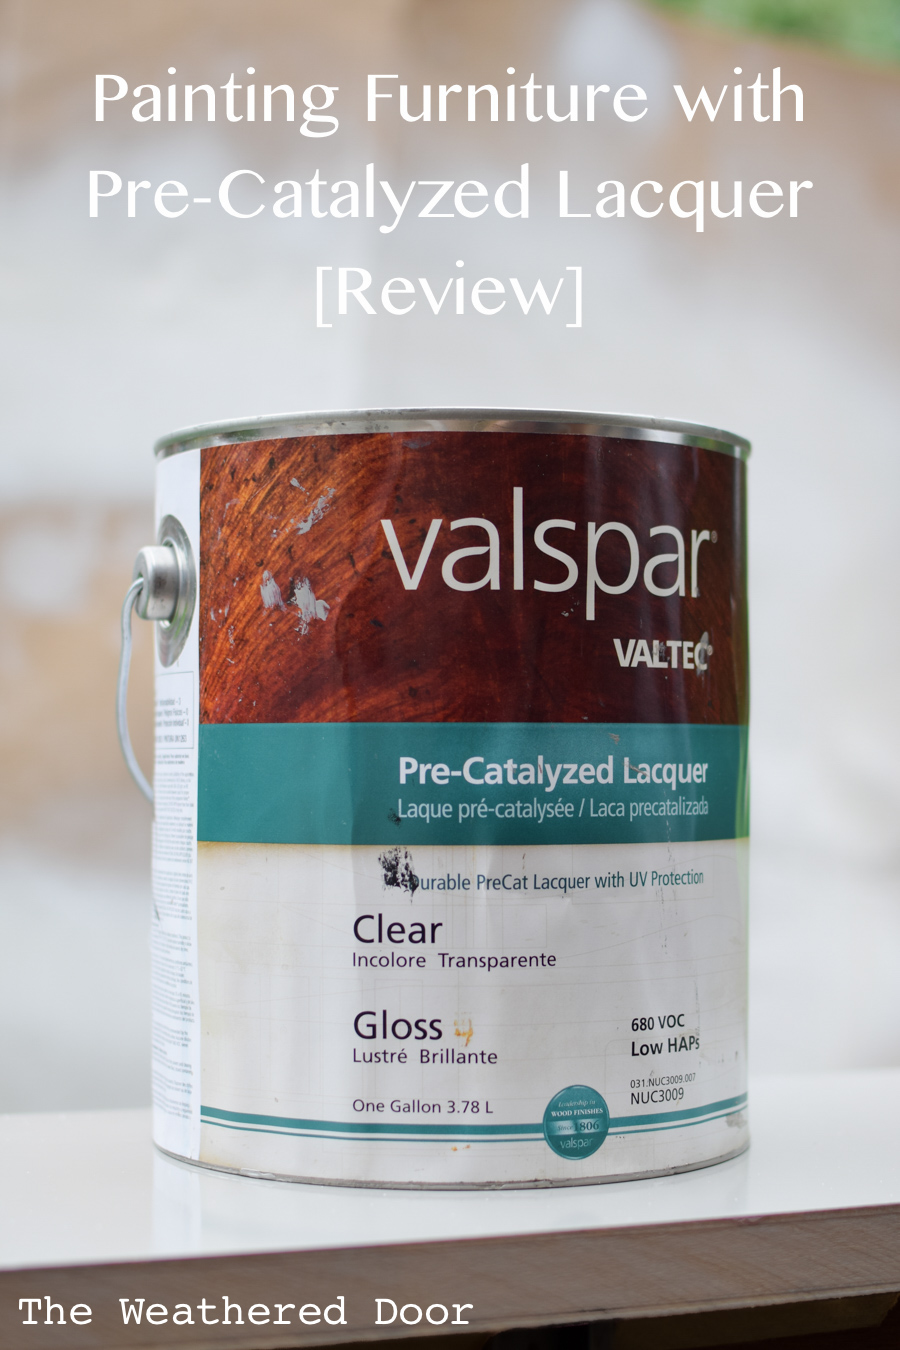
Purchasing Lacquer
Lacquer is not readily available in every state, or even available at all because of VOC regulations. You can’t just go to a hardware store and find gallons of tintable lacquer. After talking with a few professional furniture refinishing companies and painters I found out that pre-catalyzed lacquer was what everyone seemed to be using for their panted finishes. Sherwin Williams sells one but only at a specific South Seattle commercial location. Their product is called Sherwood Pre-cat lacquer and the difficulty is color formulas don’t cross over from standard paint to lacquer so it has to be custom mixed and color matched. This can take a while and they often only want to sell in large quantities. Getting just 1 gallon of tinted lacquer isn’t the easiest process and can often involve a manager.
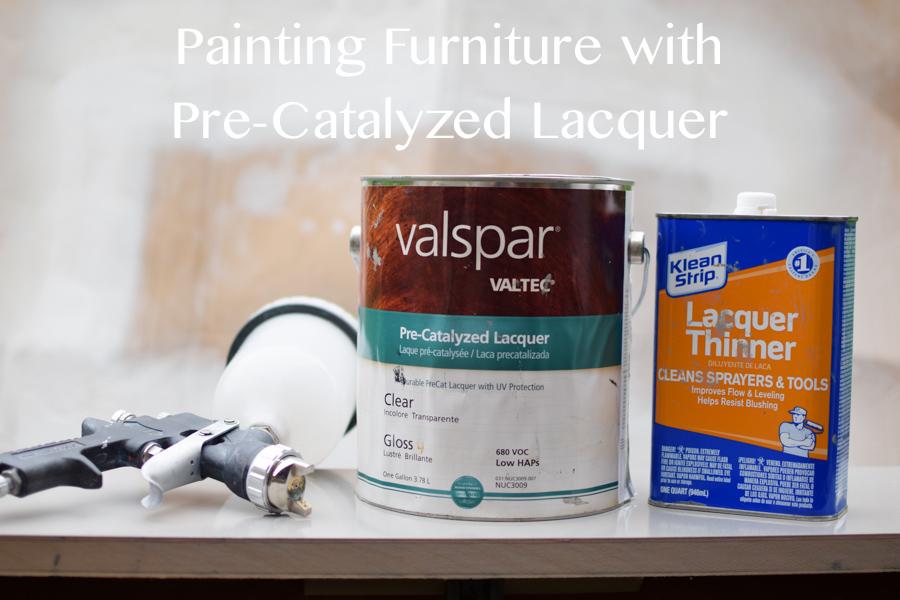
Another other painter I talked with uses Valspar pre-catalyzed lacquer which he purchases from Rodda (yes, Valspar, the Lowes brand). There is a local Rodda paint about 15 minutes from me and that is where I purchased a gallon of lacquer. Another great thing is the Valspar lacquer comes is many sheens including gloss (which is the sheen I was after). Other brands of lacquer only offer satin finishes which are great, but having options is nice. Rodda offers many paint colors and does also color match. I had them match Sherwin Williams Elephant Ear in the 1 gallon of pre-cat lacquer and it took about 2 days for them to have ready for pick-up.
Cost
Tintable pre-cat lacquer is sold in 1 gallon or larger. Prices will vary depending on the brand and color. Some distributors charge for color matching while others do not. 1 gallon of the valspar pre-cat lacquer I purchased retails for $60 and ran me about $40 with my business discount. Overall I found it to be well priced and comparable cost-wise to other water and oil based products I purchase.
What is Pre-Catalyzed Lacquer?
I know that I am not the best person to try and explain what a pre-catalyzed lacquer is. You are probably better off finding professionals who have written about the product and the benefits and troubles of it. Here is my best try at a simple explanation of what I understand about lacquer.
Pre-catalyzed lacquer is very a very durable product and what makes it different from other/regular lacquer is that it has a catalyst or hardener added into in when you purchase it. Other lacquer (post-catalyst lacquer) is where the user/professional painter adds in the catalyst at their shop before using it. From what I understand pre-cat lacquer does have a shelf life and when I have purchased the dealer dates the lacquer as a sort of “best by…” date.
Safety Precautions
First off let me say that a respirator is necessary when spraying anything (and also prepping), but especially when using non water-based products like lacquer. Follow the manufacturers guidelines on proper safety precautions. Gloves are also important to protect your skin from the solvents.
Prep
I talk in detail about my painting process and the normal prep I take. Bondo glazing putty is always my go-to filler to cover up the smaller scratches and dings in furniture. I find this product is still compatible under lacquer. I’ve never had a reaction when spraying lacquer overtop. Applying the lacquer and then filling any spots you missed will have some reaction with the lacquer and I would’t recommend it. The solvents in the filler react while it sits on the paint as it dries. Do any prep you need to do beforehand.
Another thing I do differently with lacquer is I do not prime. The main reason I find it’s not necessary is because the first coat of lacquer can act just like primer and you have to be careful with what primer is used under lacquer. If the incorrect product is used underneath lacquer it can cause problems like sagging which just lead to more work to fix. I like to do my regular sanding and filling prep then spray on the first coat of lacquer. Once it dries I use a high grit sandpaper to smooth out the finish, clean it with a tack cloth and then continue with the next coat.
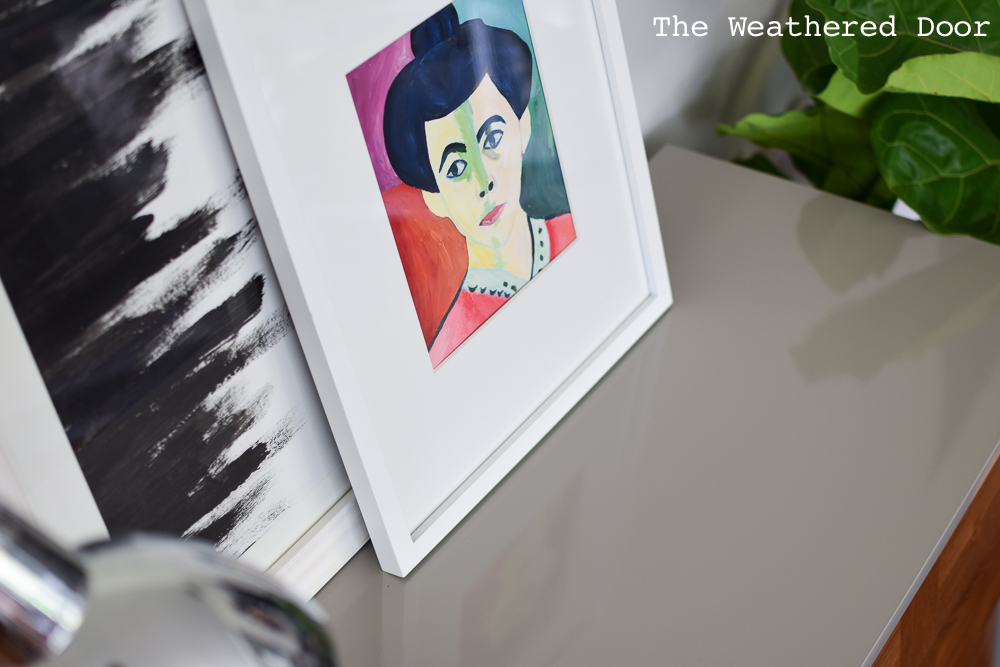
Application
Lacquer is best applied with a spray gun. Trying to brush lacquer is not a great option. If that is something you want to do a “brushing lacquer” is what you would want (I’ve never used one). Lacquer dries too quickly to be applied with a brush. From what I have read a HVLP spray gun is ideal for spraying lacquer. I own and use a Husky gravity fed HVLP spray gun for all of my sprayed finishes. For more details ready about my spraying tools and setup. The Valspar high gloss lacquer I purchased and use is already at a consistency where I can take it straight out of the can and put it directly into my spray gun without thinning. To filter out any particles that could be in the lacquer I run it a paint strainer as I pour it into my gun. I also use an in-gun strainer/filter when I spray any finish.
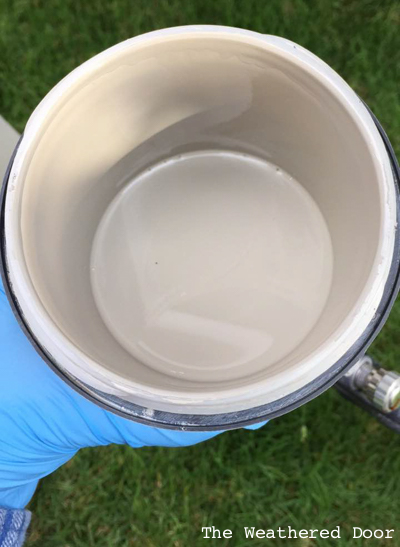
I spray lacquer just like regular paint. One thing that I do adjust as needed is the amount of product coming out of the gun. If the settings on my gun are allowing too much lacquer to be sprayed out it will cause drips. At the same time I have to be sure that I have enough lacquer coming out of the gun otherwise it doesn’t flow out enough and causes uneven sheen that looks streaky. It’s a balancing act with the settings and spraying conditions to get the best finish.
In my experience I get the best finish when the surface I am spraying is horizontal. When I spray vertical surfaces I usually get drips because of how much product I apply to get an even finish that flows together and flashes over to an even sheen. Normally I paint one surface and then turn and rotate the piece so the next surface I am spraying is horizontal. I also try to cover previous areas (once they are fully dry) to preserve the finish and prevent overspray from landing on it. Long surfaces are difficult since slight overspray can land on an already drying finish that was just sprayed and leave it feeling a little rough. I often hold a piece and move it along as I paint to prevent the overspray from falling on the area I just sprayed that is already drying.
Dry and Re-coat Time
The way lacquer works is it dries as the lacquer thinner evaporates out of the product. A benefit to lacquer is that it dries quickly, but this can also be problematic and frustrating. I spray lacquer outside so I have all the ventilation I possibly can. It’s never a good idea to spray lacquer in a confined area. I try to spray in the shade on on a day/time of day where weather conditions are mild. 60-75F is ideal in my experience.
Lacquer begins drying instantly when it comes out of the spray gun and in contact with the air and is usually dry to the touch in 10-20 minutes depending on the application. Since I apply more liberally to get an even finish that flows together I find dry time is on the longer side. You can re-coat and sand in 30 minutes to 1 hour. Follow the manufactures directions on the can for dry and re-coat time as it can vary.
Clean-up
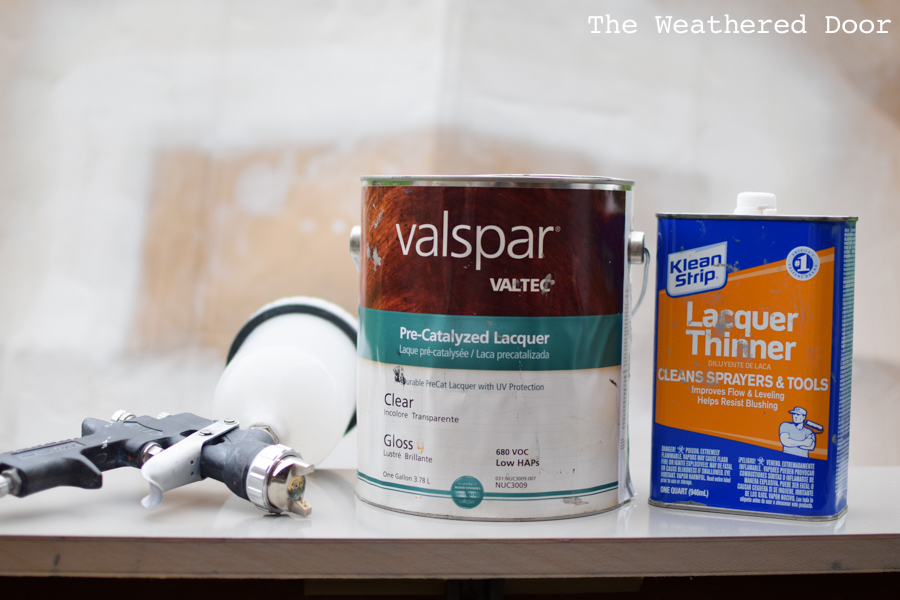
Properly cleaning up and disposing of solvents and waste is important. Lacquer thinner is what you need to clean up (and thin) pre-catalyzed lacquer. I pour out any paint left in my spray gun back into the can and then run lacquer thinner through it. As I take apart my gun I wipe down and pour lacquer thinner through all parts until it is thoroughly cleaned. For disposal I have a designated waste bucket where I dump my used solvents that I will correctly dispose of. Please educate yourself on the proper ways to handle and dispose of solvents.
Cure Time and Durability
Lacquer is usually fully dry within an hour. Once all of the lacquer thinner is evaporated out of it it should be cured to a hard, durable finish. To be safe I never use or set anything on a piece coated in pre-catalyzed lacquer for 12-24 hours.
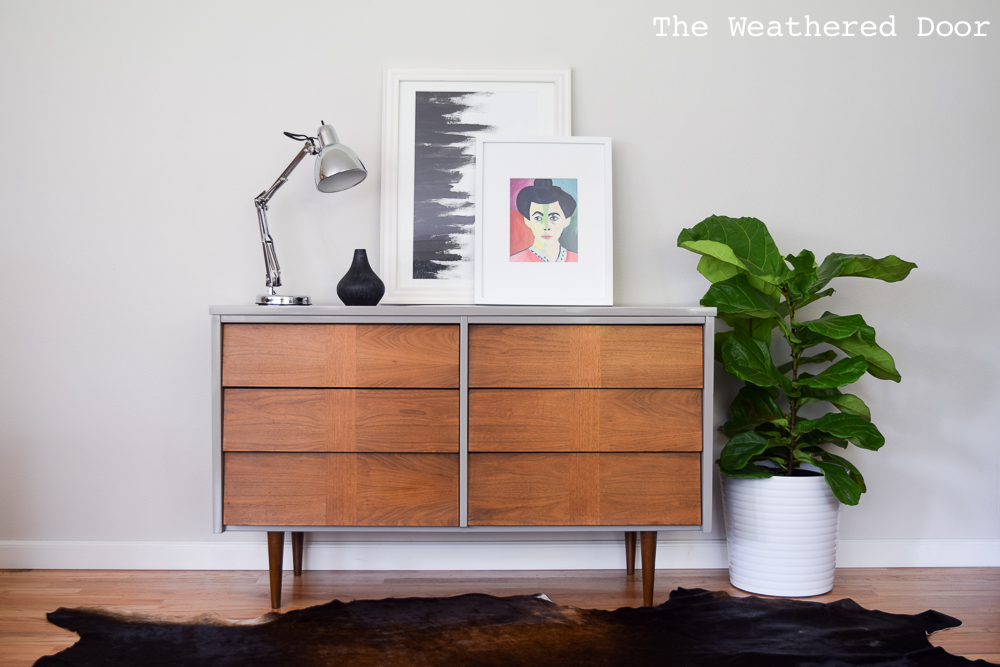
I have painted 4 pieces with the 1 gallon of gloss lacquer I purchased. The first was a mid century dresser I sold and never fully used. When I did stage and photograph it I did not have any problems with any of the items sticking to the finish or leaving indentations. That’s a bid thing since most gloss water-based finishes have that problem even after curing for weeks. I also have a headboard that is painted in the lacquer and still looks perfect a year later. I have a cow hide draped over my headboard and it has not left any marks or affected the sheen at all. Most recently I have painted a small table and am working on a 3 drawer campaign chest.
________________________________________
My final thoughts on pre-catalyzed lacquer is a great product for painting furniture. It is harder to work with and you must be cautious and use proper attire so you are not exposed to the fumes. I love that lacquer dries quickly and to a hard finish, but at the same time the quick dry time and make it difficult to get the even gloss finish. As always I assume satin lacquer is easier to work with. It’s more forgiving since it’s not so reflective.
If you have questions about lacquer leave them in the comments. Have you tried painting with pre-catalyzed lacquer? I would love to hear your thoughts and tips. Or share you favorite furniture paint with me!
Stay connected and follow along on Facebook and Instagram.
-Reeves
Hi! Love your site. Trying my hand for the first time with a spray gun. I went with Valspar Cabinet Enamel which looks to be water based but states “oil enriched”. Feel like I need to thin the paint some but am at a loss as to what I would use? And how it would react with the paint being it is not fully water based nor fully oil based. Have you worked with this particular product before?
Thanks
Keri
Most likely the paint is water based or oil based (I would guess water-based, oil based has lots of fumes and isn’t as readily available as hardware stores). Either way I would check with the manufacturer or back at the store you purchased it.
Hi . A little trick i use in my shop is to add a bit of lacquer thinner to your enamel. Yes add lacquer thinner to your enamel. It will dry your finish faster and it will thin enamel out enough to be strayed. Enamel has a tendency to be gummy at times this will help with that as well. Lastly don’t try for full coverage on first or coat. Enamel will run or sagg on you
What about using a clear coat over the color. Do you have any info on using clear? I’m painting a guitar with a solid color, not tint. Thanks.
I have never used clear lacquer. I think it would be similar but don’t have any experience with it.
You don’t need to clear coat over lacquer. Also lacquer is very forgiving in that when I spray with my hvlp after I sand I just blow it off. the dust that is left is absorbed by the next coat , the lacquer reactivates the dust .the other thing about lacquer is that a retarder could be added to slow the dry time especially in hot humid days ,you don’t want the top of the lacquer to dry before the bottom. If your spraying you will get a blue hazing. Got a drip no problem let it dry thoroughly sand and recoat that simple hope this helps .I also only use lacquer based and not water based
I’m trying to paint a dresser with lacquer spray paint from the can. Putting on a few coats and it seems blotchy and rough in places. Should I try to smooth it out with 0000 steel want to smooth it out and put on another coat? Will adding a clear coat make it all smooth and less blotchy? I’m just trying to refurbish a old dresser for my daughter so don’t want to invest in an actual gun.
I have been using the Valspar products for about 6 years now and they stand up beautifully. Durable, and simple to spray. Buy a quality gun(iwata air gunsa or devilibis flg(4 or 5) and you experience will go up 10 fold.
Just make sure to use a respirator. General finishes just came out with enduro wb, sprays the same without the extreme fumes.
Great article!!!!
What is the best pre catalyzed lacquer high gloss in a rattle can spray
Magnamax is a great pre-cat,
Beautiful gloss, flows out great. It is a clear coat. So I stain with a dye .. I have tried a lot of clear coats. But have had the best results with Magnamax
I have spayed clear lacquers and pre-catalyzed lacquers for over 20 years from HVLP and airless sprayers. If you have a problem with the lacquer drying to fast then add a little lacquer retarder. When spraying cabinets, this will help keep the lacquer stay wet a little longer and the overspray down to a minimum because it will melt into the surfaces that have already been sprayed around it. Since lacquer does dry so quickly, it can trap moisture in the wood, especially in high humidity regions, causing the lacquer to blush. This will also help keep the lacquer from blushing because it will dry a little slower allowing the moisture to escape. Love using pre cat because it does have such a great finish when it is cured. Hope this helps.
Maybe a little late but I would love to hear about anyone using Sher-Wood.I love pre-cat. I have always used Valspar Valec and absolutely love it. You can sand in 30 minutes. The surface is super hard already and makes a nice finish. I have taken a break for the last 4 years and decided to start building cabinets again. I can not find it anywhere. All I could find is Sher-Wood Pre-Cat. SO first experience is that when spraying over naked wood it does not build so the Hi BILD label is nonsense. In fact I almost always use automotive grade lacquer primer. Soaks in nice. Dries super hard in 15 minutes and sands like glass leaving a beautiful surface for paint. Clean with Prep-All before the first coat. ( I have been painting cars for 30 years so I experimented a lot with blending auto and cabinetry chemicals for the best finish) . All cars used to be sprayed with Lacquer. Second problem with the Sher-wood is that I have to make multiple passes to get a wet smooth coat otherwise it is orange peel. I use a $1000 Iwata LS400 that sprays auto clear like glass and even single stage which is the same consistency. When I finally get that nice smooth coat forget sanding in 30 minutes like the Valtec. This stuff will be slightly gummy for 24 hours and clog the paper. Overall not very user friendly. Going to get a second gallon tomorrow for more cabinets and talk to the rep. Maybe the results will be better. Overall if you can find Valtec it is far superior.
Where can this catalized lacquer be purchased as a contractor here in the USA?
I’m trying to touch up nicks in my kitchen island with the original paint cans from the basement (4 yrs old), it is a medium-dark gray. I had them shake the can at the paint store. The paint is Valspar premium pre-catalyzed lacquer- it is drying so much lighter and hardly matches! Any idea why? Would it be advantageous to get a new color match done on one of the island cupboard doors to get a better match? Any insight you have would be so appreciated.
Hi! I don’t know enough about lacquer to know why this is. I”m sure a someone at a store can help assist you is the best option for touch-ups.