Hello!
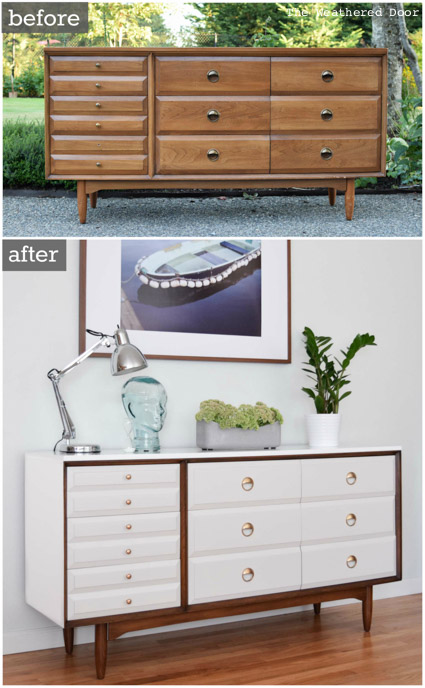
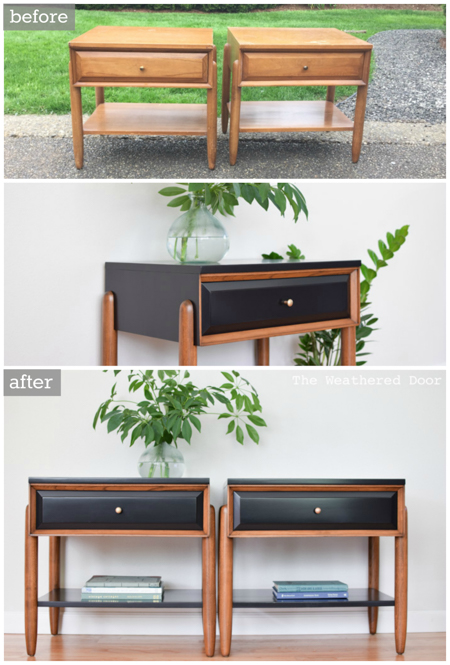
Last year I redid a LA Period mid century modern dresser and was really happy with how it came out. When I purchased that dresser it came as a set with two little nightstands, and as I did with the dresser, I really wanted to enhance the original design of the pieces. These pieces are made out of solid elm planks, which is extremely grain-y, similar to oak, and it wasn’t the prettiest wood to refinish in my opinion. I think paint paired with some of the wood is the best option for these, and two-tone looks always seem to be a great option for mid century furniture.
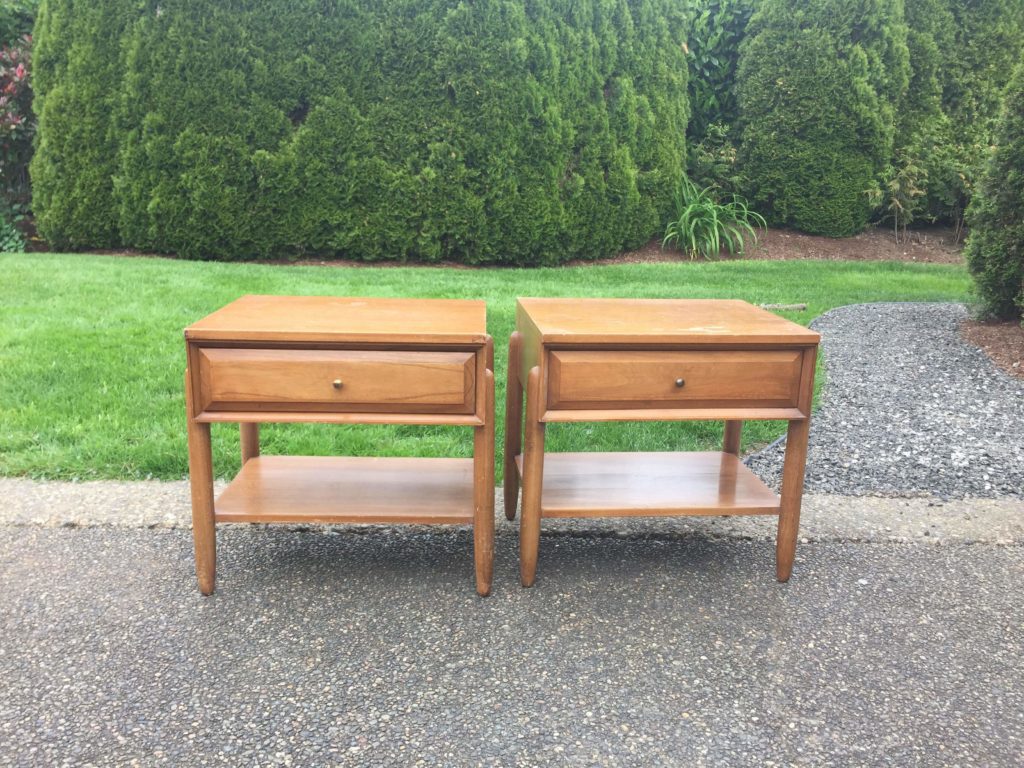
To start, I chose a design. I thought the legs that extended over the sides had to be highlighted, and I also wanted to keep the trim around the drawer frame wood as well. Here’s how they were looking right after bringing them home.
First I had to disassemble everything. I didn’t want to deal with painting around the legs so I took the legs off (they were screwed and glued in) and had the top drawer frame piece, the legs, and the shelf all separate for refinishing. I used my normal stripping process – citristrip, tsp wash + scrub, let dry, sand. Find my how to strip video tutorial here. The legs were pretty easy and once that thick lacquer finish was gone they looked much better. The trim around the drawer frame was a bit harder but pretty straightforward and I used the same process.
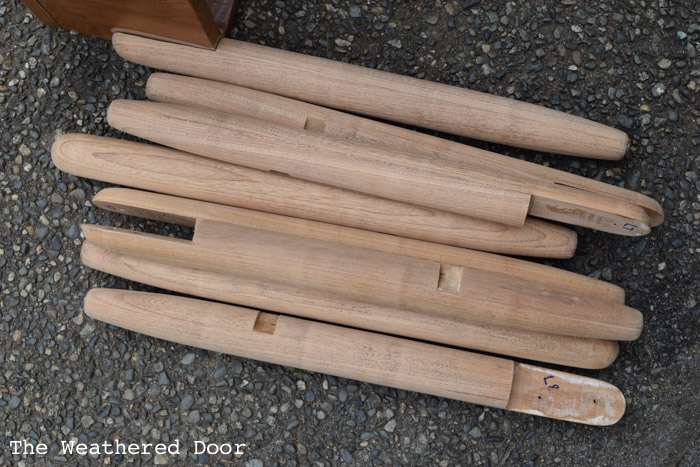
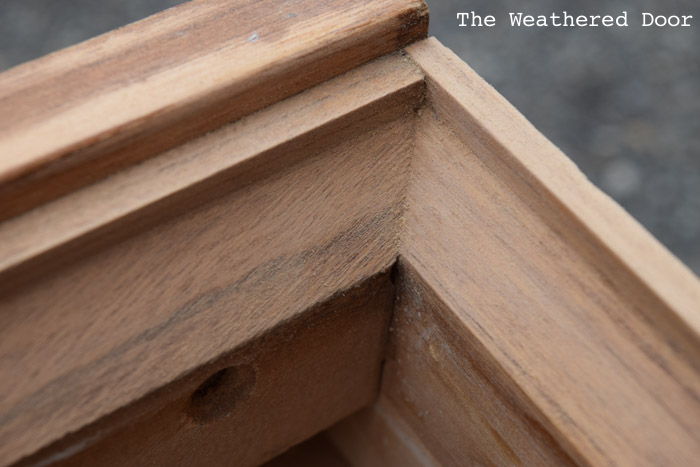
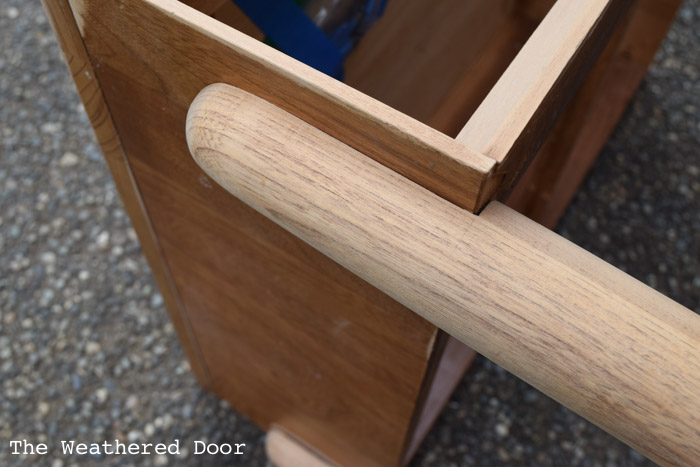
Once the trim and legs were sanded, I stained them with General Finishes gel stain in Antique Walnut.
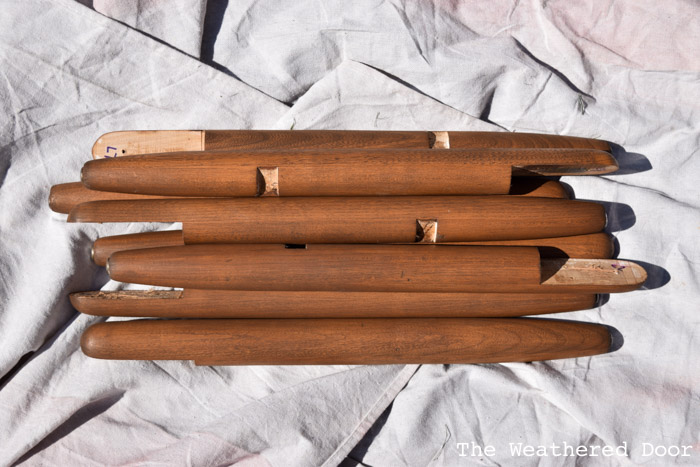
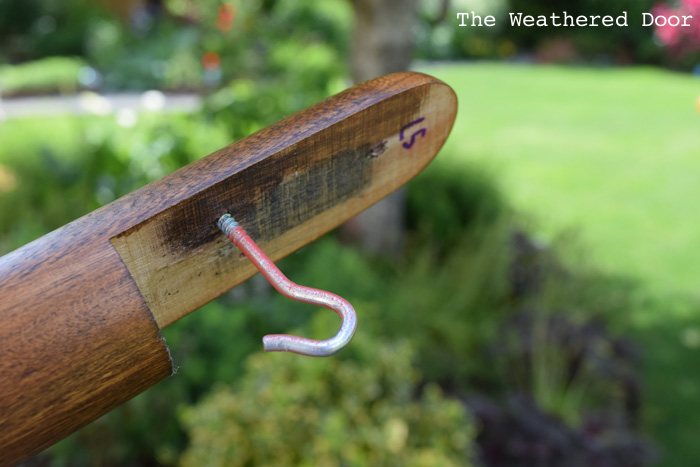
When it came time to spray the topcoat on the legs I used small hooks that allowed me to hold each leg while I sprayed on the General Finishes topcoat, and then hang them to dry. I also use those same hooks what painting the doors on a piece of furniture so that they can hang and the front, back, and sides can all be coated at one time.
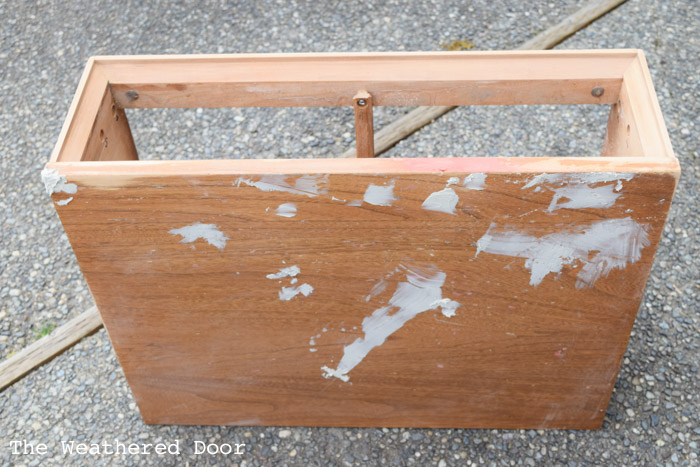
These nightstands had definitely seen some wear. The tops has so many little dings and scrapes along with lots of places where the thick lacquer-like topcoat had come off. To start out with I began filling everything with bondo. I used all-purpose bondo and my favorite bondo glazing putty. I would fill, sand, fill, sand, prime, fill anything else that came through (grain and little dings that had been missed the first few times through). I’ve never filled something so many times 🙂 This photos shows the first fill of the major gouges.
Once everything was filled, I primed. I used a spray can of primer that was tinted grey since I knew these were being painted a dark color. If any dings showed through after priming I filled once more, sanded, and then spot primed. The next day I sanded everything smooth with 220 and 320 grit sandpaper and wiped all surfaces clean.
For paint I went with black. This black and wood combination reminds me of the black vinyl and wood mid century and danish chairs seen all over. Not something I use too often, and something I don’t want to use again for a while! Black is so hard to paint with. It shows everything. All pieces were taken into my spray booth and I used my HVLP spray gun to spray on 2 coats of General Finishes Lamp Black milk paint. I sanded in between coats, and then I also sprayed on 2 thick coats of General Finishes high performance topcoat in satin. Well, I was running out of the satin sheen so I mixed in some flat HPTC and gloss HPTC with what I had left of the satin. It turned out well. Phew! I used fine synthetic steel wool (I use that stuff for everything) between coats of poly. It works well to get any particles out that landed in the finish without scratching or going through the coat that is already applied.
I also used the same synthetic steel wool and some Bar Keeper’s Friend to polish the brass hardware. I did apply some stripper first that helped remove the lacquer on the hardware. It shined up like a dream in less than 20 seconds. The video above shows how to polish brass hardware.
I made sure to label every screw and place it in a bag taped inside each nightstand so that assembly would be easy.
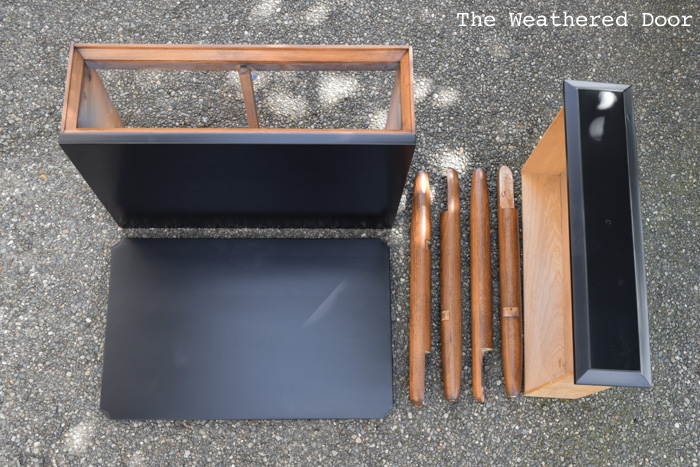
Once everything was finished I let the poly cure for 24 hours and then assembled the nightstands and added the hardware back on.
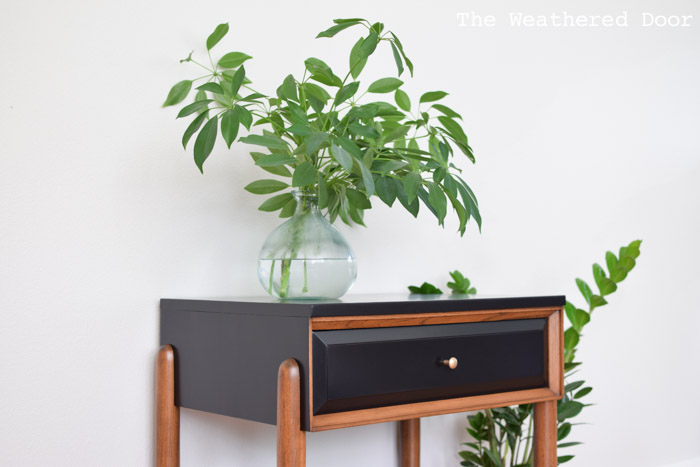
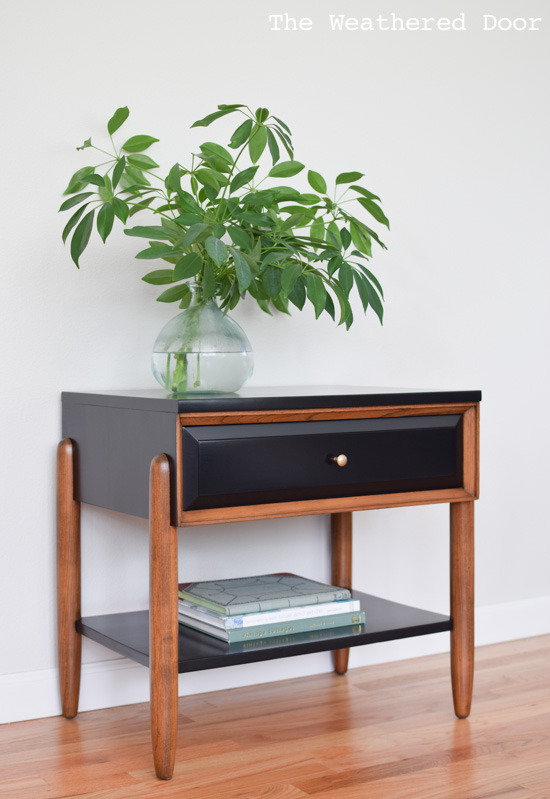
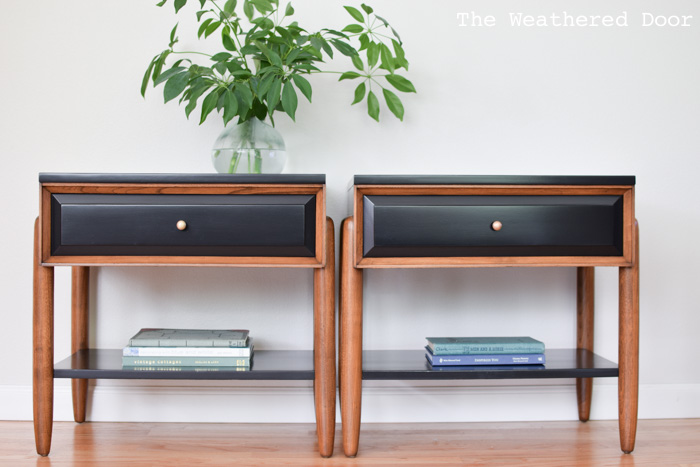
It feels good to be back sharing a new makeover 🙂 On to the next project!
-Reeves
Looks great Reeves! I, too, am so over black. It looks psi nice, but I think it’s the hardest color to work with.
Thanks, Christina 🙂 So over the black. Even once they are done I dust them off, walk away and 5 minutes later there’s stuff landing on them. Ugh!!
Beautiful!
Thanks so much!
Absolutely beautiful. Very unique tables.
Absolutely stunning. I am in awe over the amount of effort you put into these and it sure paid off. They look incredible!
Thanks, Allison! I knew they could be great again with some help. I’m really happy with how they turned out 🙂
Absolutely gorgeous!!!
awesome! love that wood & paint look!
Thanks so much!
Stunning!
These are absolutely stunning! I love MCM furniture and so would snap these up in a heartbeat. You did an amazing (and totally professional looking) job. Well done!
What a fantastic and original transformation. I love the legs !
Wow, those are beautiful!
Thanks, Toni! 🙂
WOW!!!
Hi, any ideas about how to get the lacquer off of brass when it’s inlaid on wood. I’m unable to remove the brass from the wood without damaging both. Your tables look great!
I have not had to deal with that. If you are just wanting to polish the brass hardware you could try skipping the stripper and going straight to polishing with bar keeper’s friend. Sometimes brass isn’t lacquered, but even if it is it may just take you longer to polish which may be worth it instead of possibly getting stripper on the wood and having to refinish the whole piece.
Beautiful . I’ve done similar projects before using the black and staining of the wood.
I painted an oak dresser black and then varathained it.
Then I saw some scrolls at Hobby Lobby and stained them and added them to the front of the drawers. I put them on every other drawer and I thought it looked wonderful and got so many compliments .
It was Ina room with burgundy and black and white.
Your nightstands would of gone perfect .
These are so classy and classic, Reeves. Your hard work paid off beautifully!
I so appreciate it, Rachel. I really love how they came out. They were great pieces to begin with 🙂